Getting Hands On With Soft Circuits: Switches
Bracelet Switch & High Five Switch
Introduction
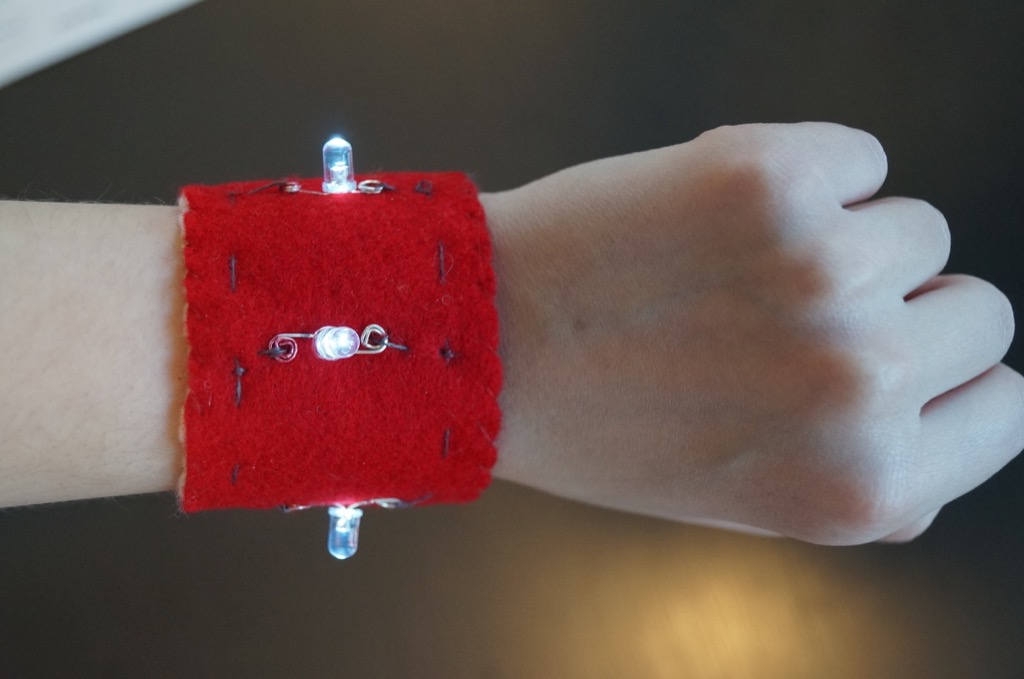
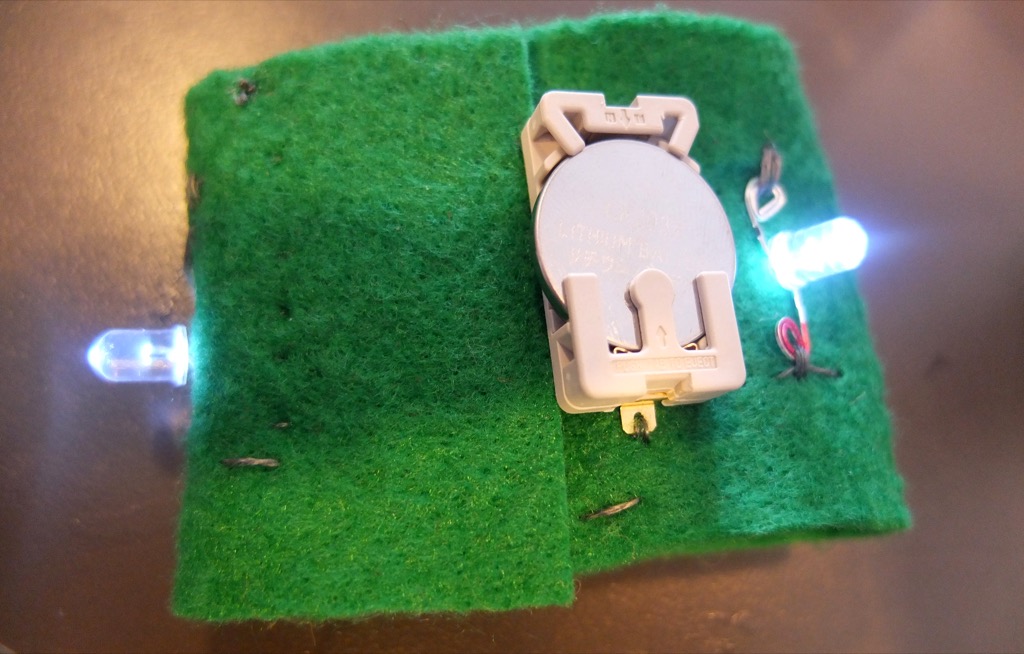
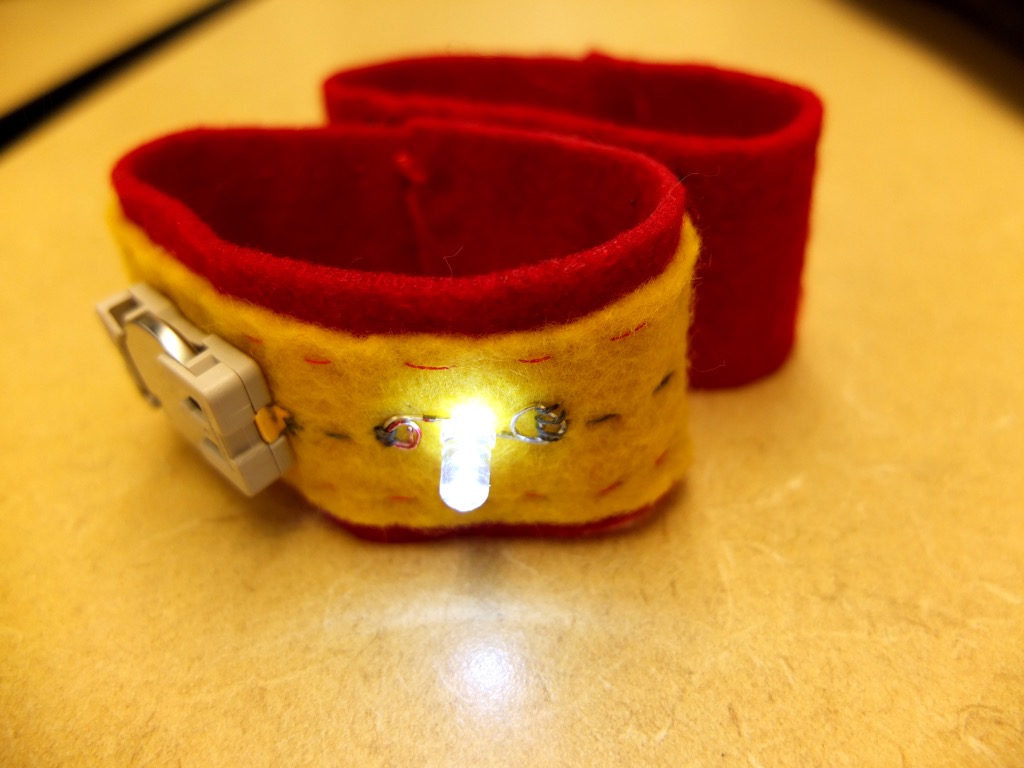
Using conductive velcro as a switch, make an illuminated bracelet that switches when the the circuit is closed. The conductive velcro can be switched out with any metal closure such as snaps, jewelry clasps, or a hook-and-eye.
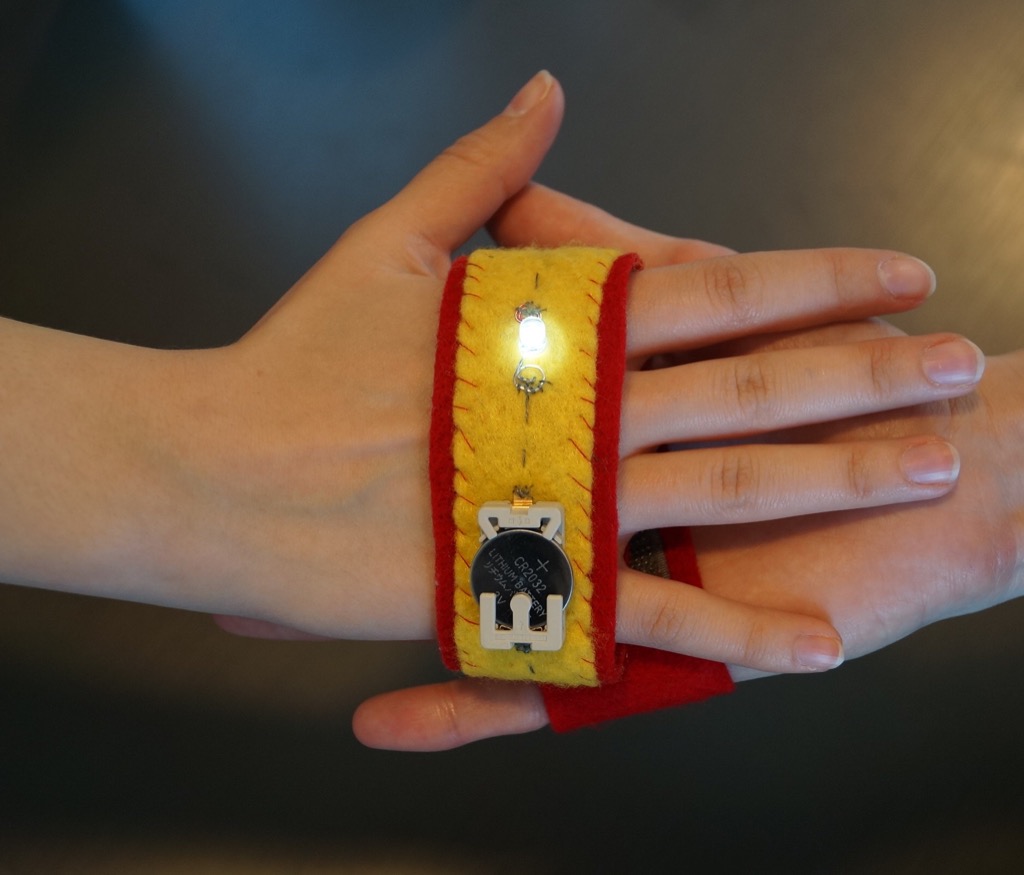
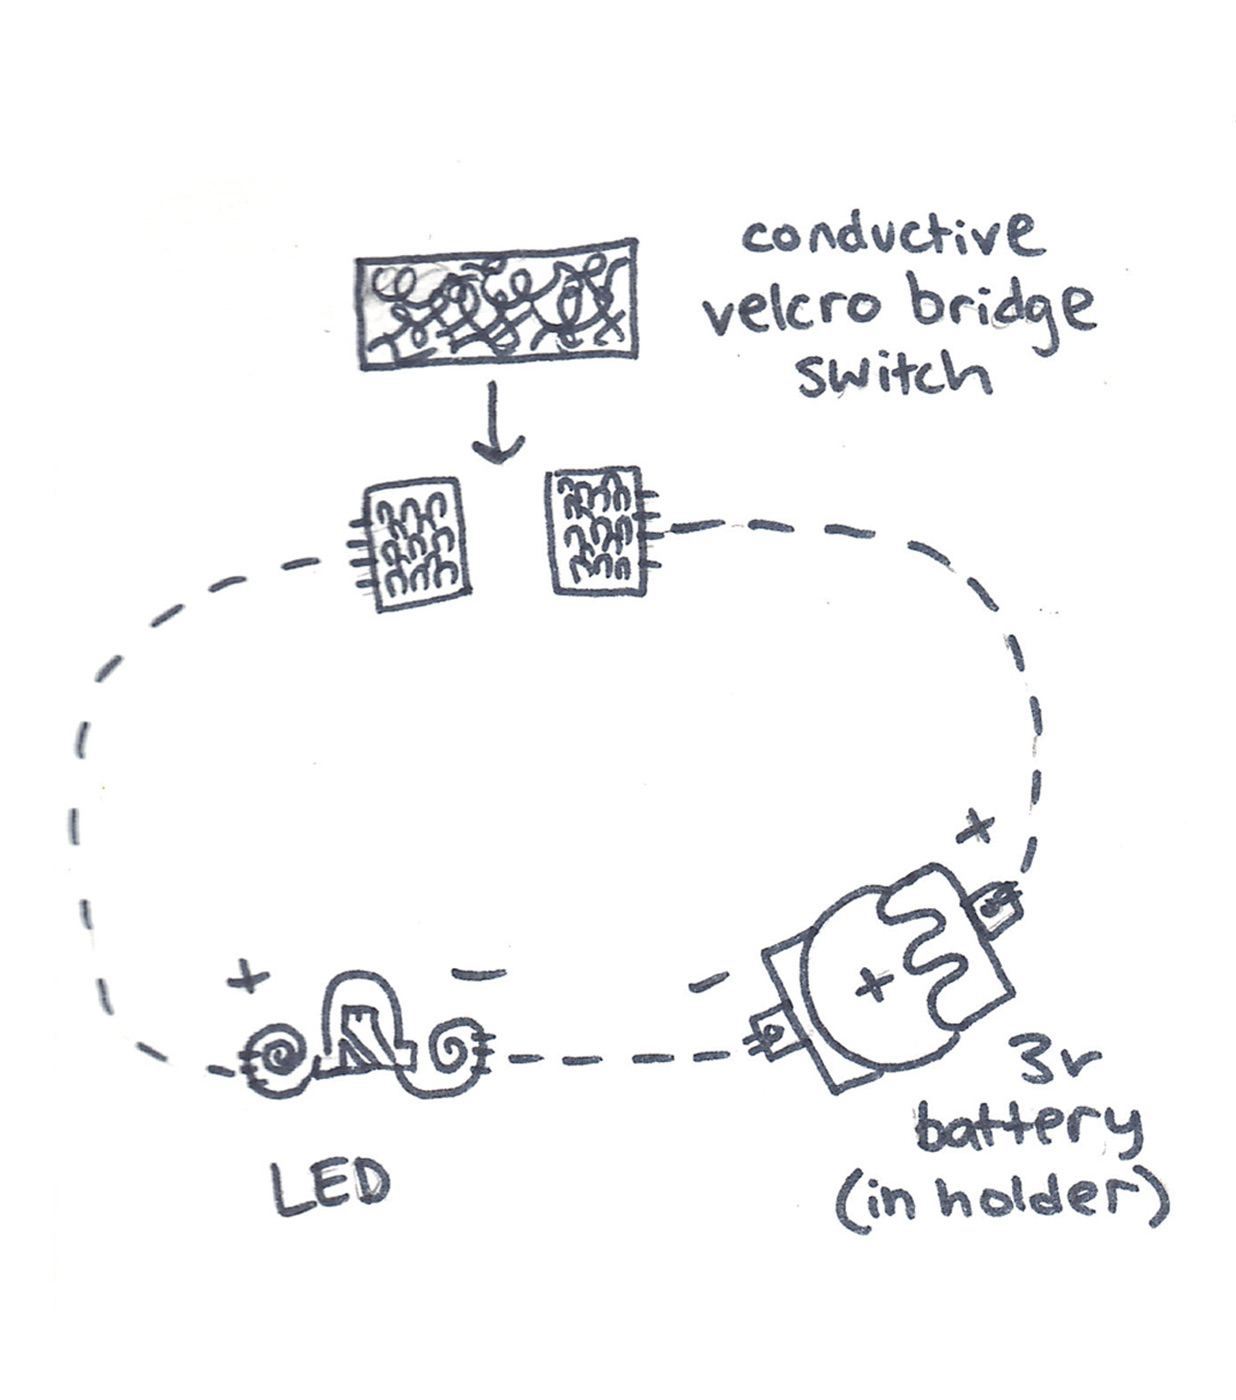
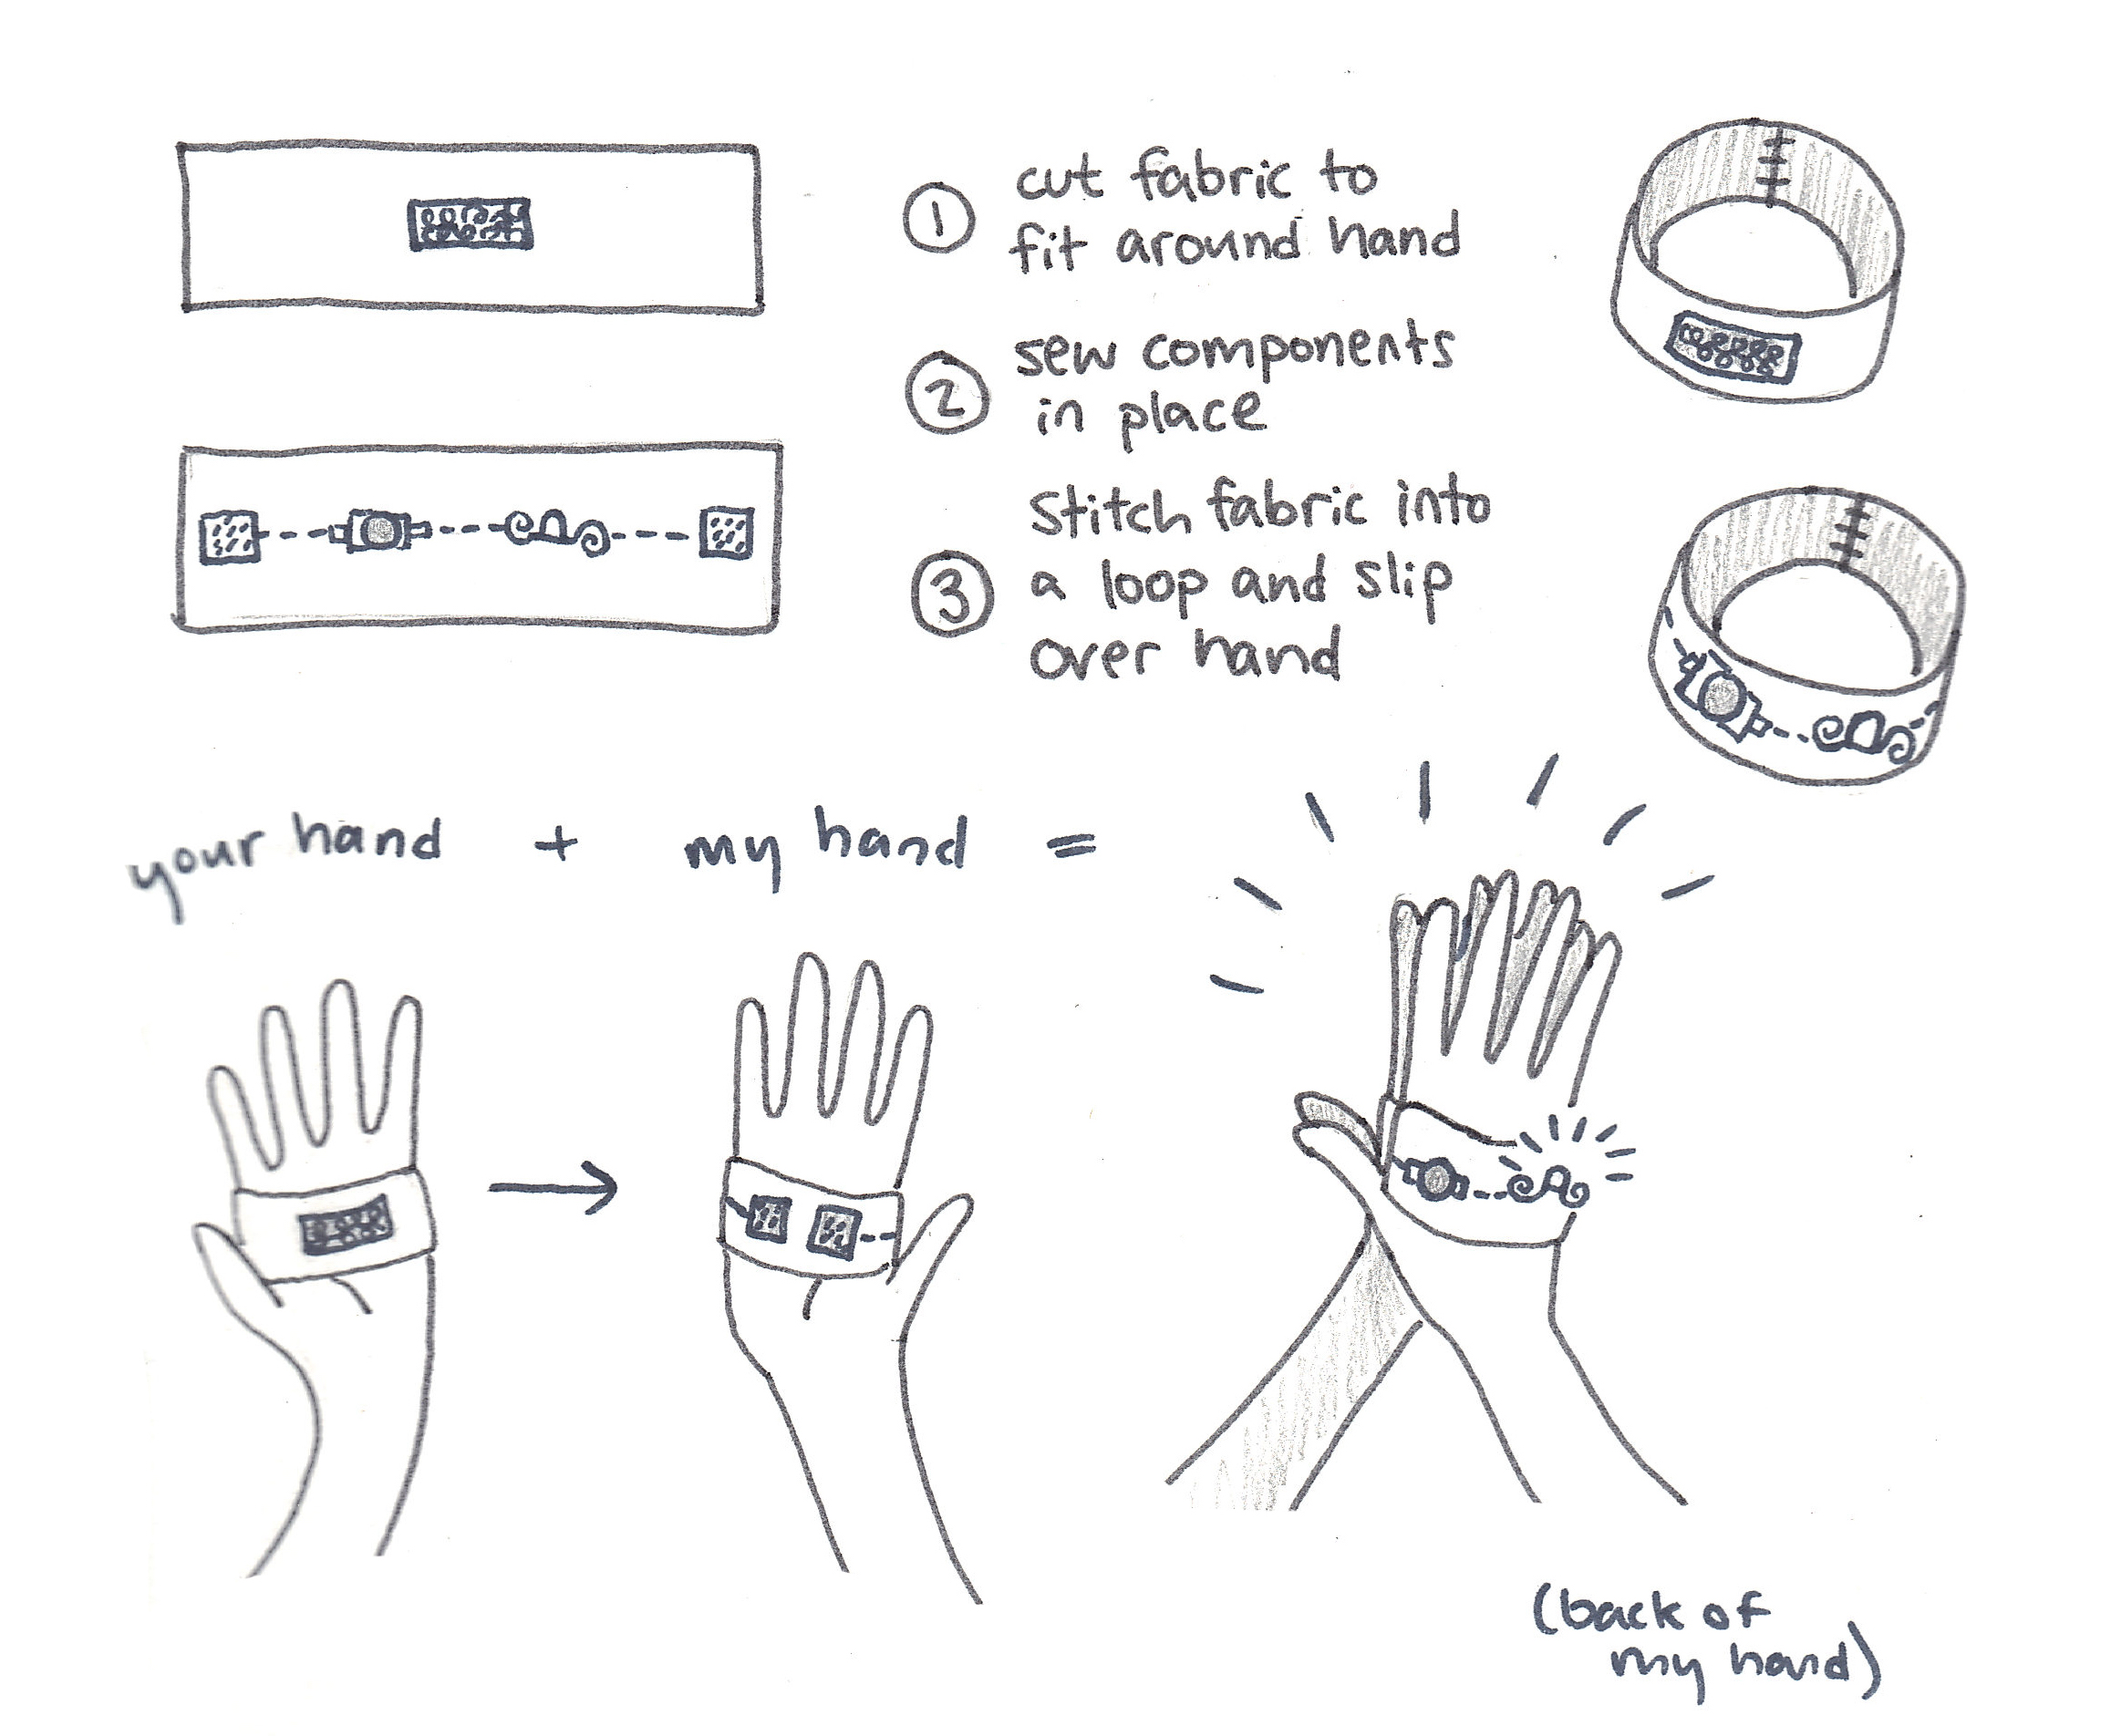
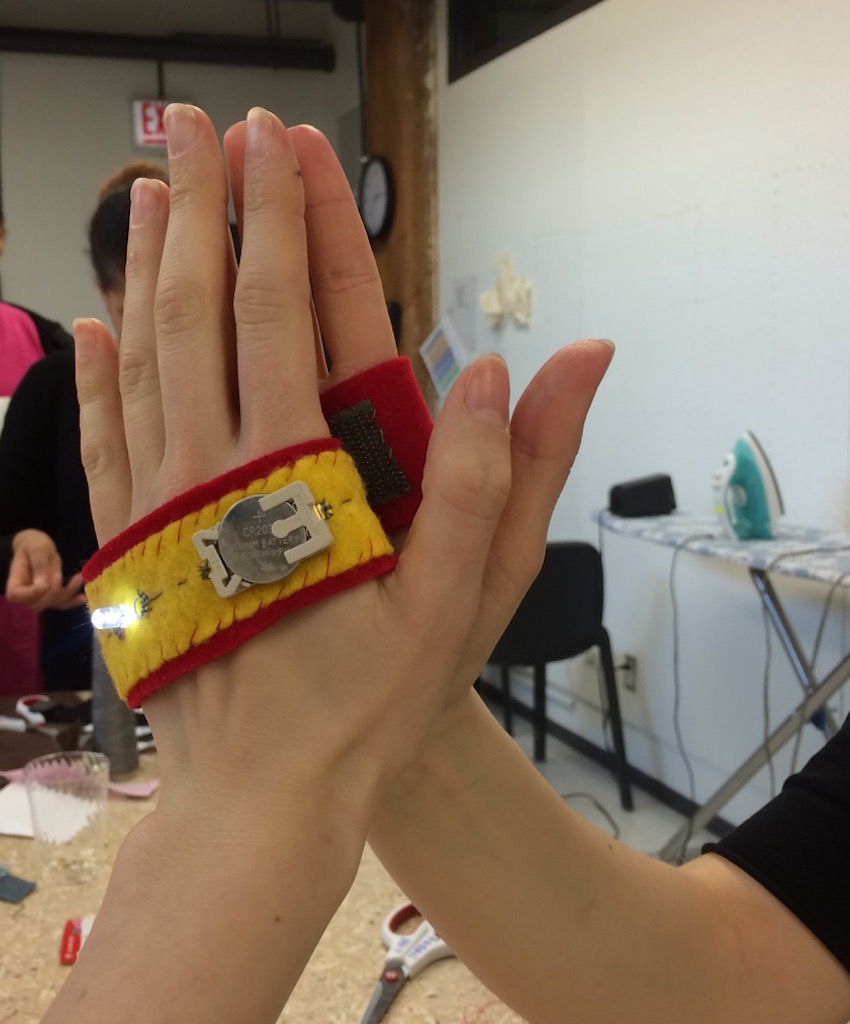
The high five circuit uses a bridge switch circuit layout. The circuit is closed when two hands touch.
Goals
This workshop is as an introduction to wearable soft circuits. Through application, participants will gain an understanding of the working properties of electronic-textile (e-textile) materials such as conductive velcro and conductive thread. By constructing a functional soft circuit with e-textile material, participants will learn how a simple circuit operates, identify and understand the role of different electronic components, and consider possibilities for further application of and experimentation with soft circuits.
Prerequisite Knowledge and Skills
No prior experience is necessary although basic sewing skills such as threading a needle and tying knots is helpful.
Materials
-
Conductive velcro comes in 4” strips (we cut each in half for the kits).
-
Conductive thread - stainless steel
-
LEDs
-
3V coin cell battery
-
Regular thread
-
Felt
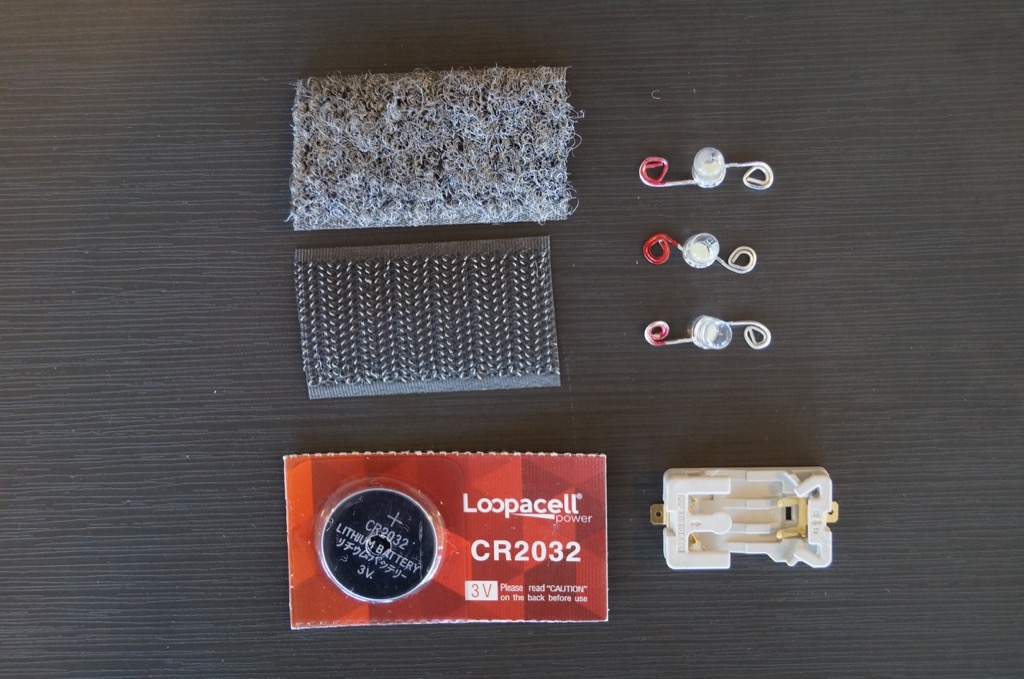
Switch Kit: 2” strips of conductive velcro, LEDs with pre-coiled legs (positive indicated with red marker), 1 sewabale 3V battery holder, 1 3V coin cell battery
Bracelet Switch
Steps
-
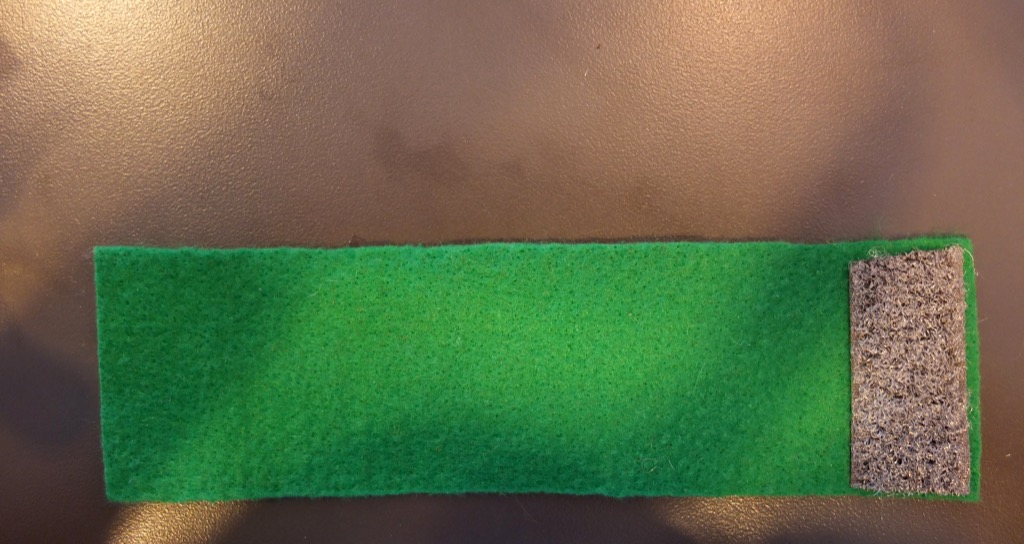
Measure and cut a strip of felt to fit around your wrist, leaving room to accommodate the conductive velcro.
-
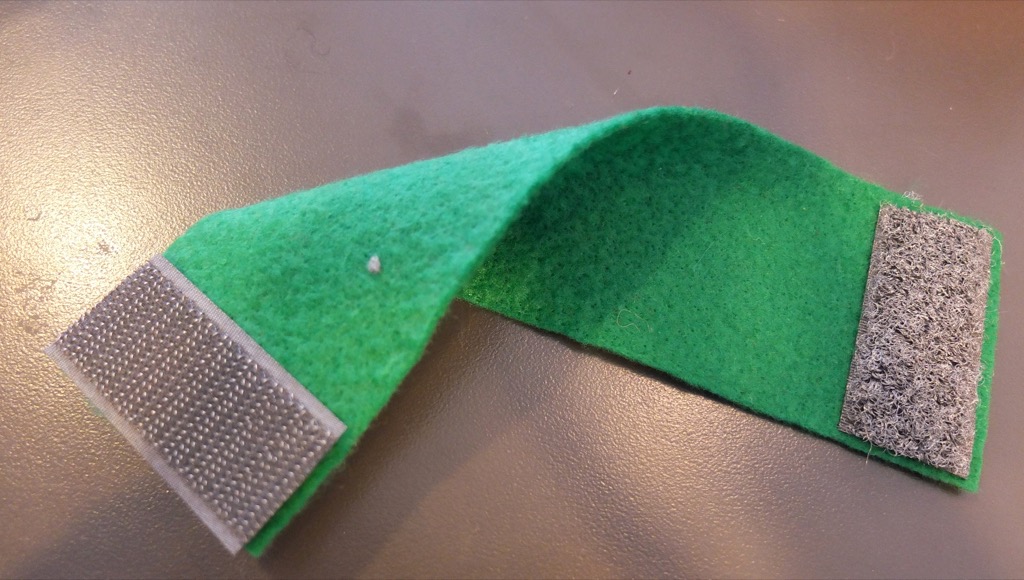
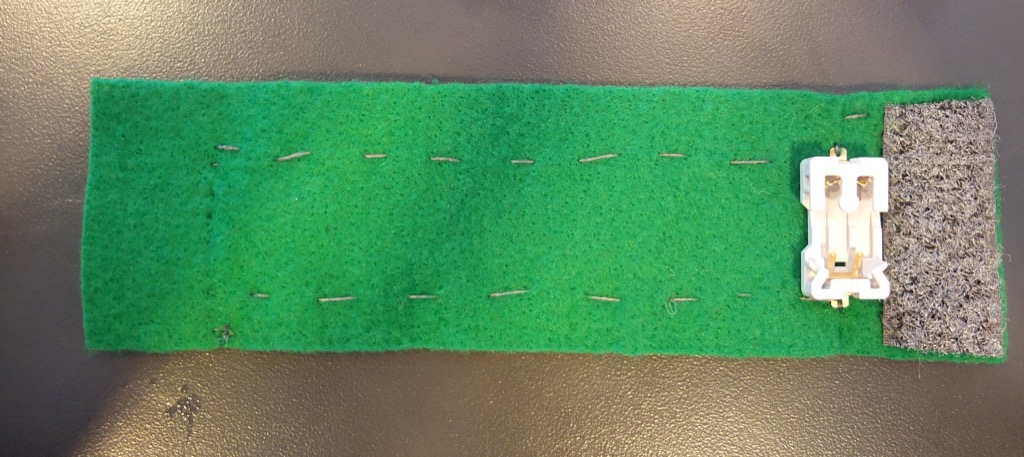
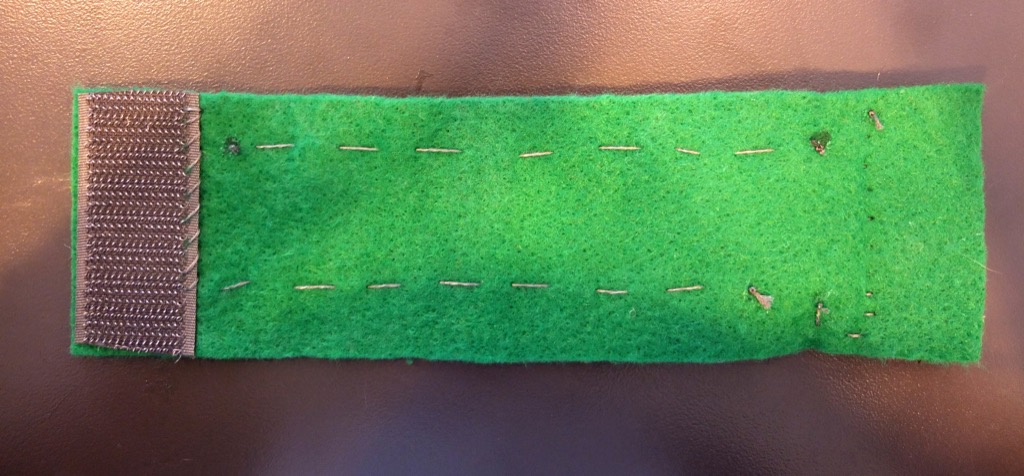
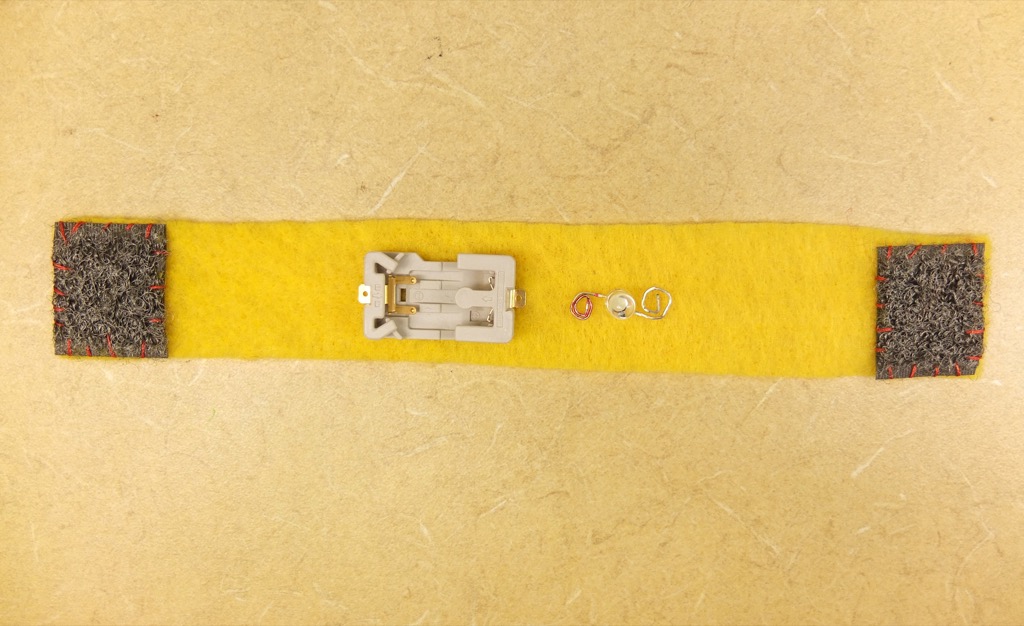
Lay out the velcro. The pieces should lay on either end of the fabric, one will be on the front and one will be on the back so that they will make a nice loop when closed. Attach the conductive velcro via hand sewing or with hot glue.
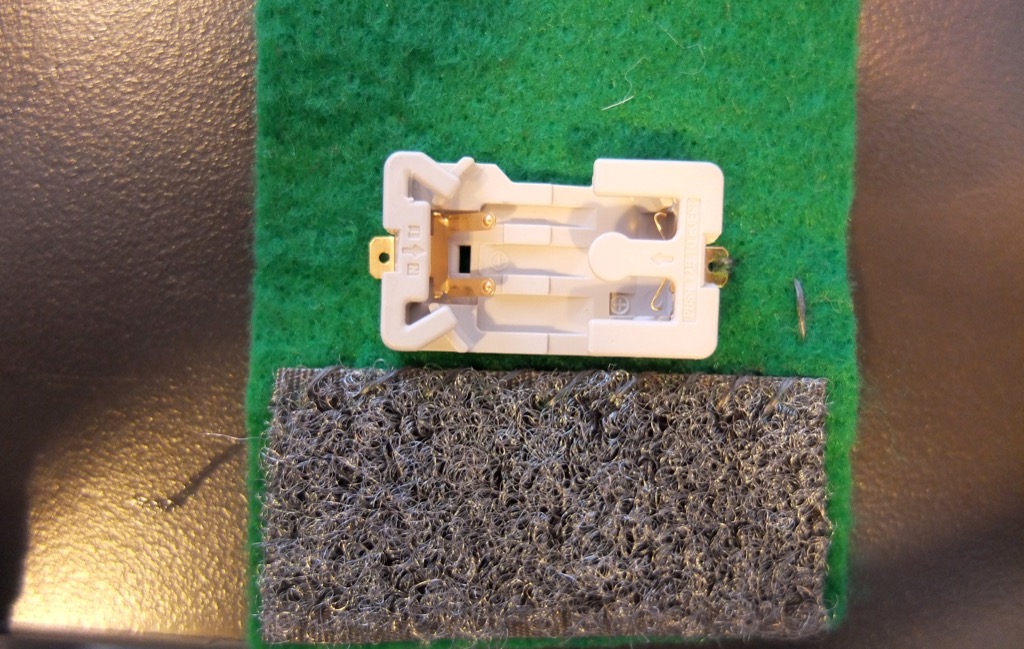
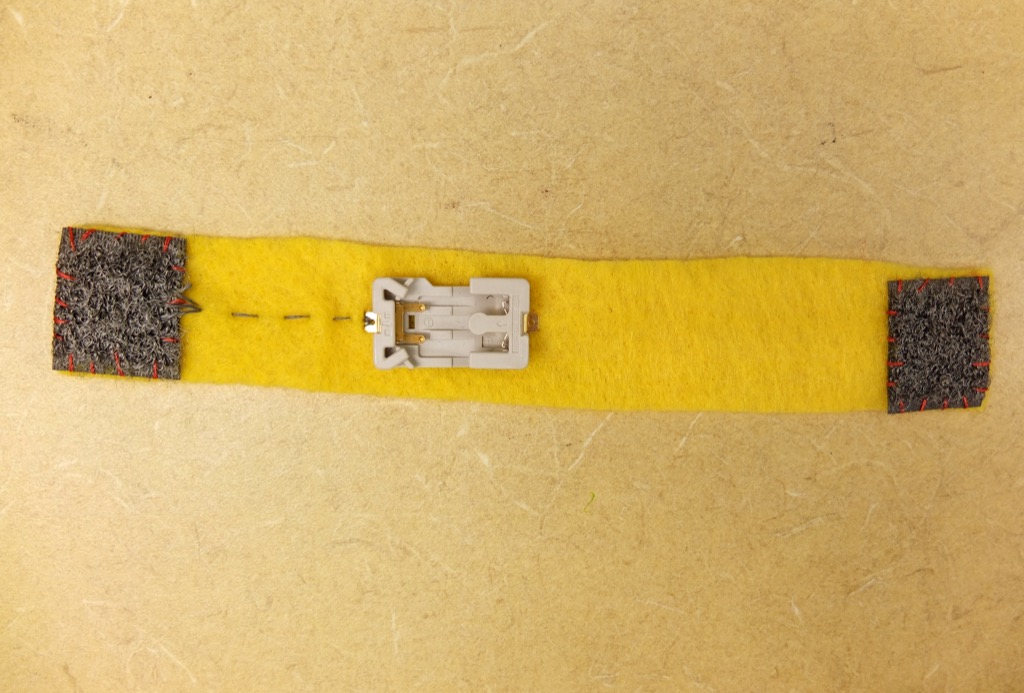
- Take the battery holder and sew from the positive terminal to one piece of velcro. The positive terminal is the side that makes an ‘E’ shape.
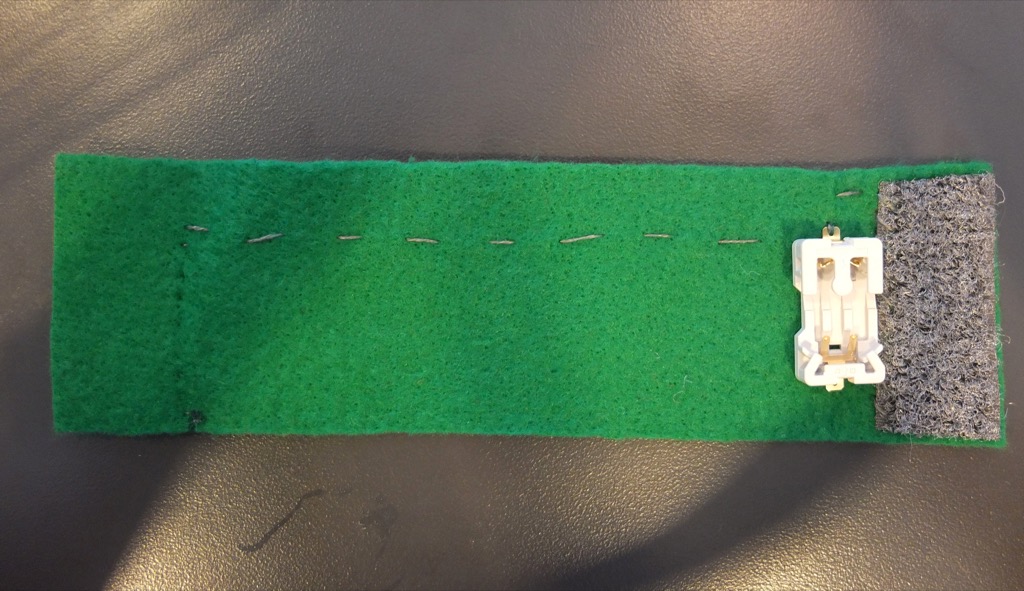
- Make a new line of stitches starting just above the power terminal and stitch across the felt, connecting to the other piece of velcro. Doing this creates a break in the positive side which will close and turn on the circuit when the velcro is connected.
- Stitch from the ground, or negative terminal on the battery holder, across the piece of felt, ending just before the other piece of velcro.
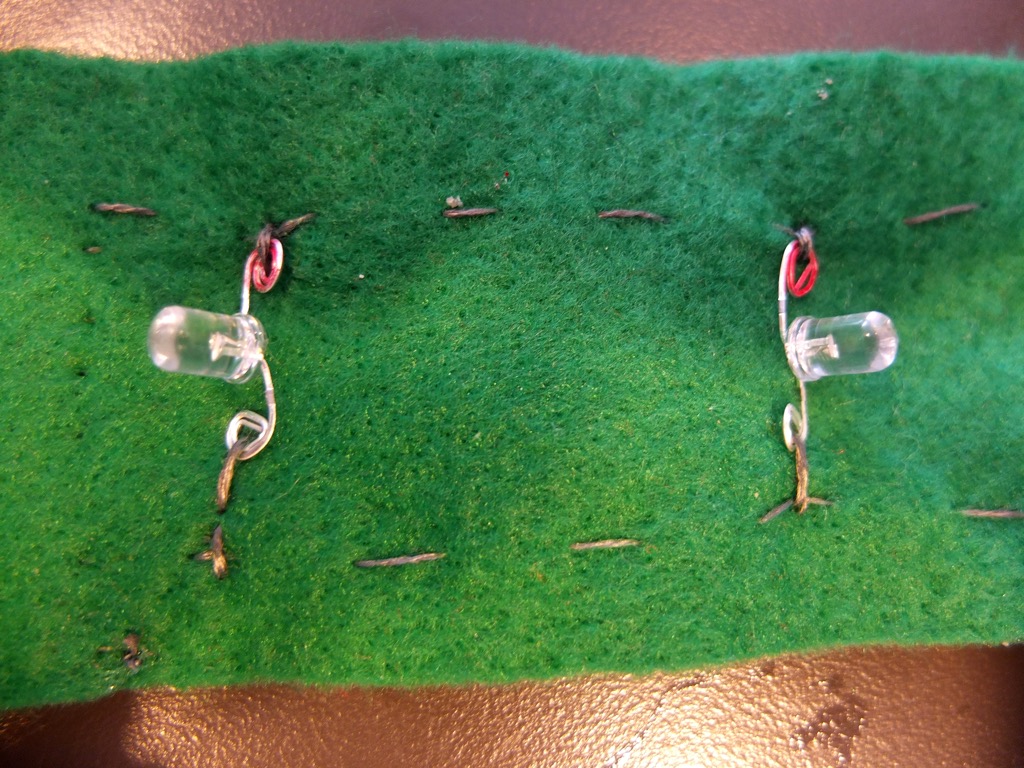
You should have two parallel lines of stitches now.
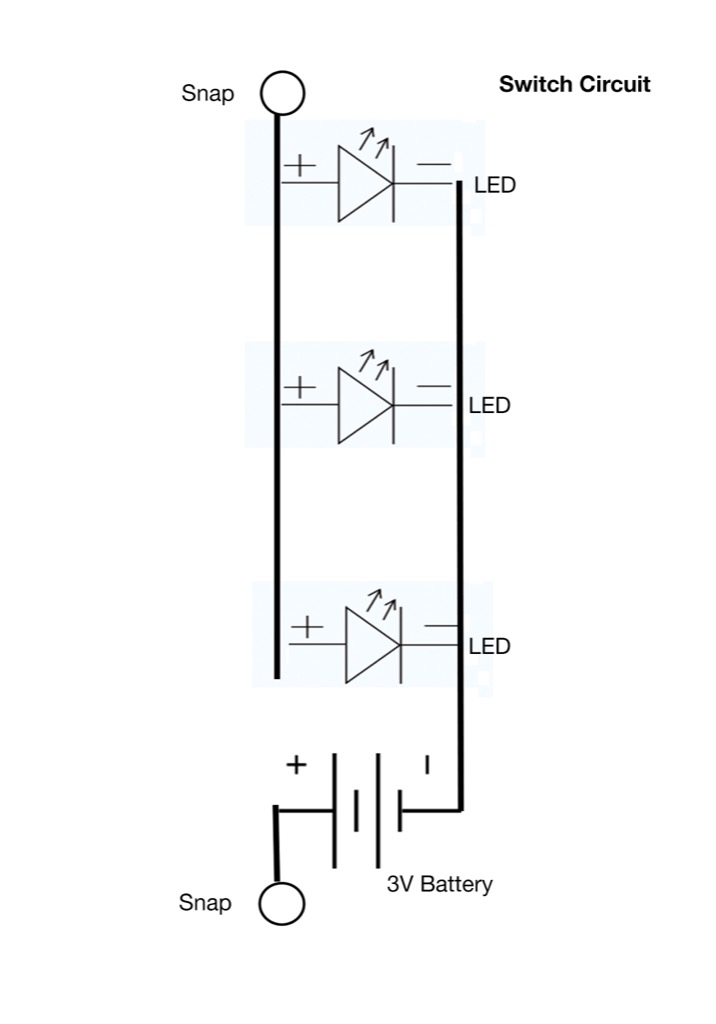
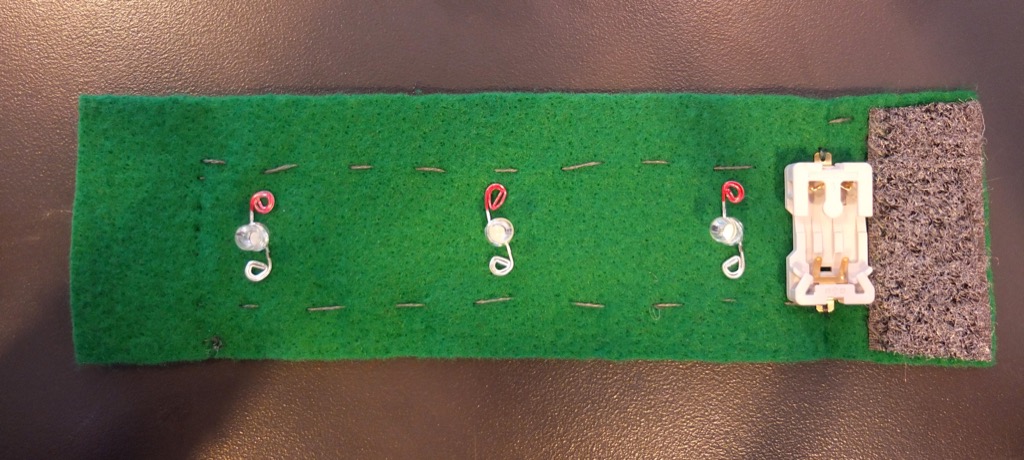
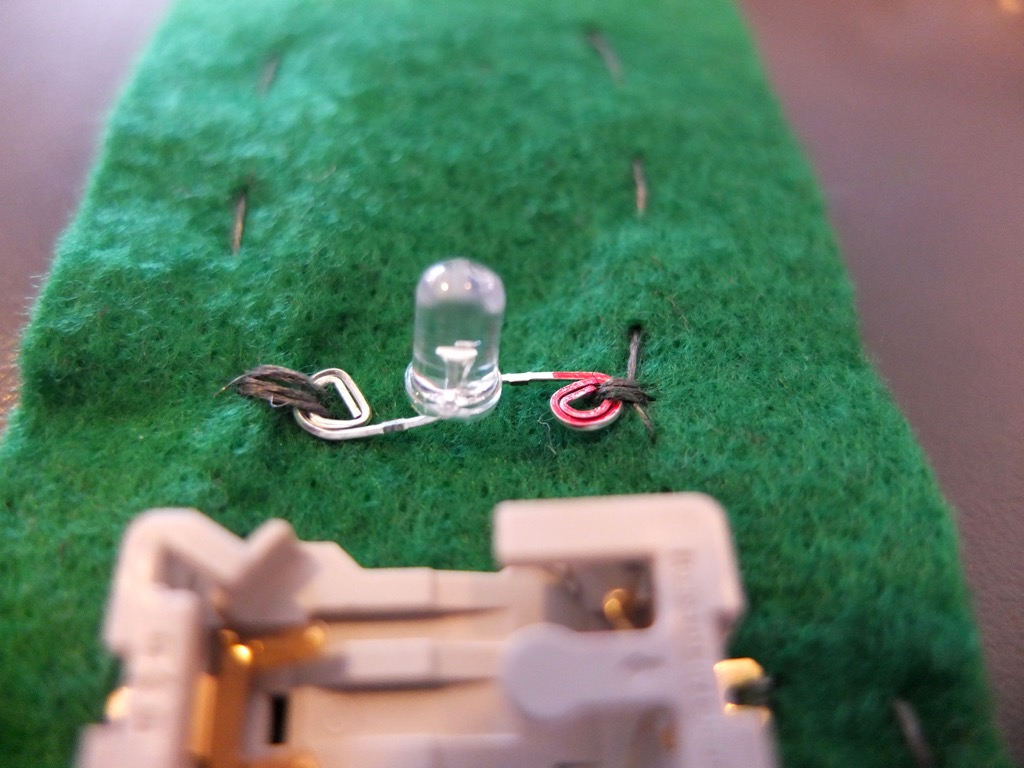
- Lay out your 3 LEDs, aligning the positive leg (colored red) with the positive side of stitches.
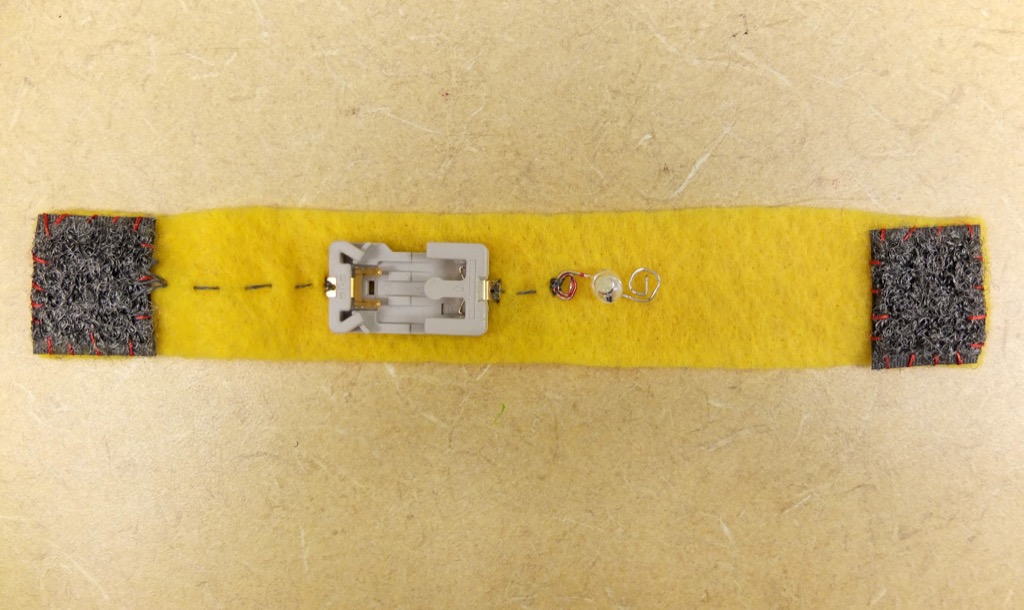
- Stitch down the positive and negative connection for each LED. Make sure to sew the connections several times to guarantee a secure connection.
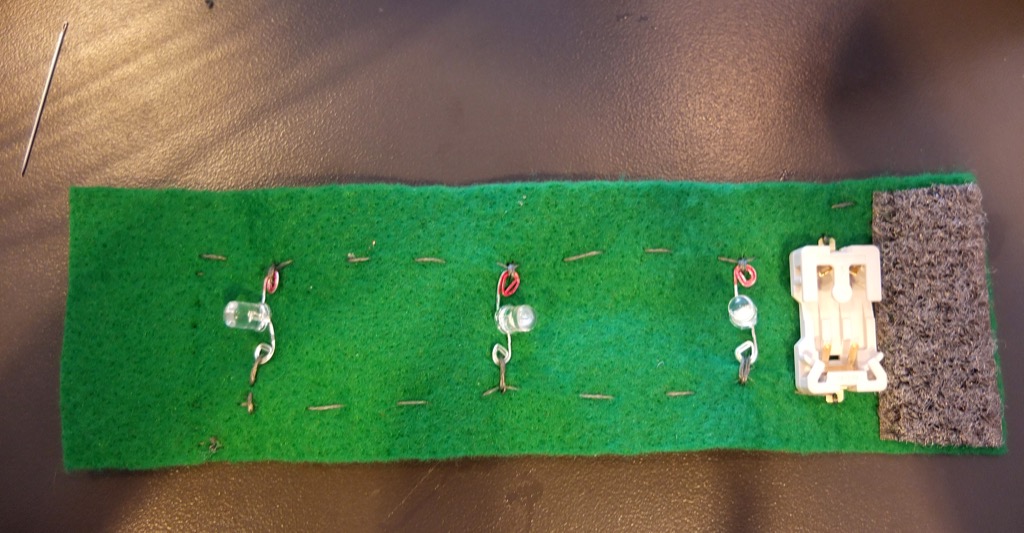
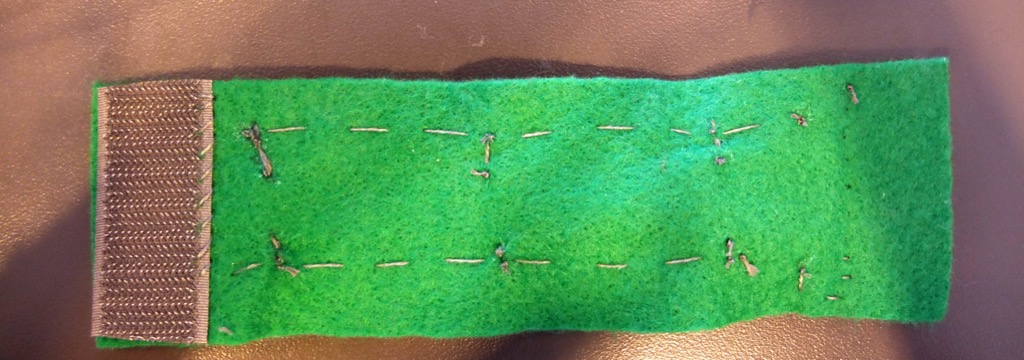
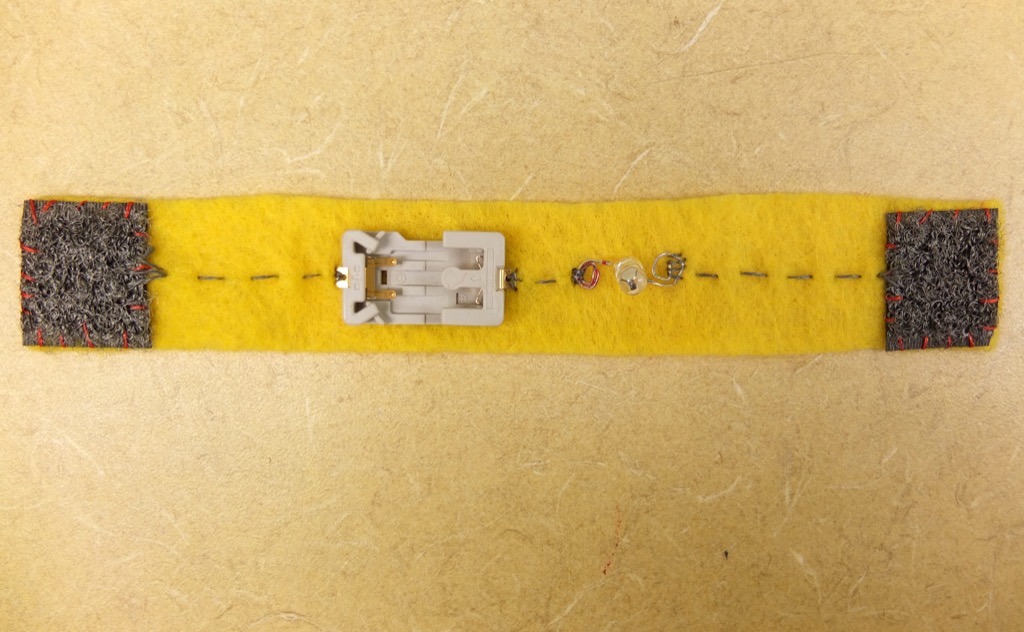
- Flattened out, the finished bracelet should look like this.
Voila!
High Five Circuit
Steps
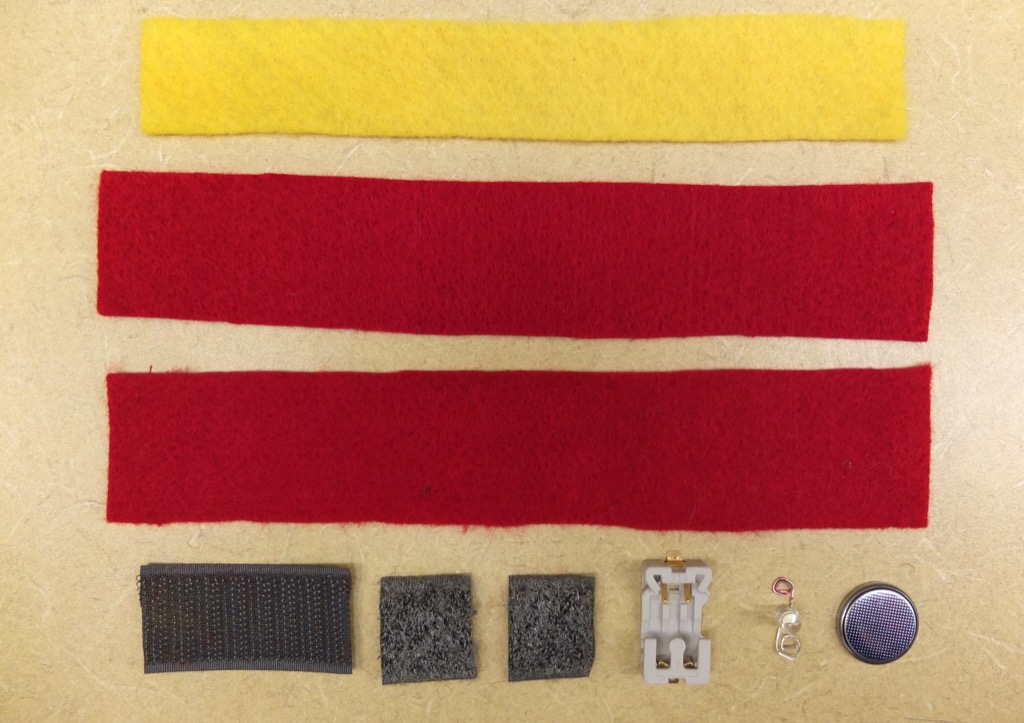
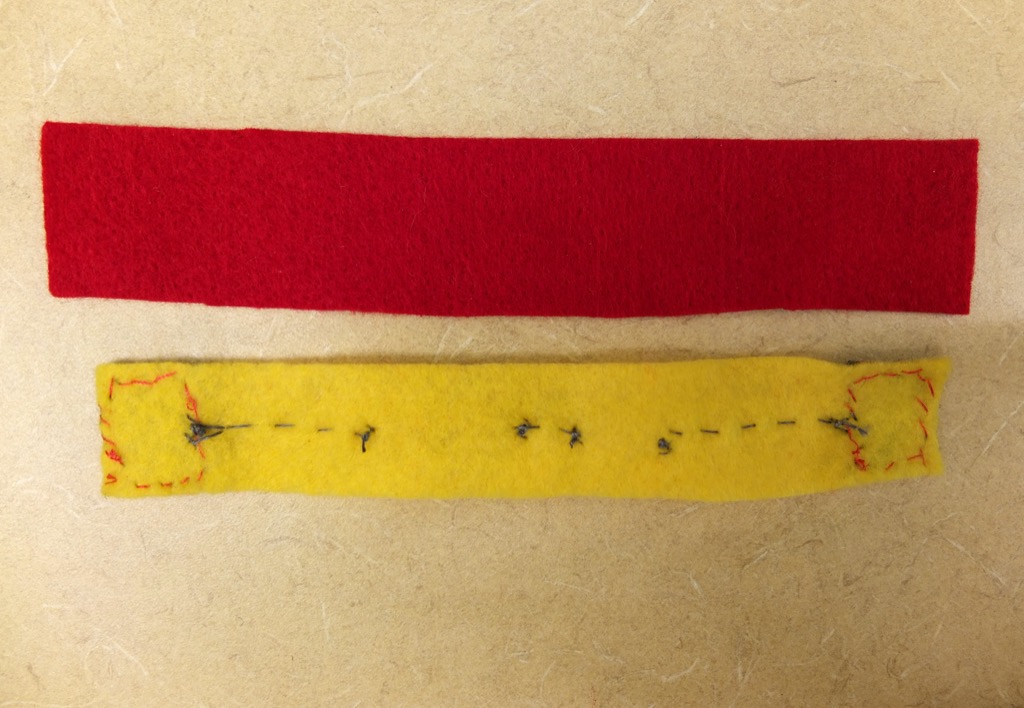
- Measure and cut two strips of felt long enough to fit around your hand and the hand of a friend, about 2” wide. Cut a third piece of felt slightly smaller (about a quarter inch smaller in all directions). Cut one of the pieces of velcro in half.
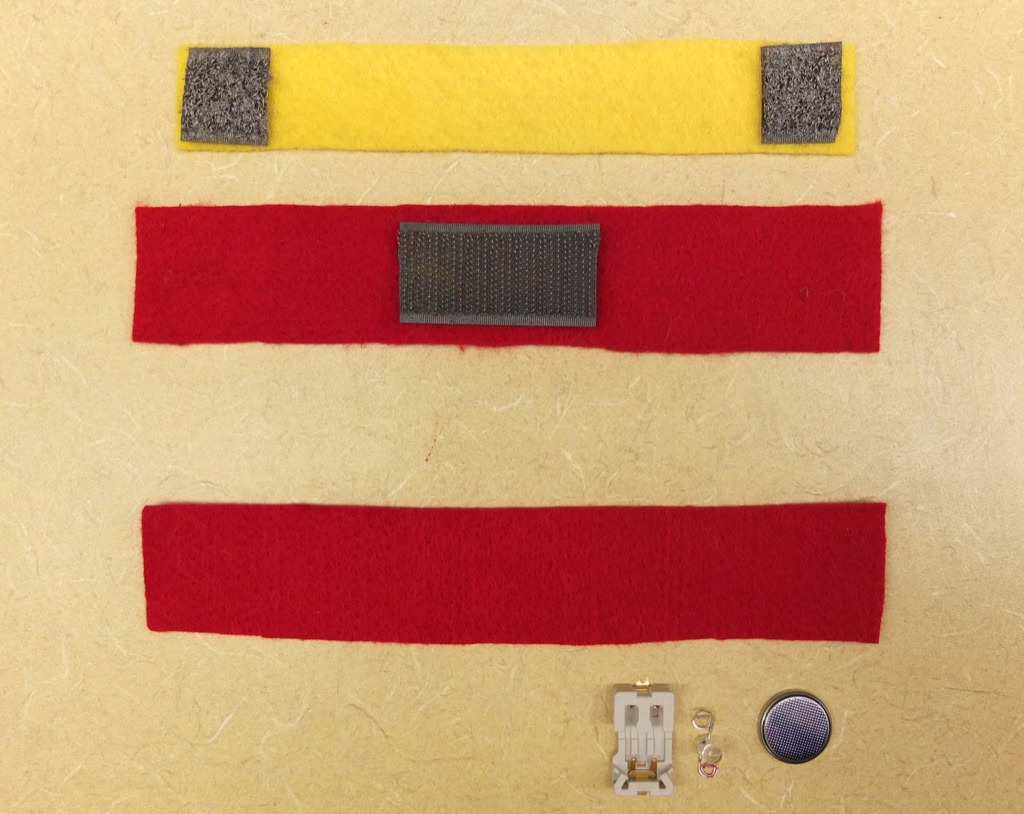
- Place the two smaller pieces of velcro at the ends of the slightly smaller strip of felt (the yellow piece in this example). Place the 2” piece of velcro in the center of one of the other felt strips. You can set aside the remaining piece of felt and components for now.
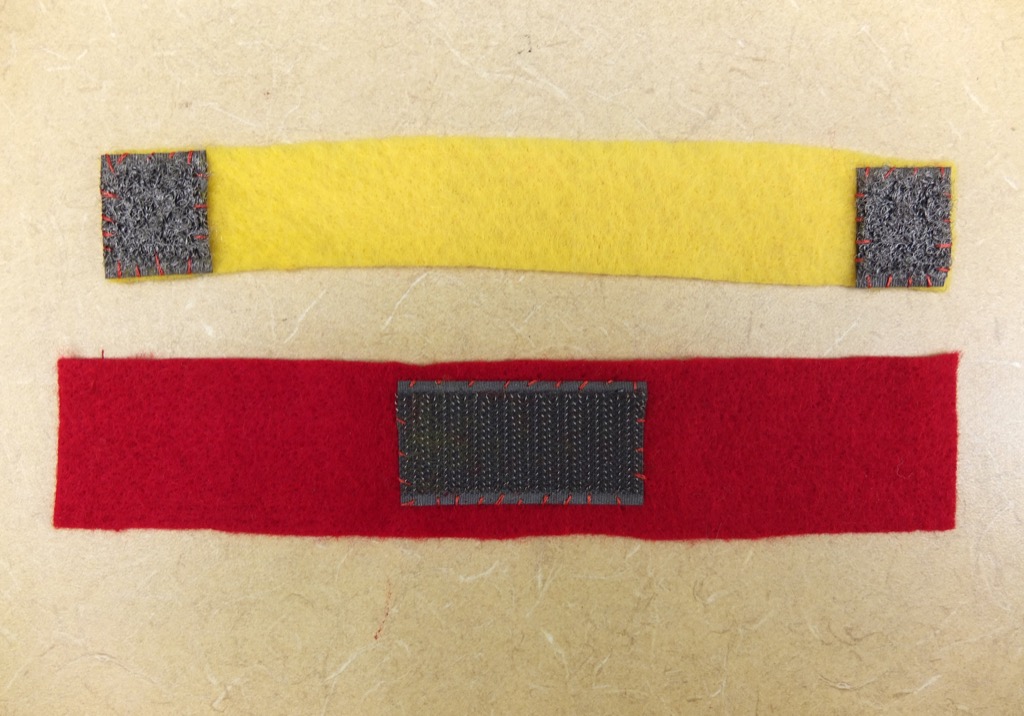
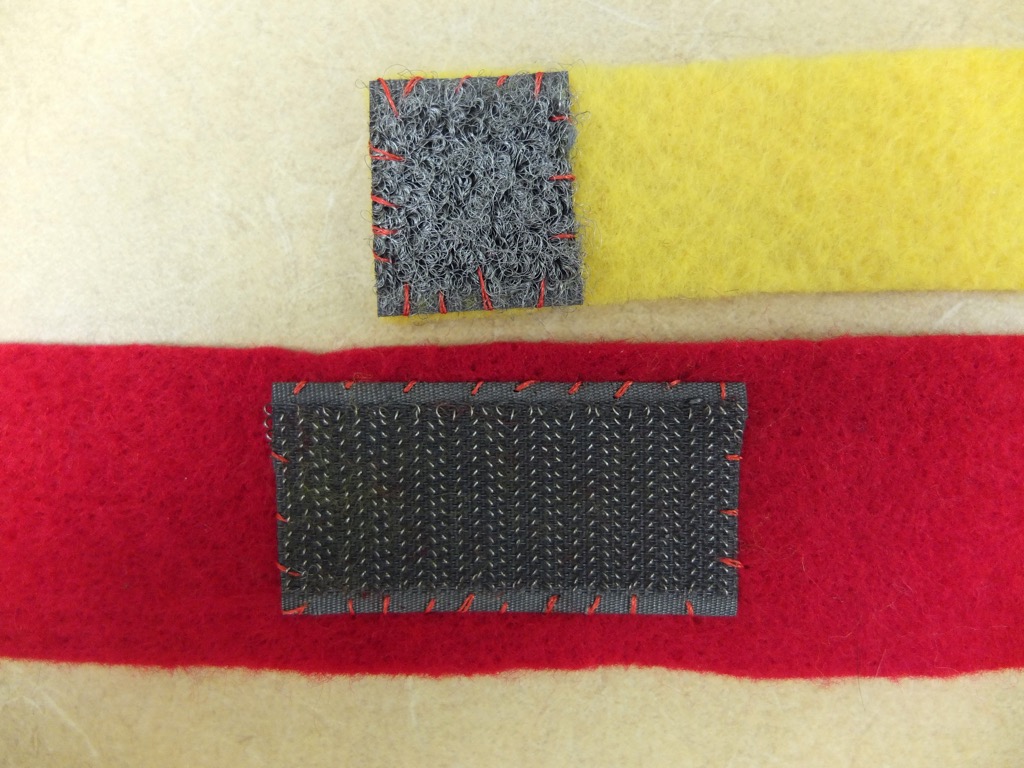
- Sew velcro in place with regular thread.
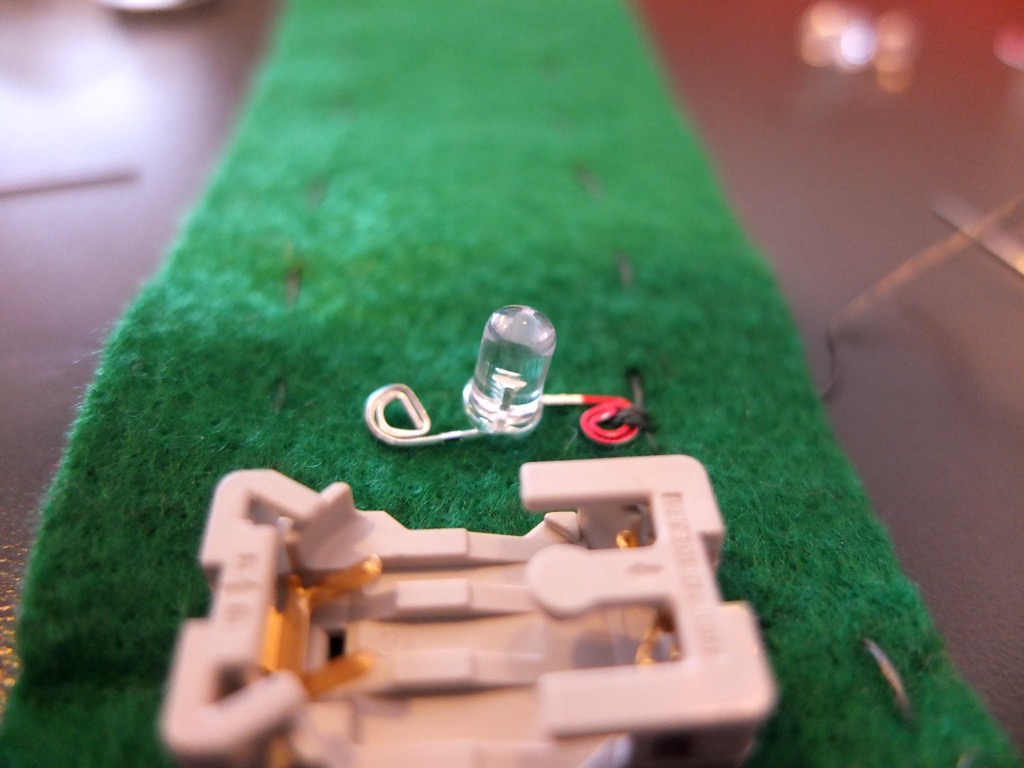
- Place battery holder and LED on the smaller strip of felt as pictured. Be sure that the positive end of the battery holder is oriented toward the positive end of the LED or vice versa. Pictured here, the positive (E shaped) end of the battery holder will be connected to the positive (red) end of the LED.
- Stitch into the conductive velcro a few times with conductive thread before stitching to the end of the battery holder. Stitch through the battery holder end a few times before tying a knot and trimming the end.
- With a new piece of conductive thread, stitch through the other end of the battery holder, connecting it to the corresponding end of the LED (in this case positive to positive).
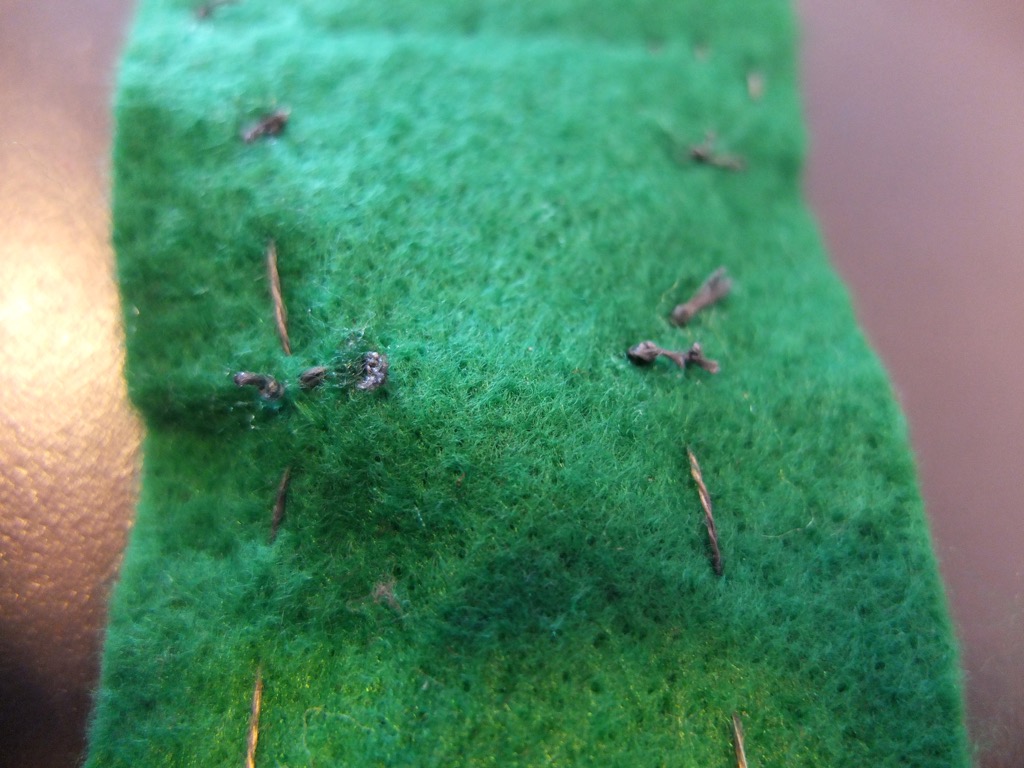
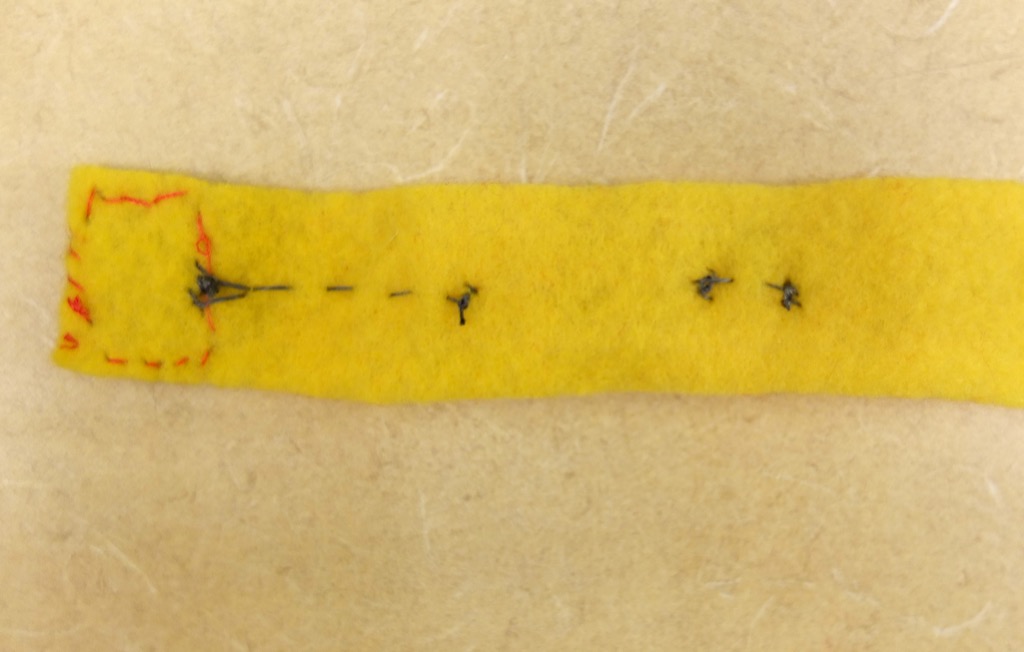
The back of your circuit should look similar to the image below. Trim knotted ends and secure with clear nail polish.
- Stitch from the end of the LED (again remember to use a new piece of conductive thread) to the other piece of conductive velcro. Stitch into the velcro a few times before knotting and trimming the thread.
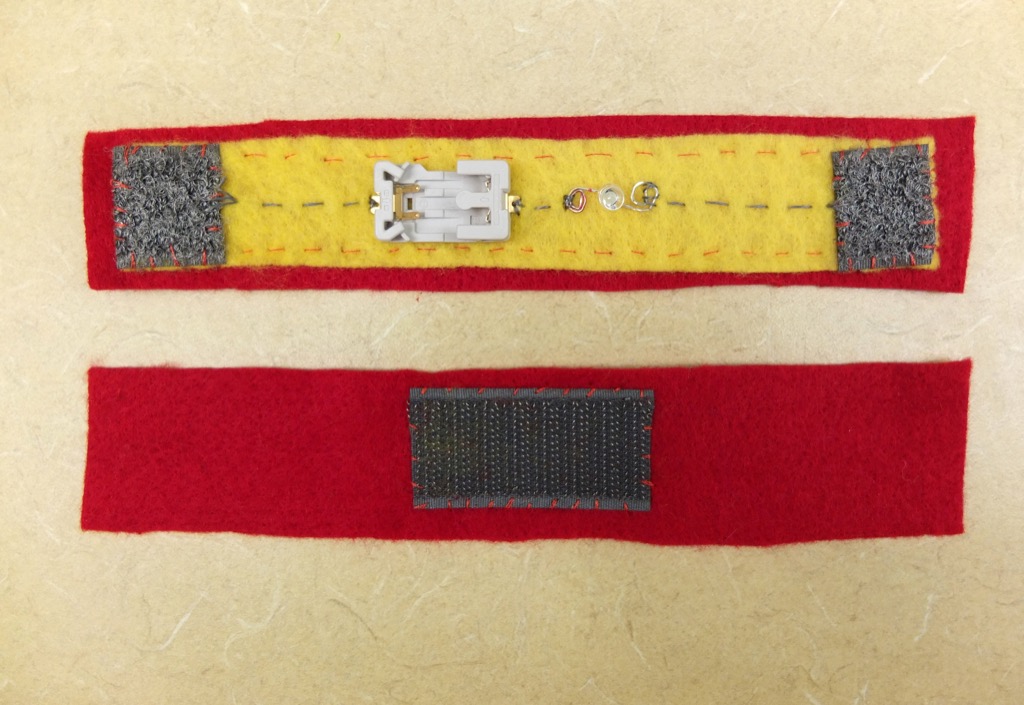
- Use the remaining piece of felt that you measured earlier as a lining to insulate your circuit.
Use regular thread (shown below in red) to stitch your circuit to the strip of felt.
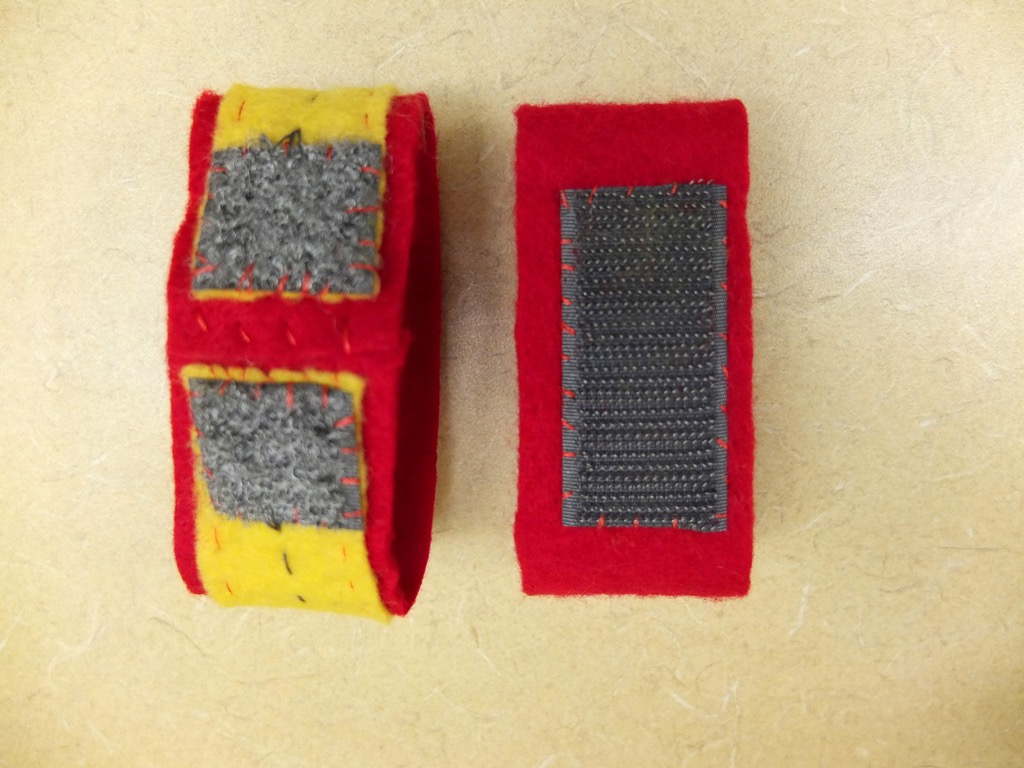
- Use regular thread to stitch the ends of both strips of felt together.
- Clip the 3V battery to the battery holder. When the velcro is closed the LED will light up.
High five!
