Getting Hands On With Soft Circuits: Pom Poms
Introduction
Capacitance is the ability of an object to store an electrical charge. In this soft circuit workshop, conductive pom poms act as sensors. The capacitance of a person’s body acts as the input, generating electricity which completes a circuit and causes an LED to turn on.
- CHECK THIS
Goals
Through application, participants will gain an understanding of the working properties of electronic-textile (e-textile) materials such as conductive yarn and conductive thread. By constructing a functional soft circuit with e-textile material, participants will learn how capacitance sensing works, identify and understand the role of different electronic components, and consider possibilities for further application of and experimentation with soft circuits.
Prerequisite Knowledge and Skills
No prior experience is necessary although basic sewing skills such as threading a needle and tying knots is helpful.
Materials
-
Conductive yarn
-
Conductive thread - stainless steel
-
3V coin cell battery
-
Regular thread
-
Felt
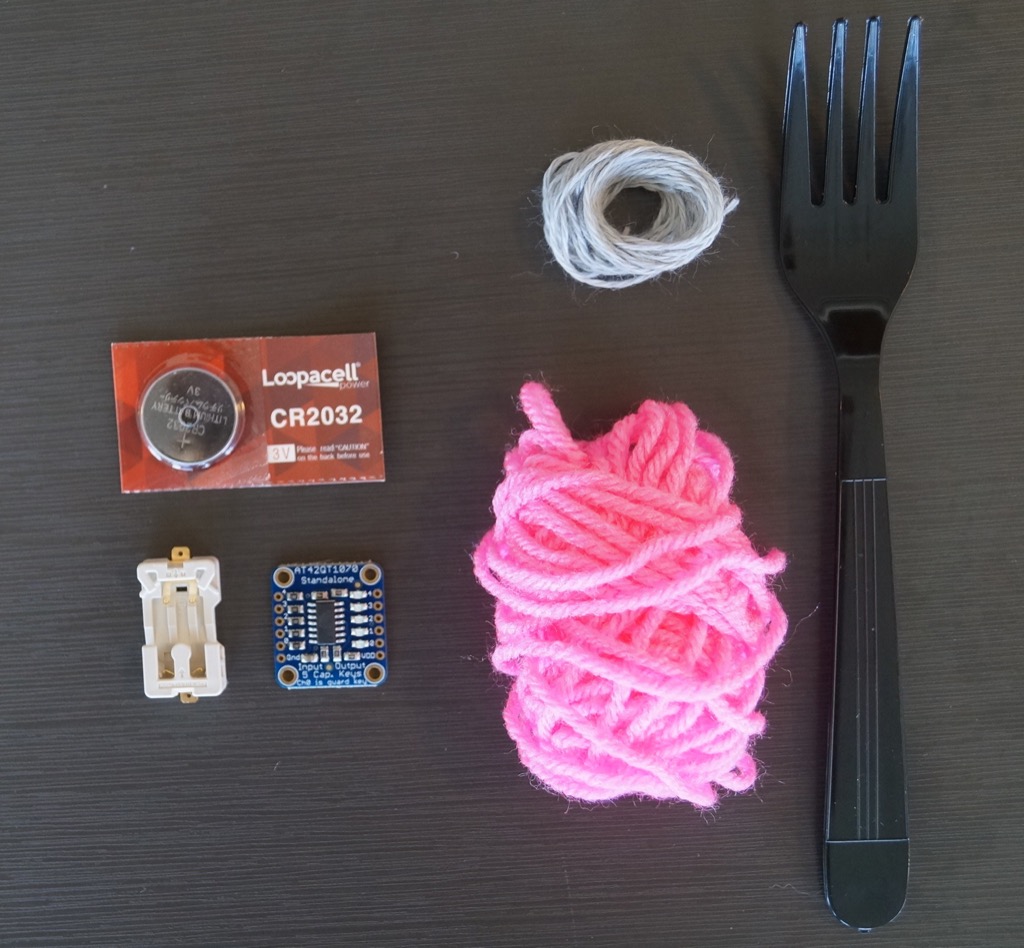
Pom Pom Kit: 1 3V coin cell battery, sewable 3V battery holder, AT42QT1070 Standalone Touch Sensor. For making pom poms: regular yarn, conductive yarn, fork
Steps
- Add content
1. Make conductive pom poms
-
http://www.kobakant.at/DIY/?p=2028
-
NEED Image or video step by step how to
Leave a long tail of conductive thread connected to each pom pom.
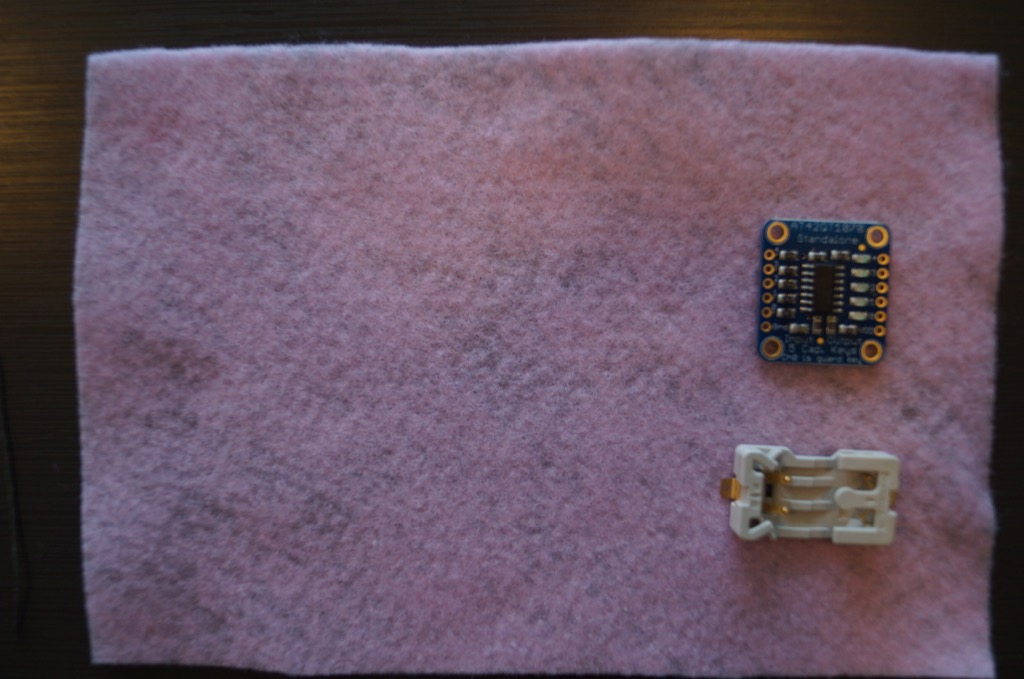
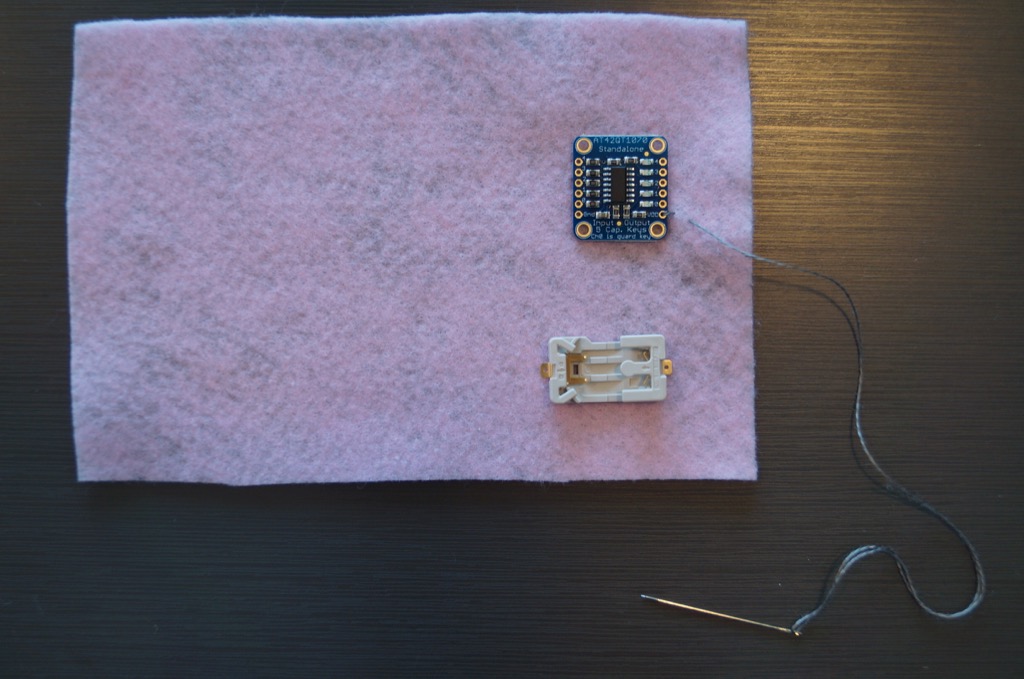
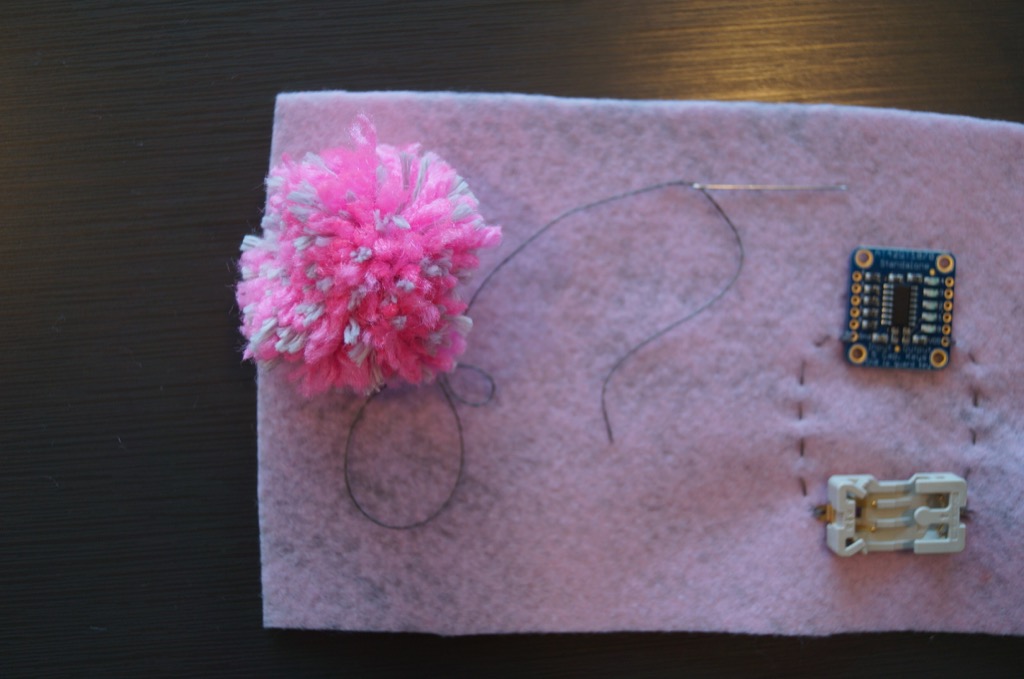
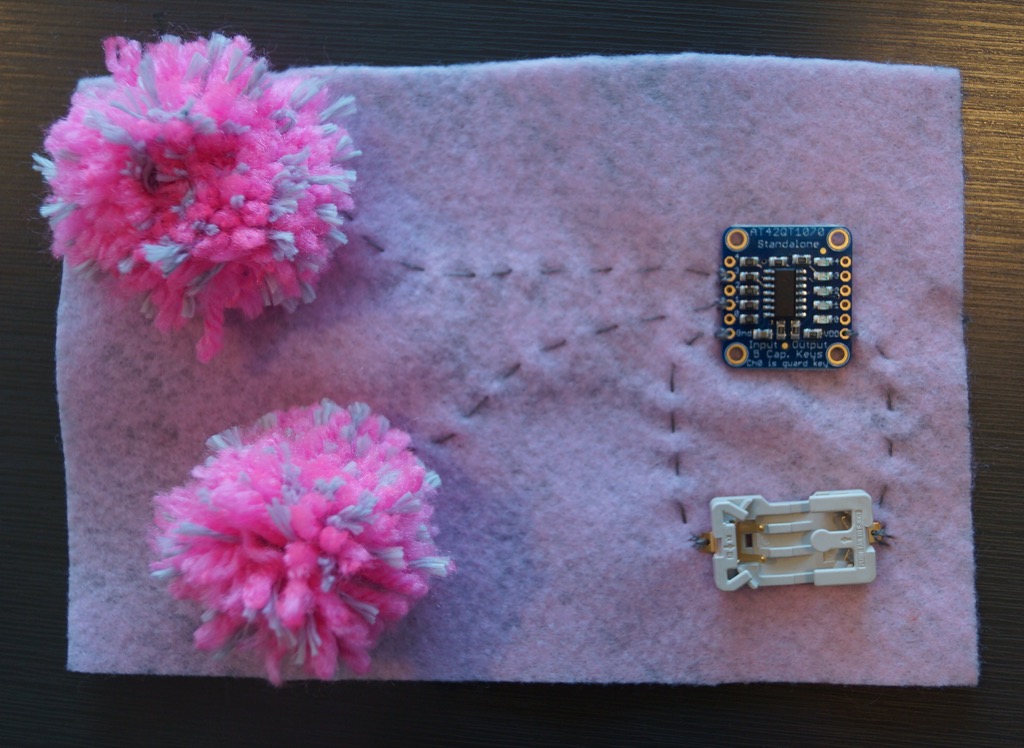
2. Place components on felt to decide circuit layout
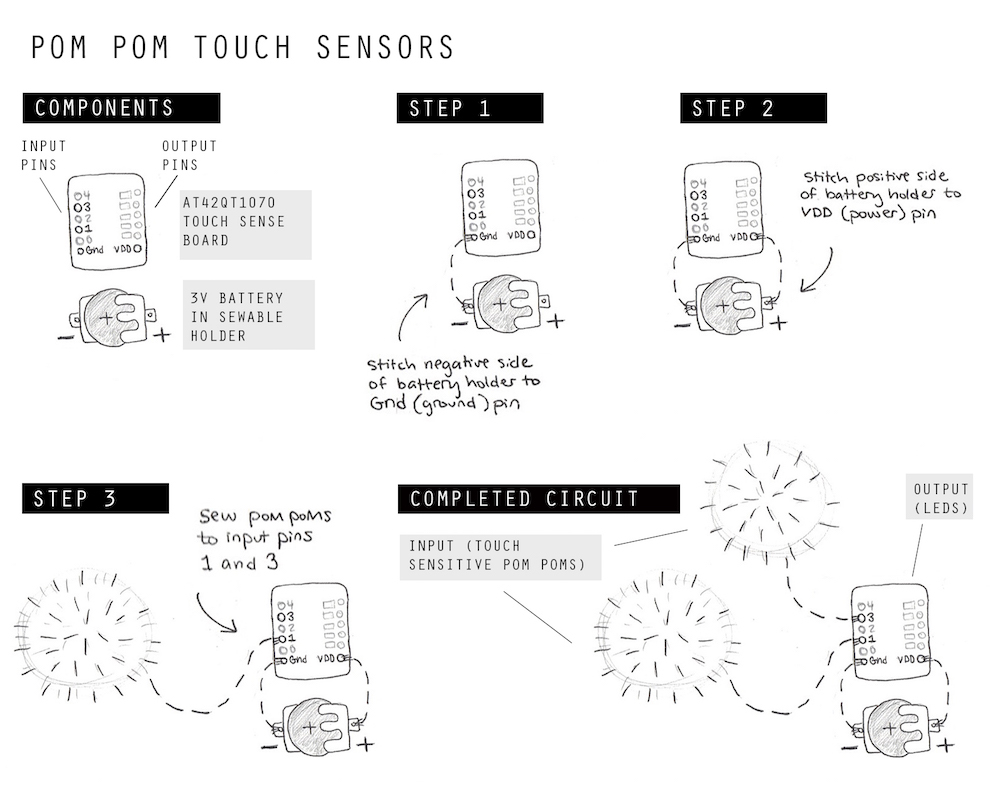
Keep in mind when orienting the components that the ‘GND’ (ground) pin will be connected to the negative end of the battery holder and that the ‘VDD’ (power) pin will be connected to the positive (E shaped) end of the battery holder.
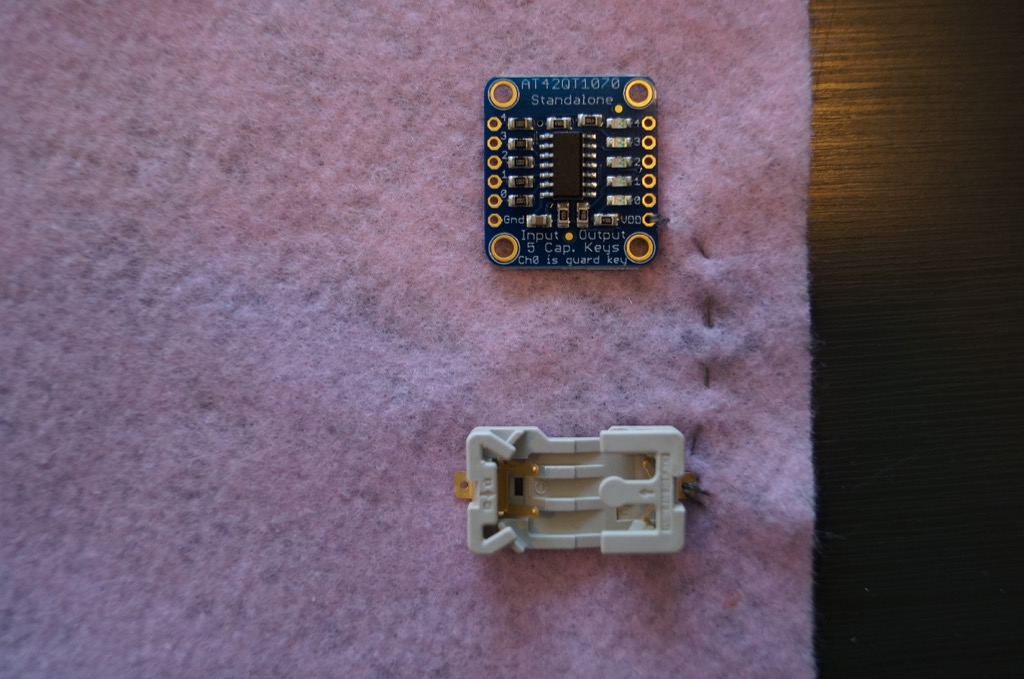
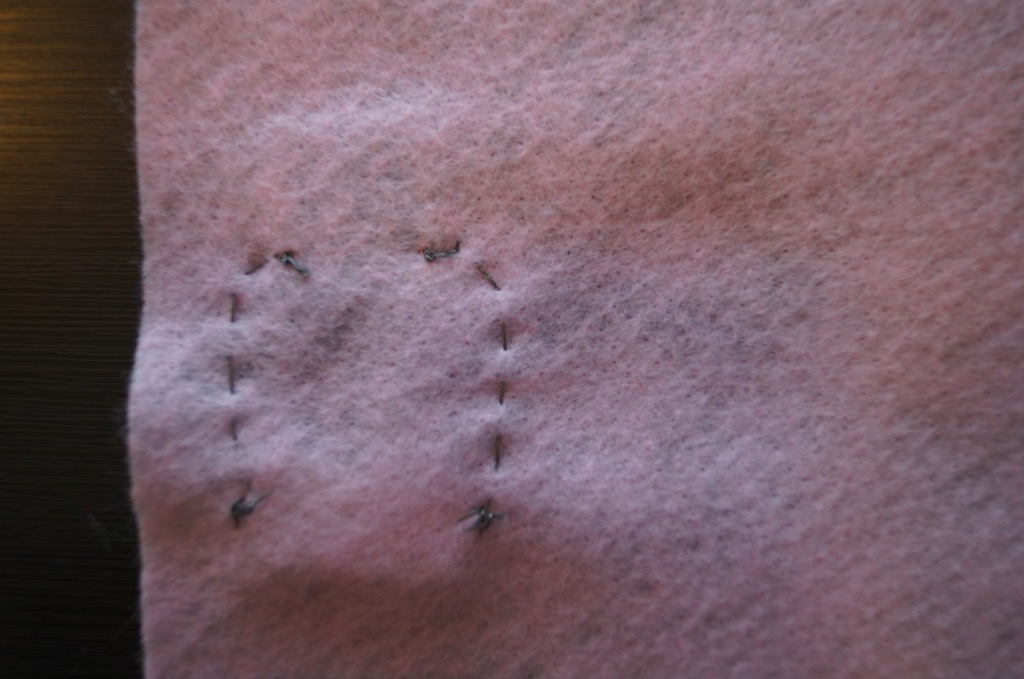
3. Stitch through the ‘VDD’ pin on the Touch Sensor
Make at least 2 passes through the pin.
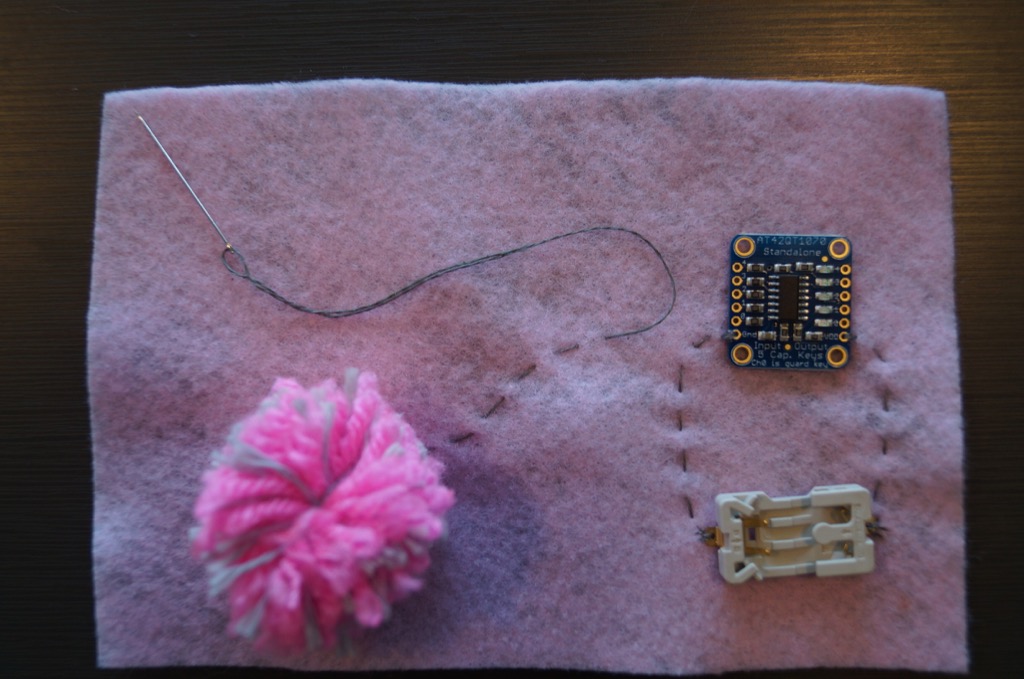
4. Stitch from the ‘VDD’ pin to the positive end of the battery holder
Stitch through the battery holder a few times before knotting off the end of the thread.
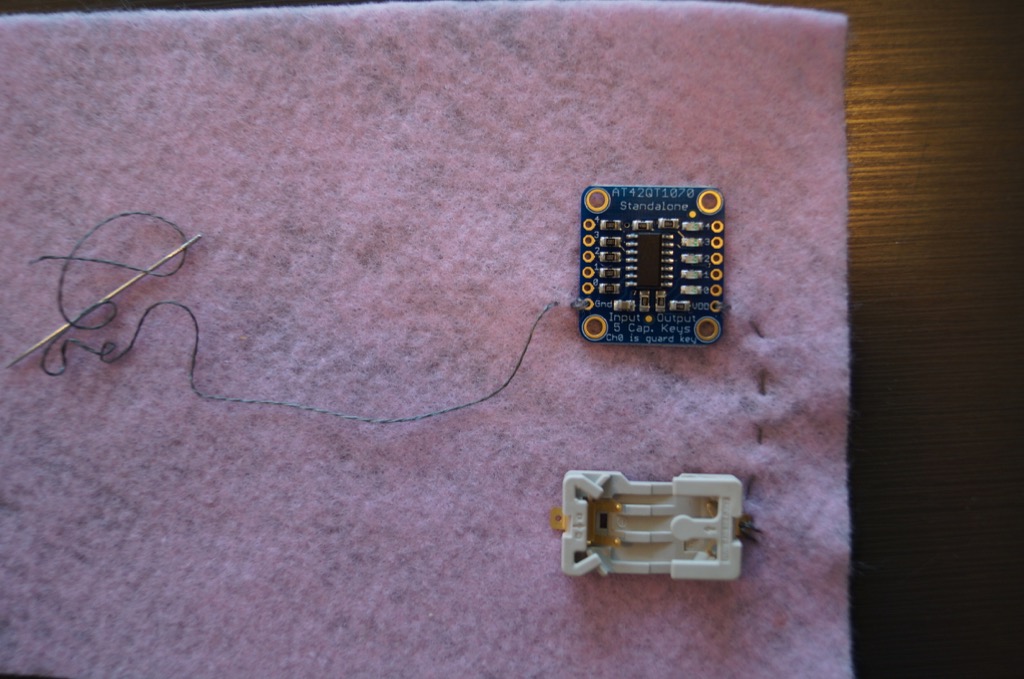
5. Stitch through the ‘GND’ pin on the Touch Sensor
Be sure to use a new length of conductive thread. Make at least 2 passes through the pin.
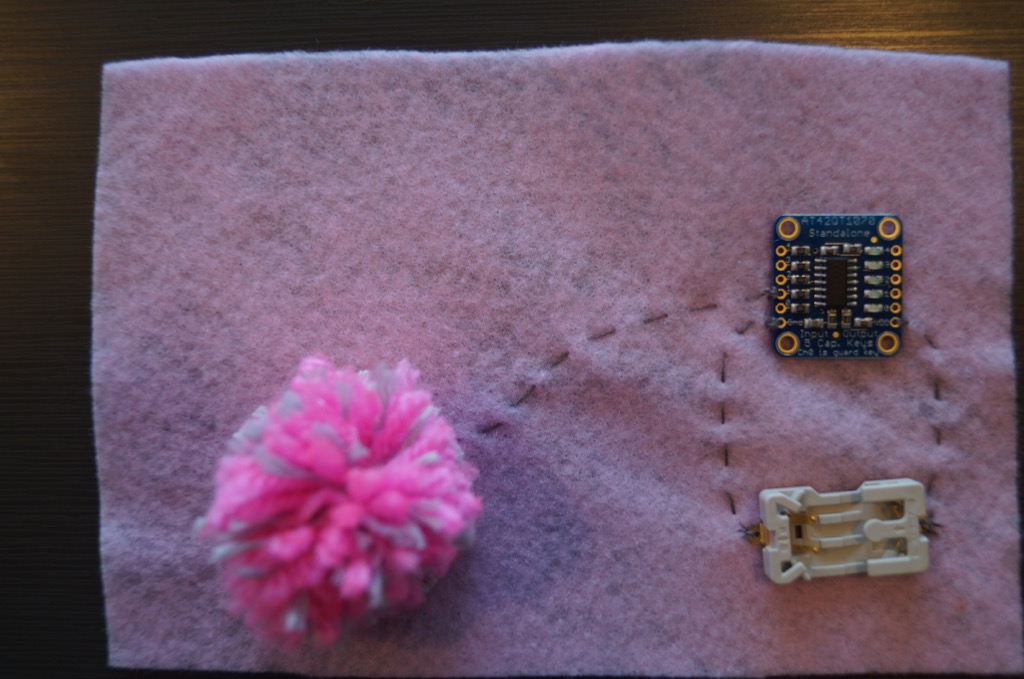
6. Stitch from the ‘GND’ pin to the negative end of the battery holder
Make a few passes through the battery holder before knotting off the end of the thread.
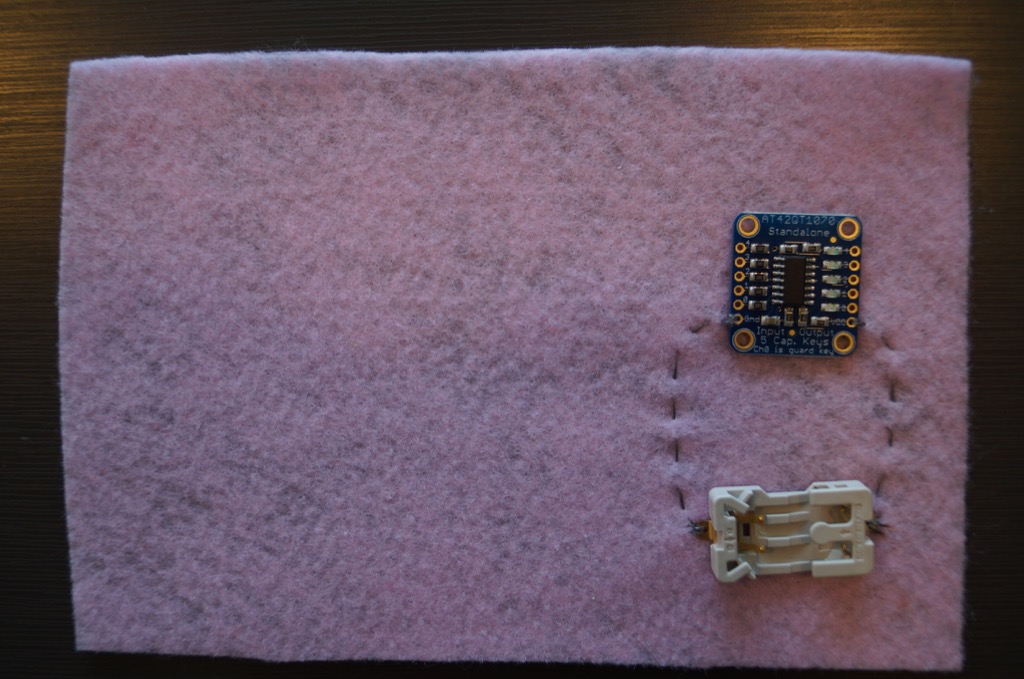
7. Check and secure connections
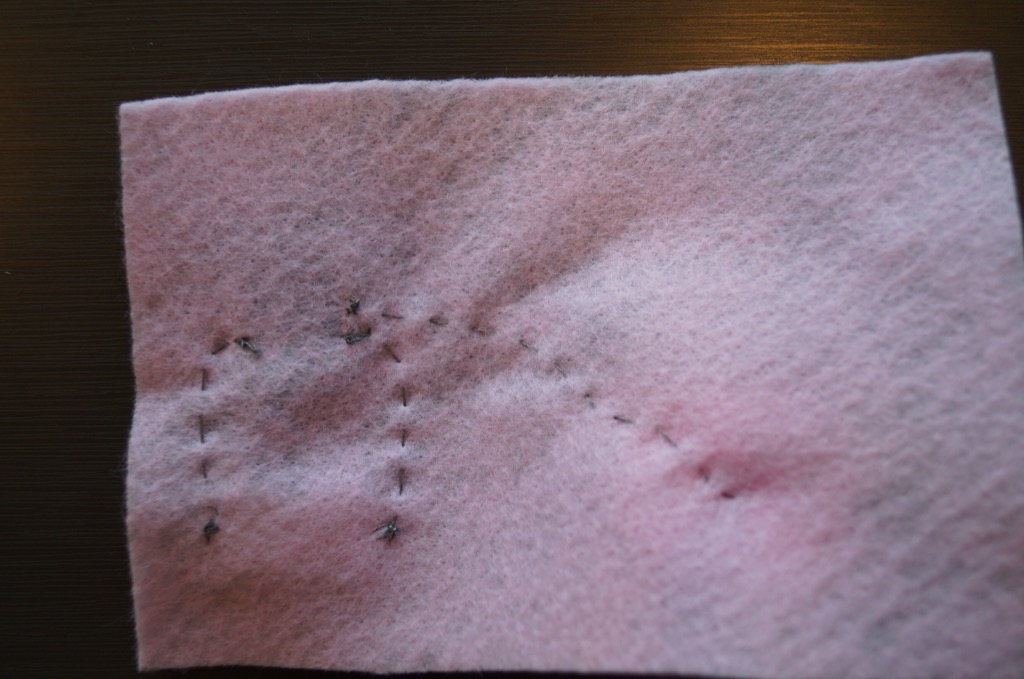
Turn your circuit over. Trim ends and seal knots with clear nail polish.
8. Add pom poms
Thread needle onto the length of conductive thread connected to the pom pom.
Decide where on your circuit you would like to attach the pom pom. Keep in mind you will be connecting it to one of the input pins on the left side of the touch sensor.
9. Stitch from the pom pom to the input pin
10. Stitch through the input pin and knot thread
In this example the pom pom is connected to pin 1.
Turn circuit over to check and secure connections.
11. Connect another pom pom to another input pin
The second pom pom is connected to pin 3.
12. Test your pom pom touch sensors
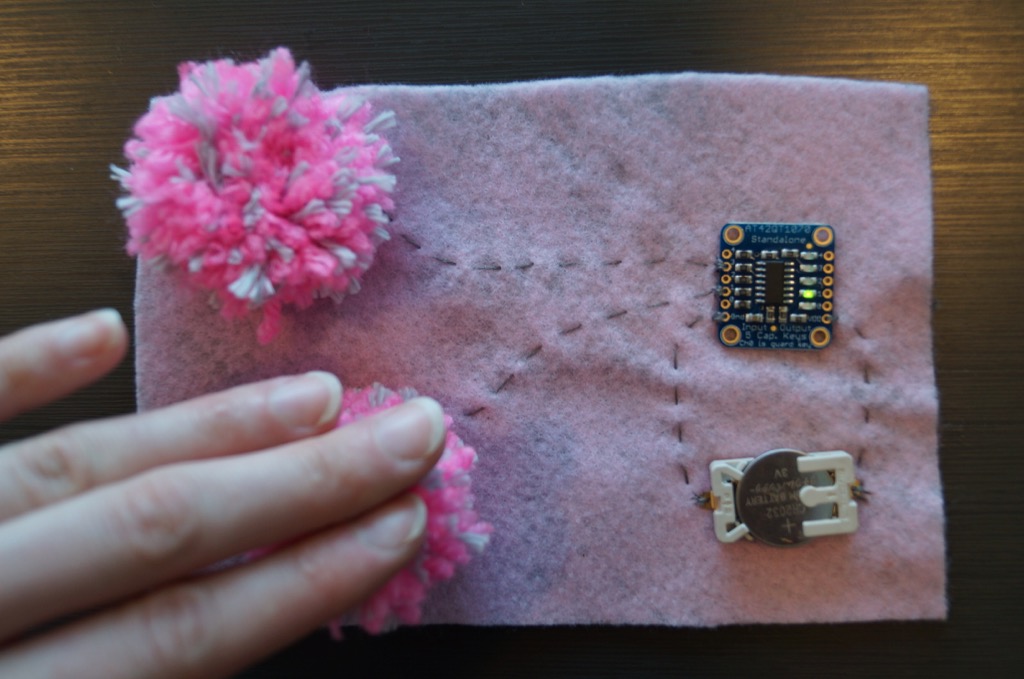
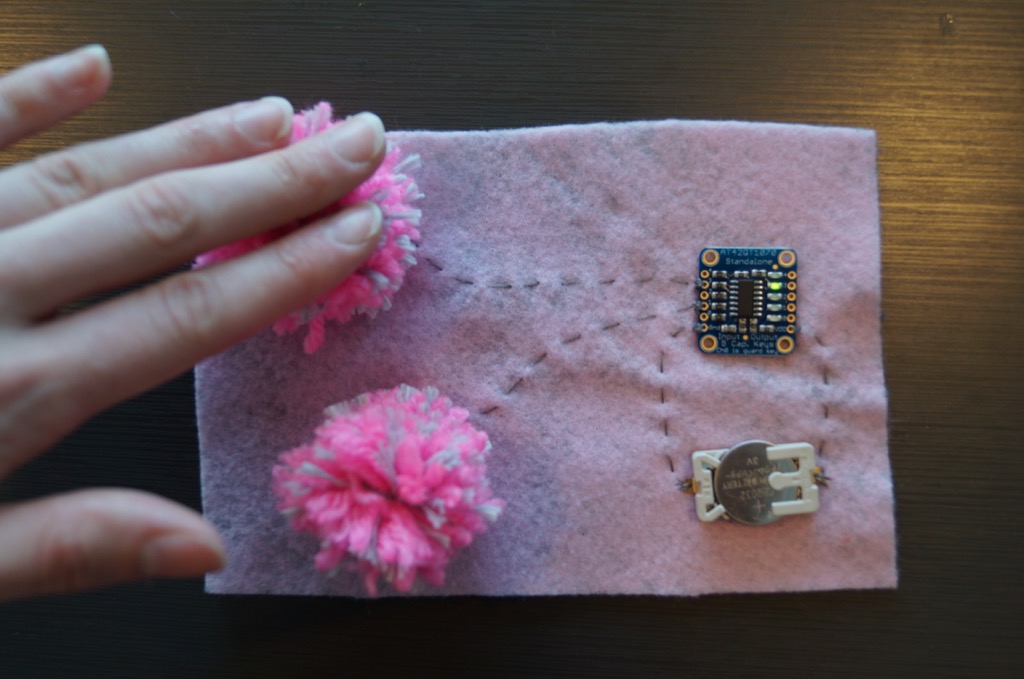
Add the 3V battery to the battery holder. When you touch a pom pom, the LED connected to the corresponding output pin should light up. In the image below, the LED corresponding to output pin pin 3 is on because the pin 3 pom pom is being touched.
See more tips and troubleshooting for this circuit.
- insert link
