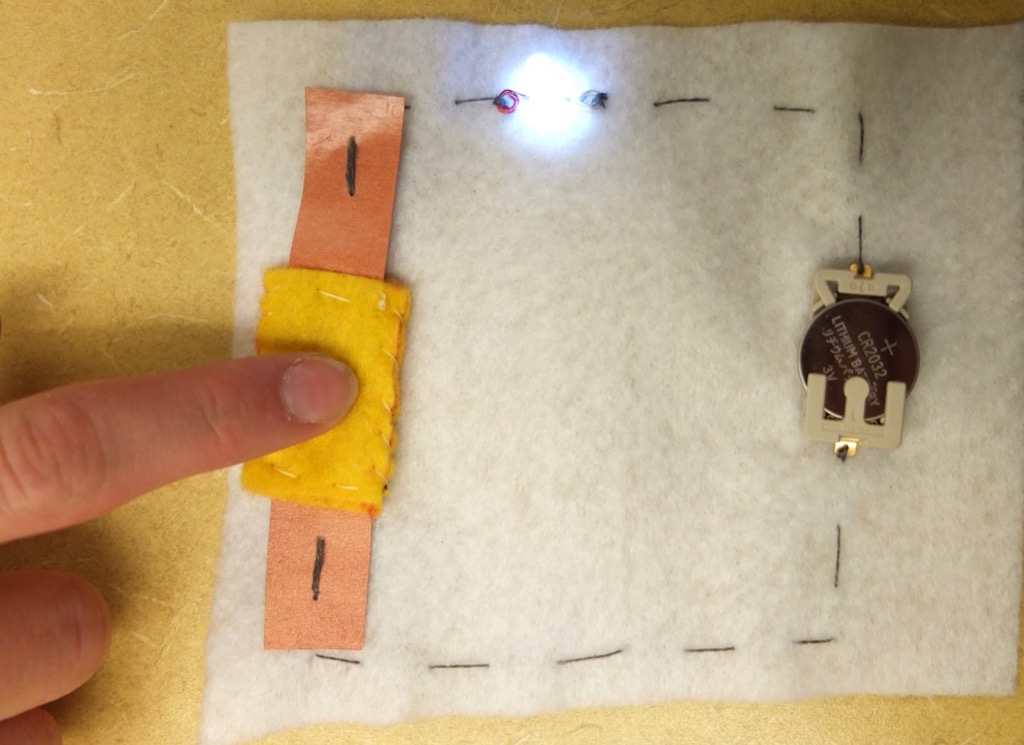
Getting Hands On With Soft Circuits: Buttons
Introduction
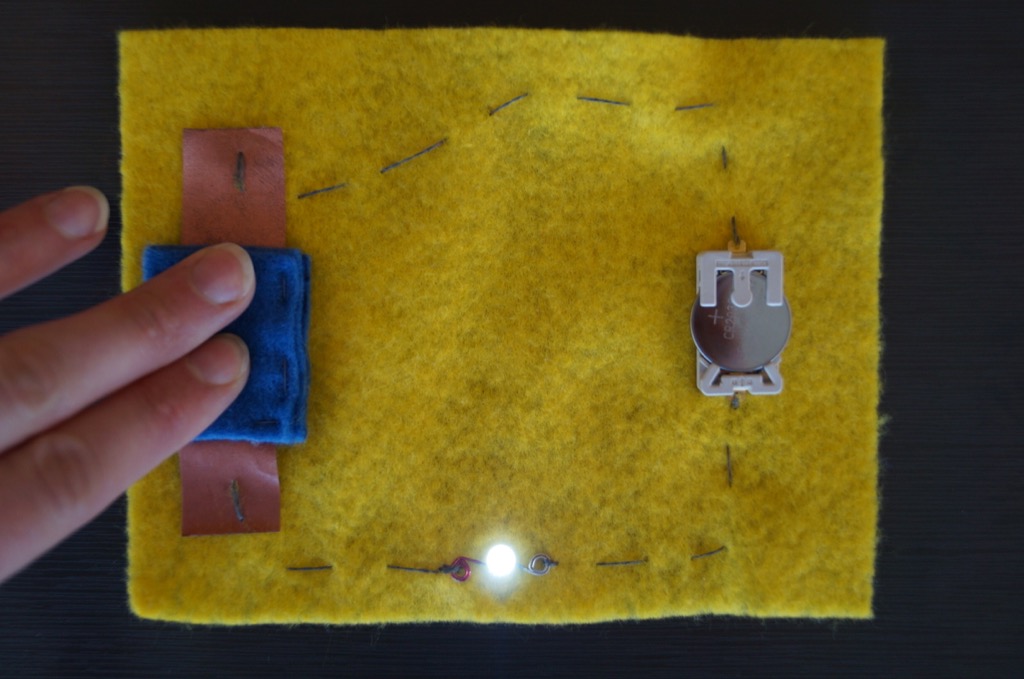
This soft button works just like a momentary “hard” pushbutton. A momentary pushbutton completes a circuit when it is pressed causing the circuit to be closed or “on.” When no pressure is put on the button, the circuit is open or “off”.
In this soft version, a piece of felt inside the button keeps two pieces of conductive fabric from touching, thus keeping the circuit open and breaking the flow of current from the battery before it reaches the LED. When the button is pressed, the two pieces of conductive fabric touch, the circuit is closed, allowing current to flow and turning on the LED.
Goals
This workshop is as an introduction to soft circuitry. Through application, participants will gain an understanding of the working properties of electronic-textile (e-textile) materials such as conductive fabric and conductive thread. By constructing a functional soft circuit with e-textile material, participants will learn how a simple circuit operates, identify and understand the role of different electronic components, and consider possibilities for further application of and experimentation with soft circuits.
Prerequisite Knowledge and Skills
No prior experience is necessary although basic sewing skills such as threading a needle and tying knots is helpful.
Materials
-
Conductive fabric (copper taffeta or silver ripstop nylon)
-
Felt
-
Conductive thread - stainless steel
-
LEDs
-
3V coin cell battery
-
Regular thread
Soft Button Kit
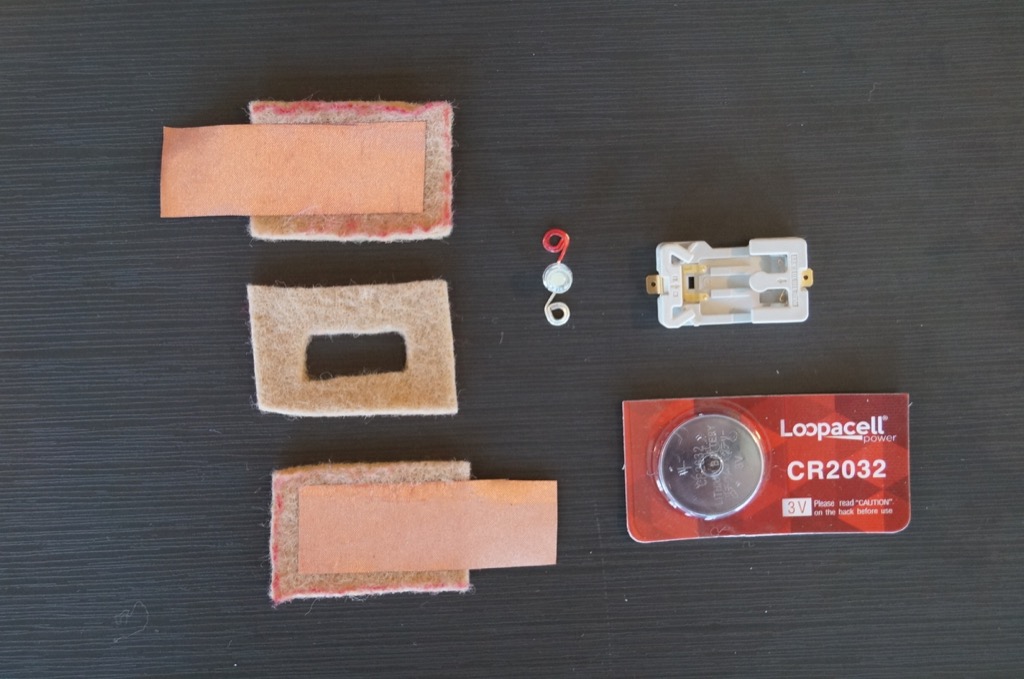
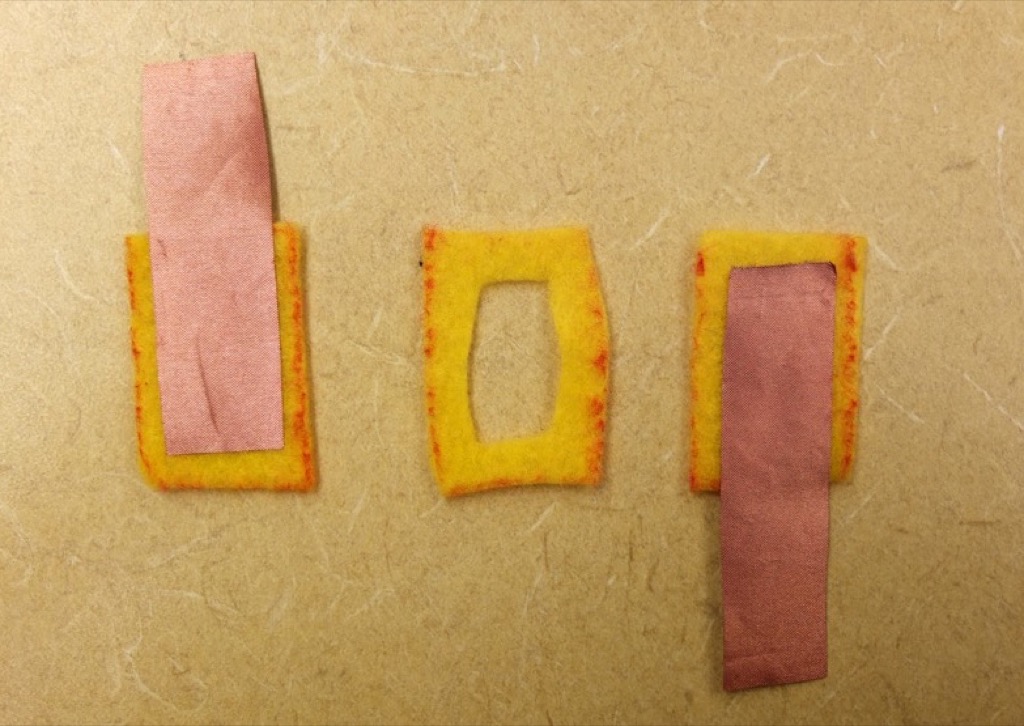
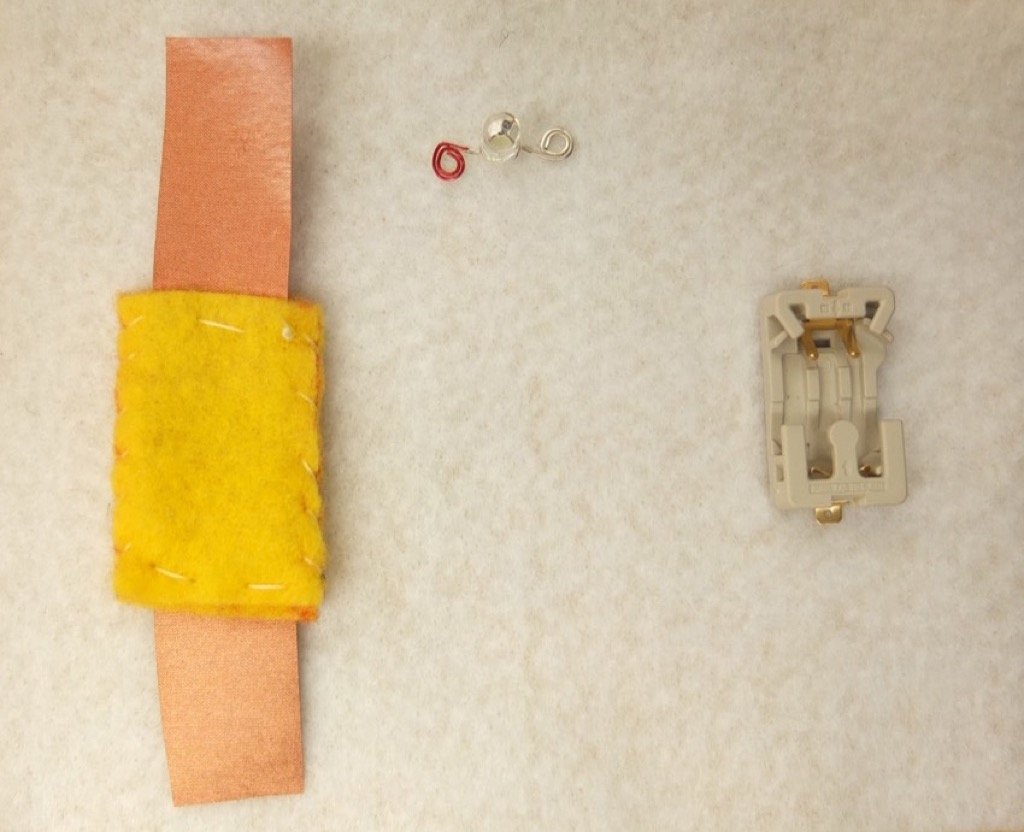
Contents: 1 LED with pre-coiled legs (positive indicated with red marker), 1 sewable 3V battery holder, 1 3V coin cell battery, 3 felt pieces for soft button assembly: two with conductive fabric adhered, one with hole cut in center
- Add Link to how to coil LED legs
- Add Link to how to create the soft button pieces
Steps
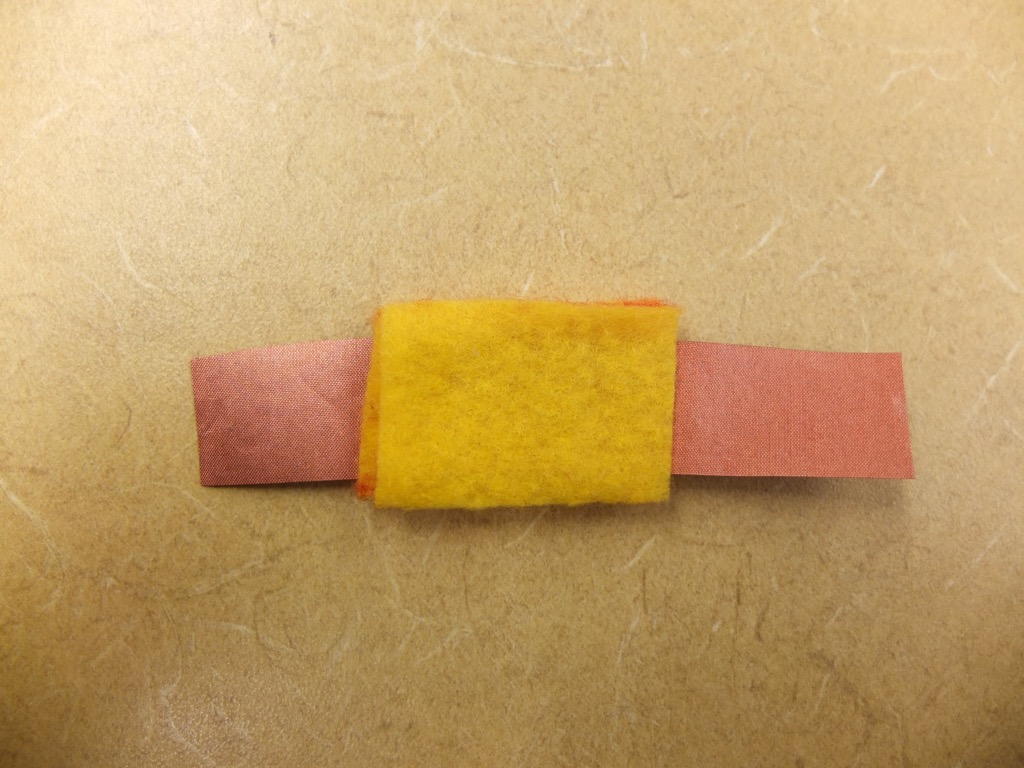
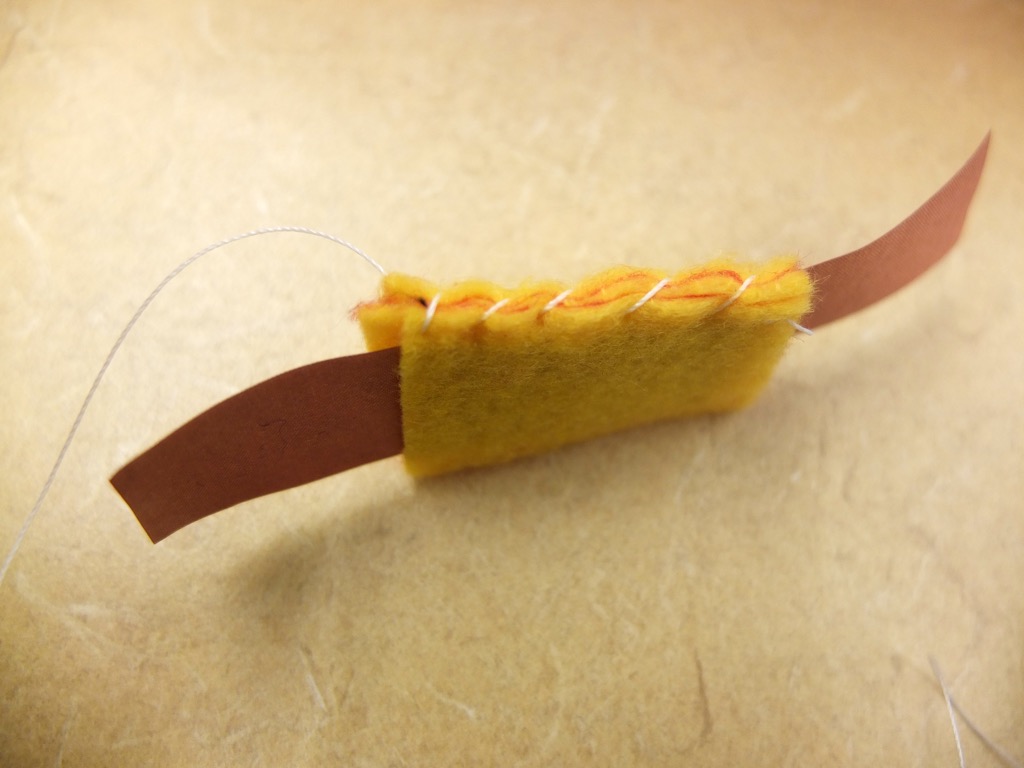
1. Assemble soft button
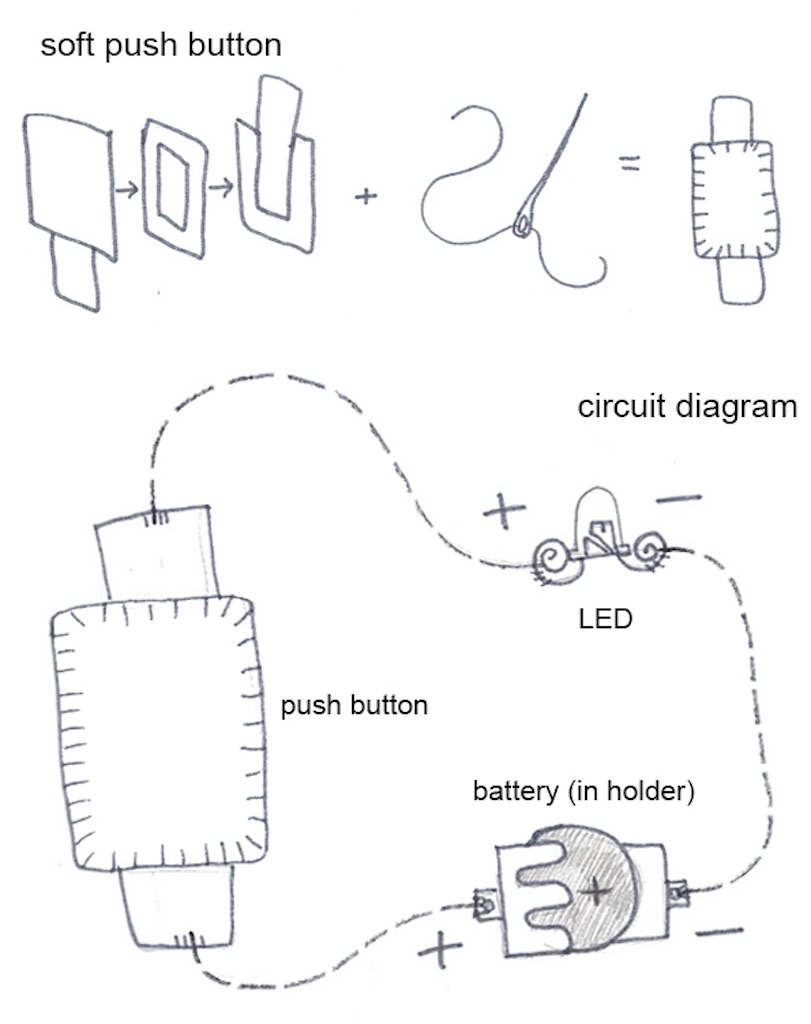
Sandwich the felt piece with the center cut out between the two pieces of conductive fabric so that the conductive fabric ends stick out of opposite sides.
Use regular thread to stitch the felt pieces together.
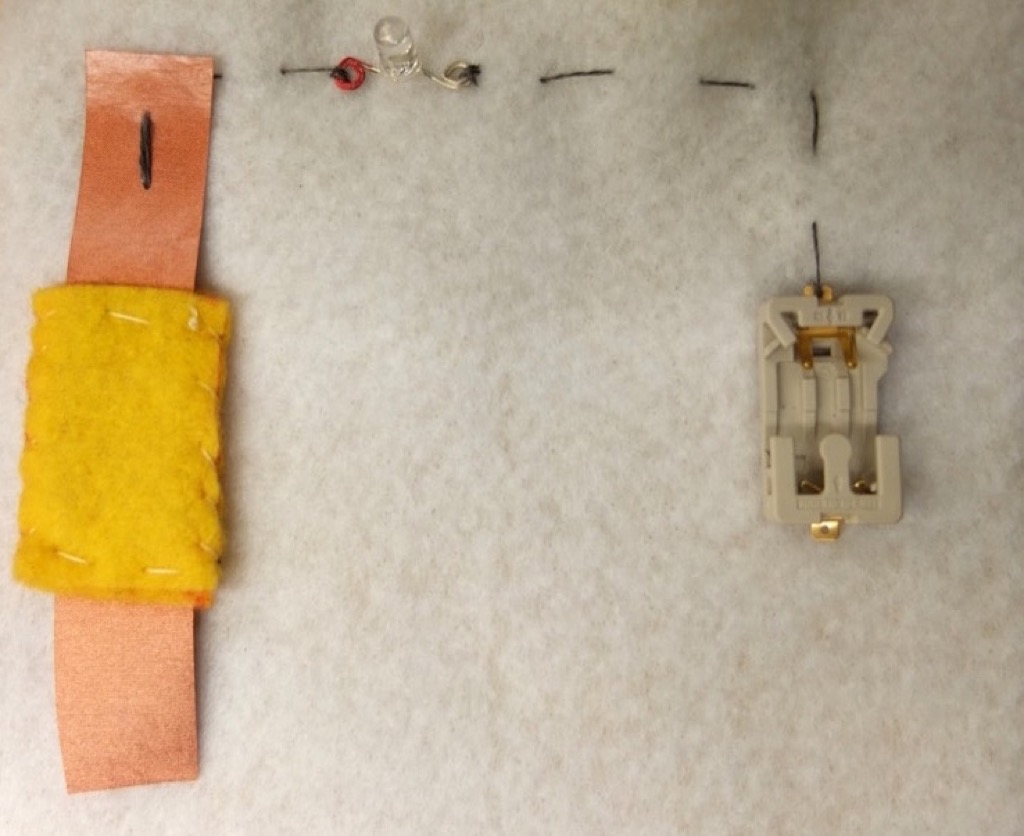
2. Place components on fabric following circuit layout
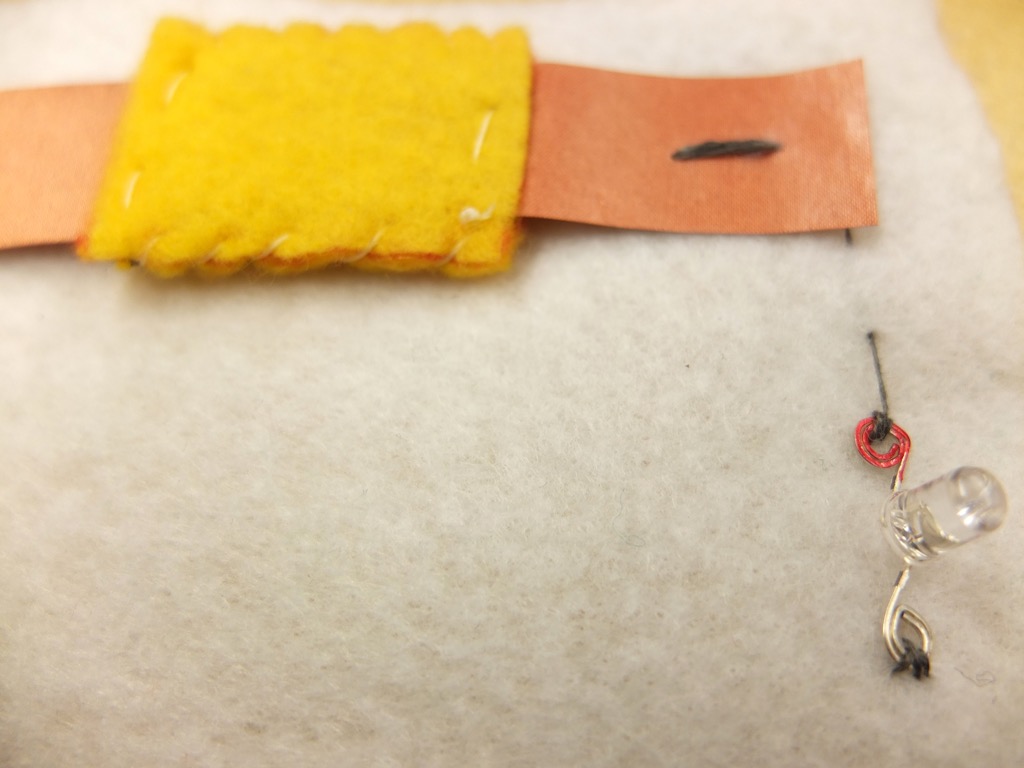
Identify the positive and negative ends of the LED and the battery holder. The positive (red) end of the LED will be connected to the positive (E shaped) end of the battery holder.
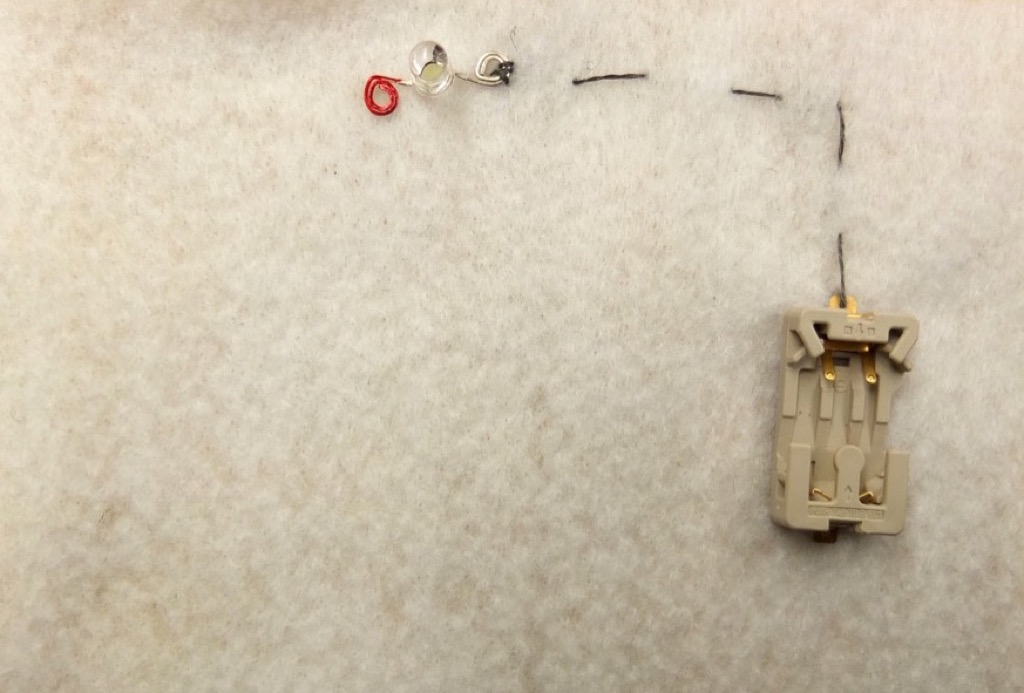
3. Stitch from one end of the battery holder to one end of the LED
Shown in this example, the negative end of the battery holder is connected to the negative end of the LED. Make a few passes through the battery holder and the LED coil for a secure connection.
4. Stitch from the other end of the LED to one end of the soft button
Be sure to use a new length of conductive thread.
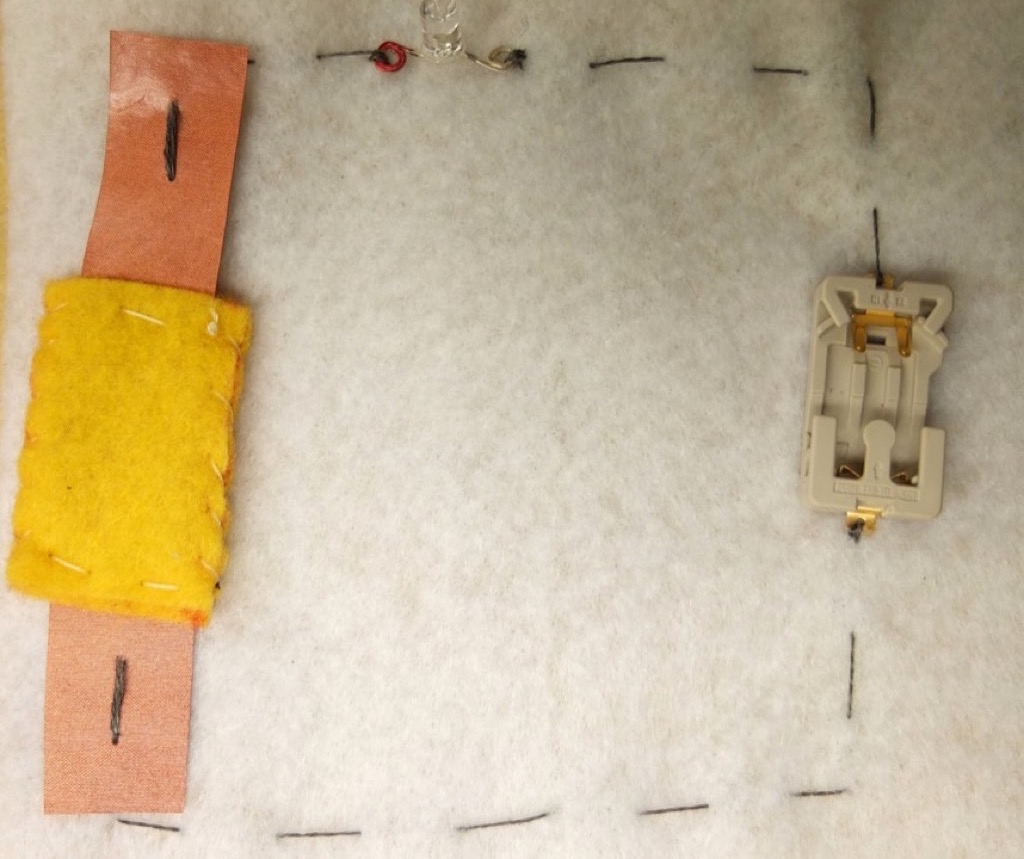
5. Stitch from the other end of the button to the battery holder
Again, be sure to use a new length of conductive thread for this connection.
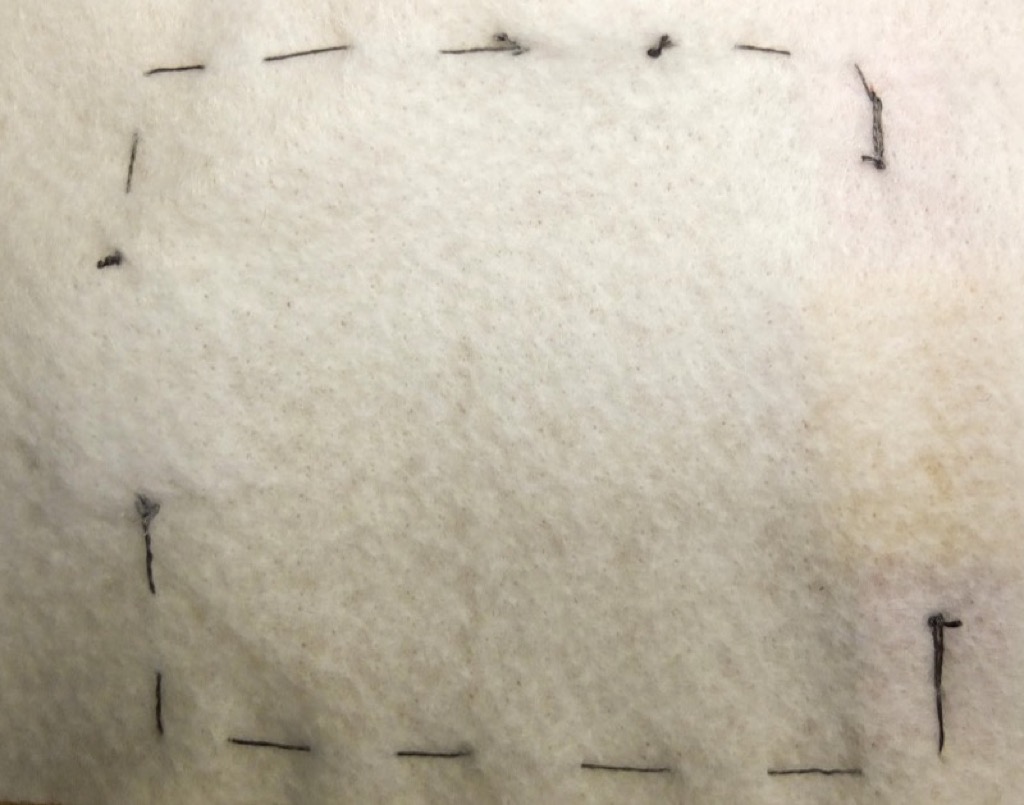
The back of your circuit should look similar to the image below, with gaps where each component is attached. Trim knotted ends and secure with clear nail polish.
