Inputs: Responsive Material
Introduction
Capacitance is the ability of an object to store an electrical charge. In this workshop we will design and weave textile sensors that respond to our bodies capacitance and use that electricity to complete a circuit.
Learning Goals
In this workshop you will learn basic weaving techniques via a plain weave construction and how to apply this technique to the creation of a textile sensor. By the end, you will understand how a textile antenna works and gain a basic understanding of capacitive sensing.
Prerequisite Skills
-
Weaving
-
Hand Sewing
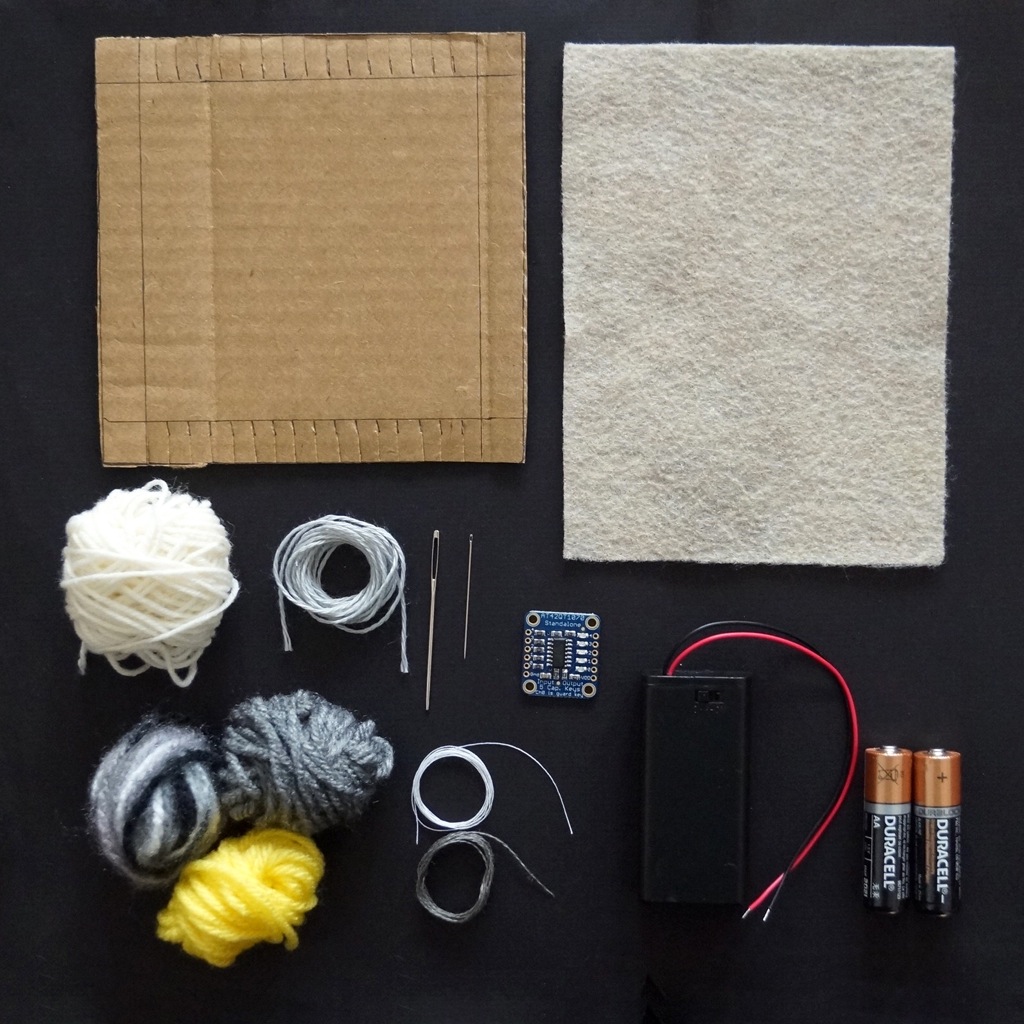
Kit
Steps
Weaving
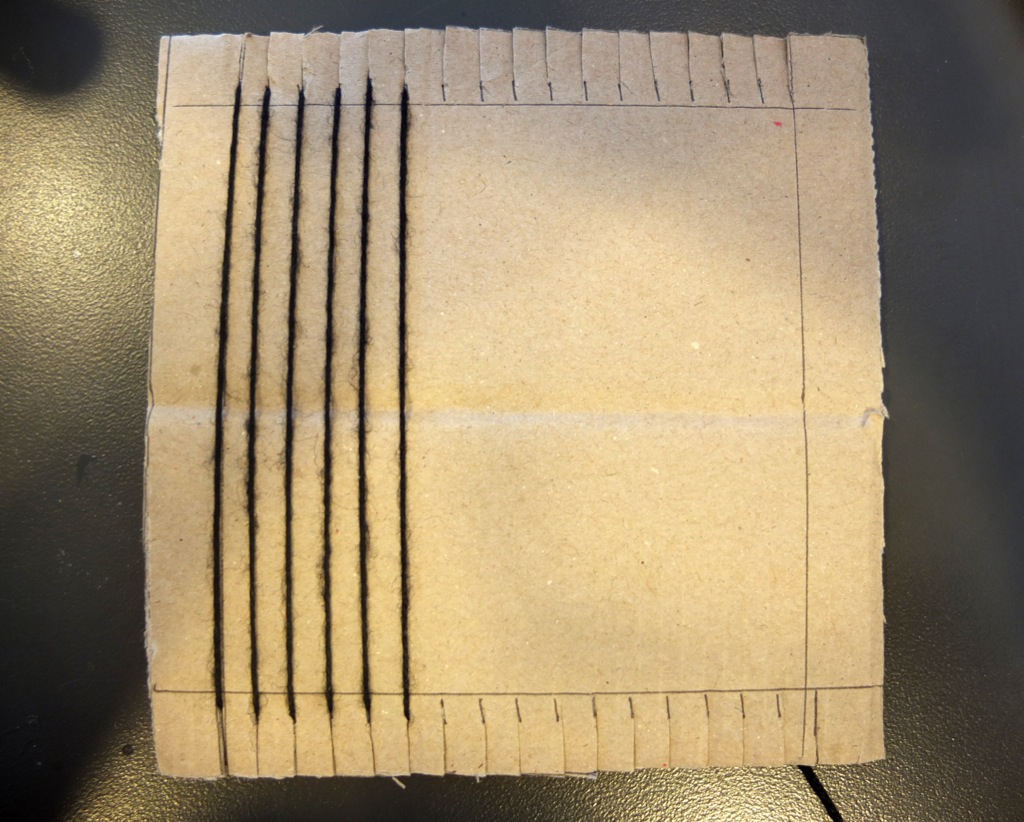
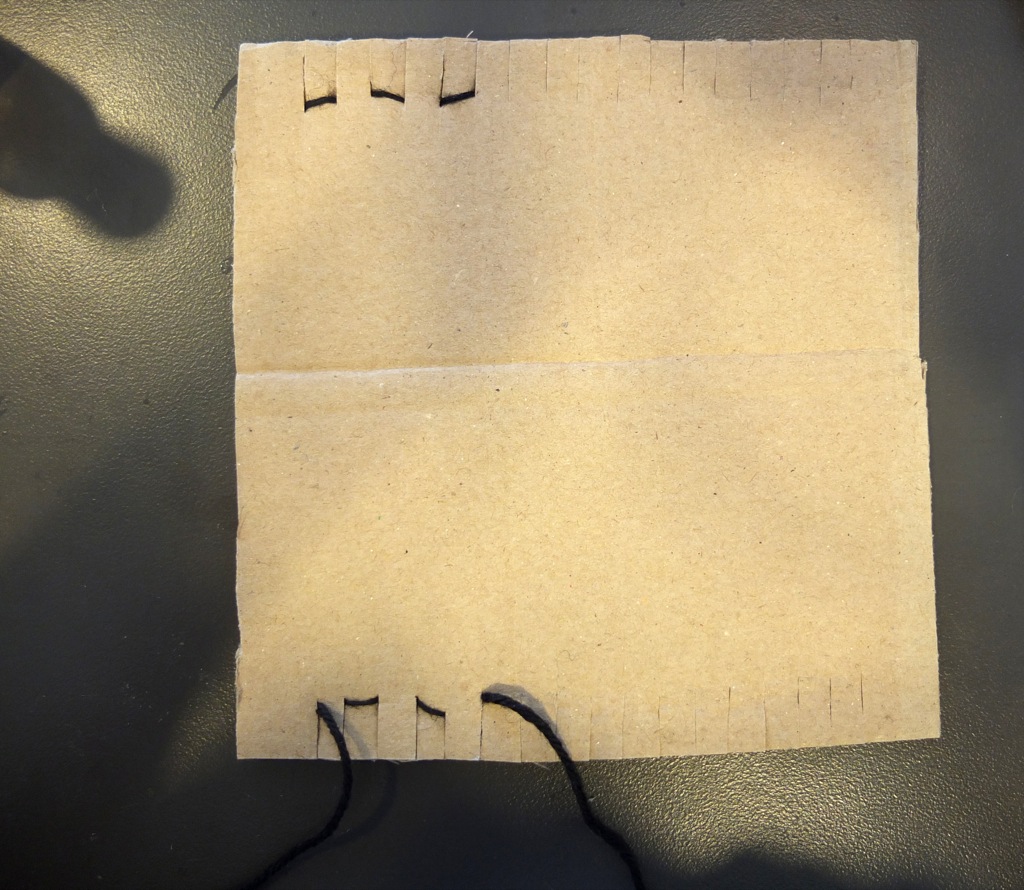
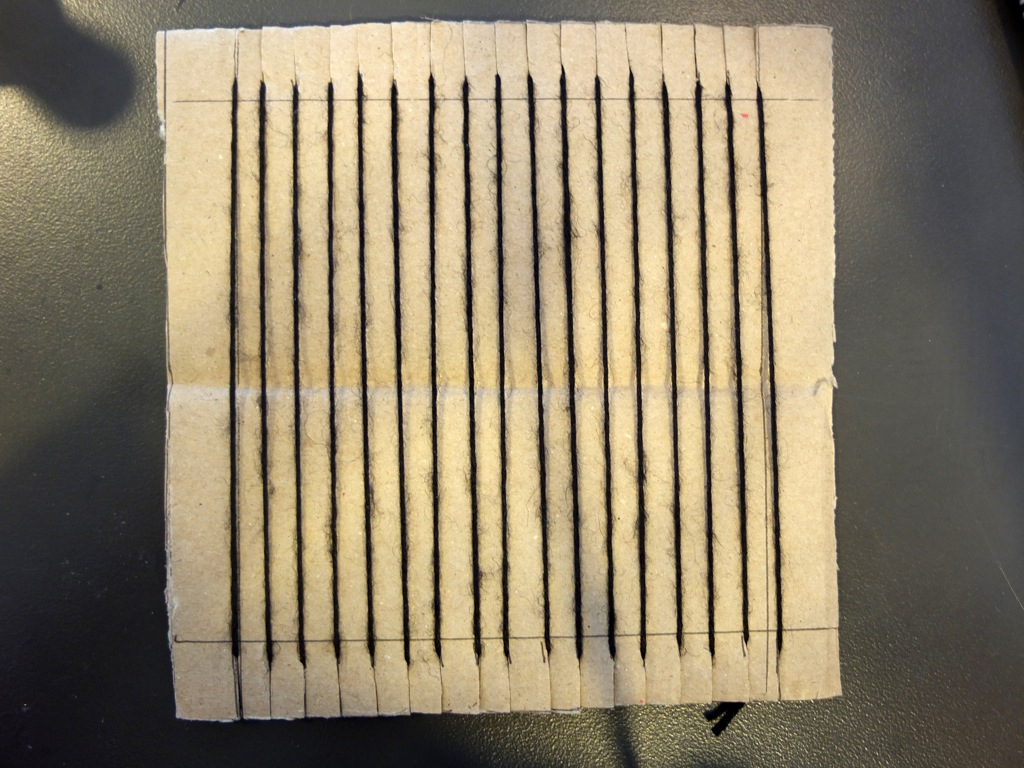
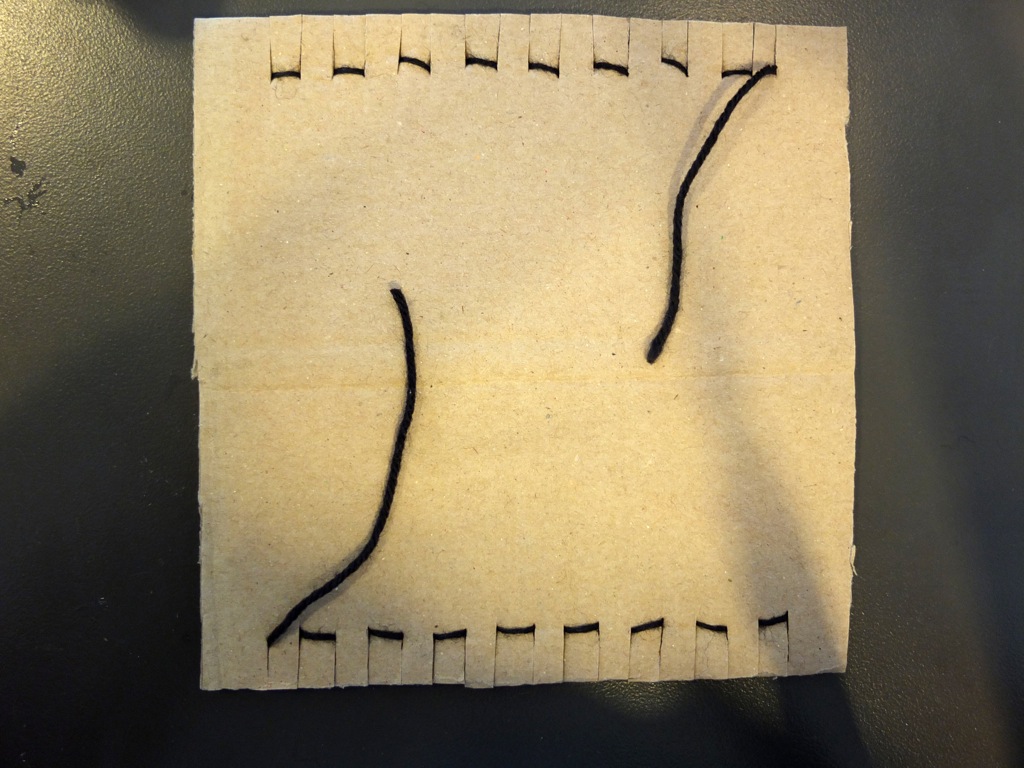
- Warp the loom
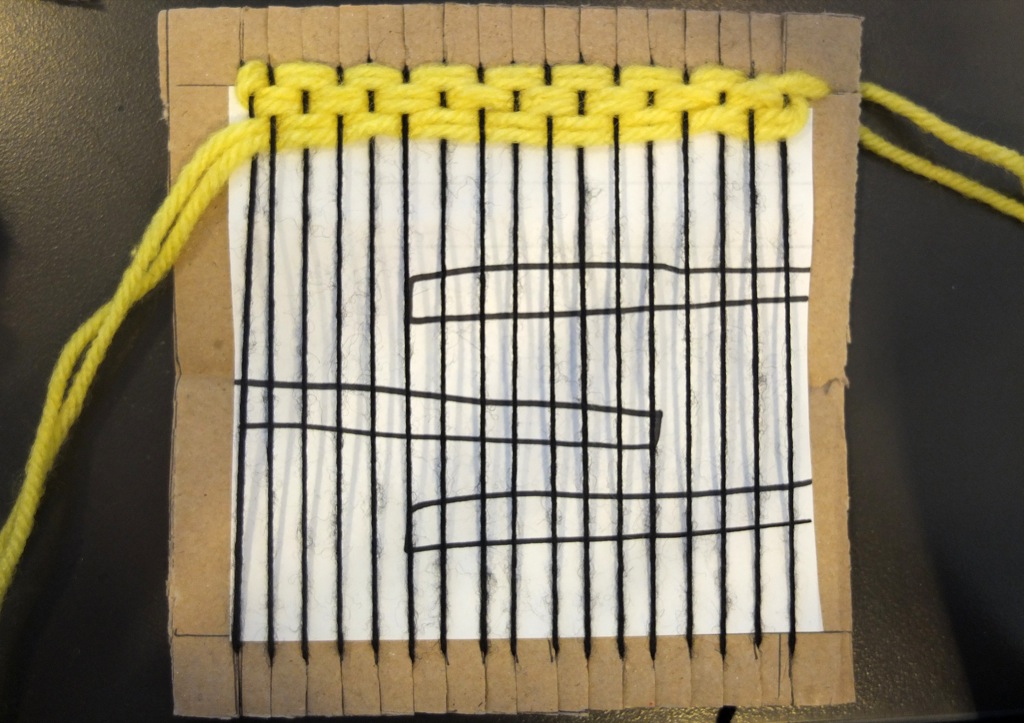
When you have finished warping your loom, tape down the loose ends.
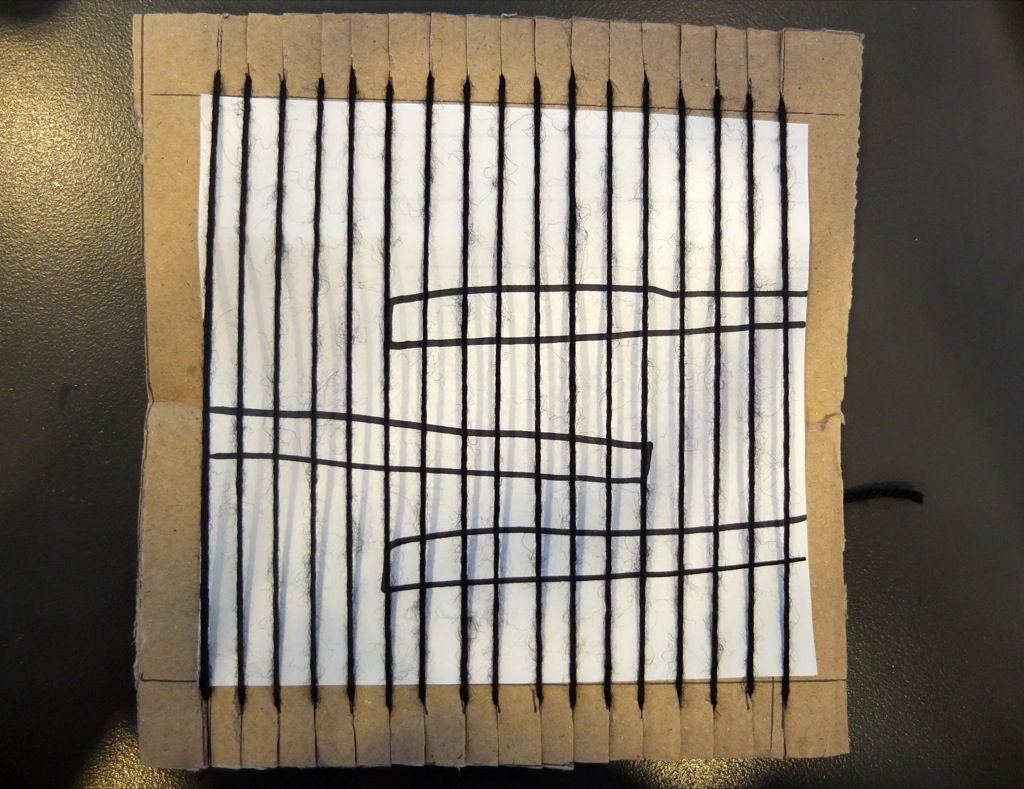
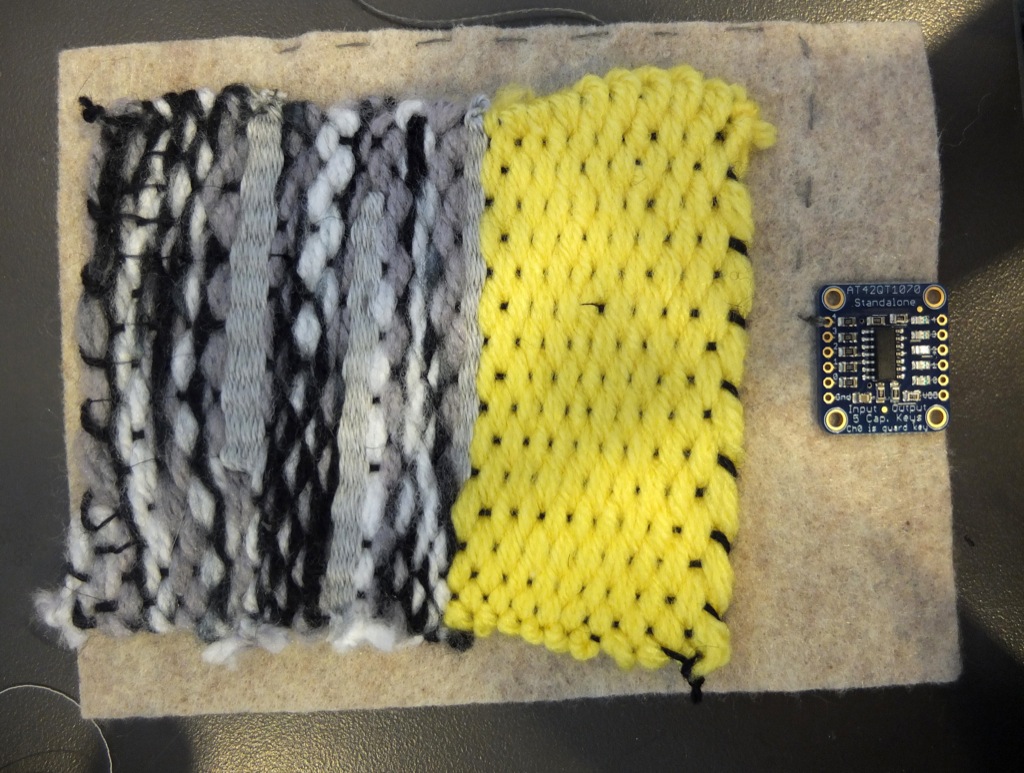
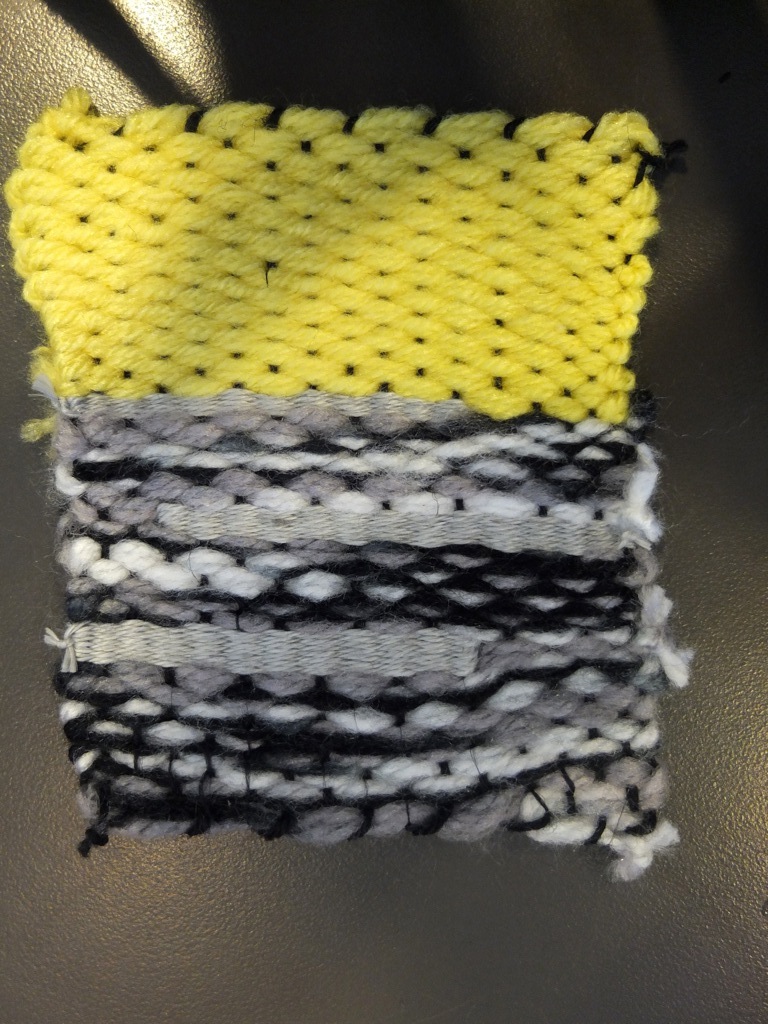
- Draw your cartoon. In weaving, a cartoon is a drawing of your design, and it will be placed behind the warp. Another option is to draw it on the cardboard before warping your loom. Your cartoon will be used as a guide to follow while weaving, to show you where to change from regular to conductive yarn. The three rectangles in my design will be my conductive antennas.
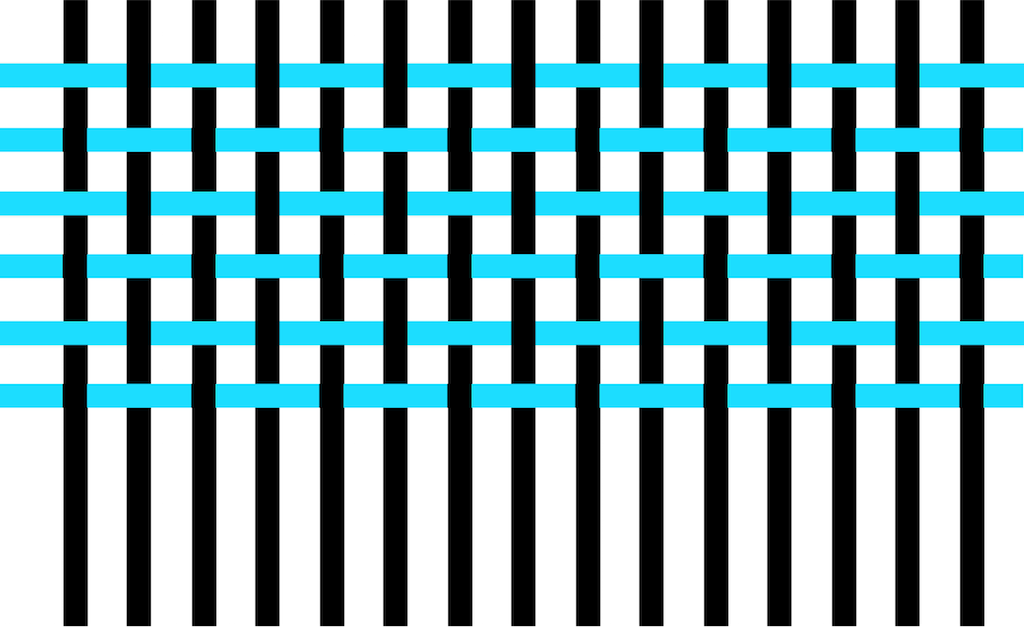
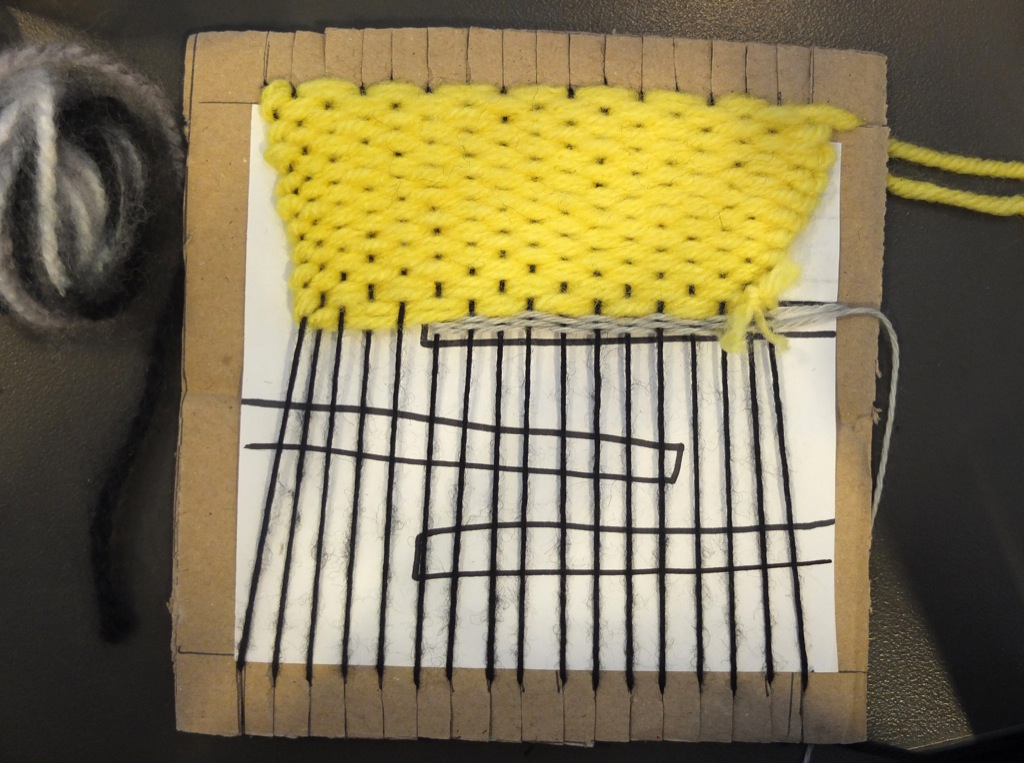
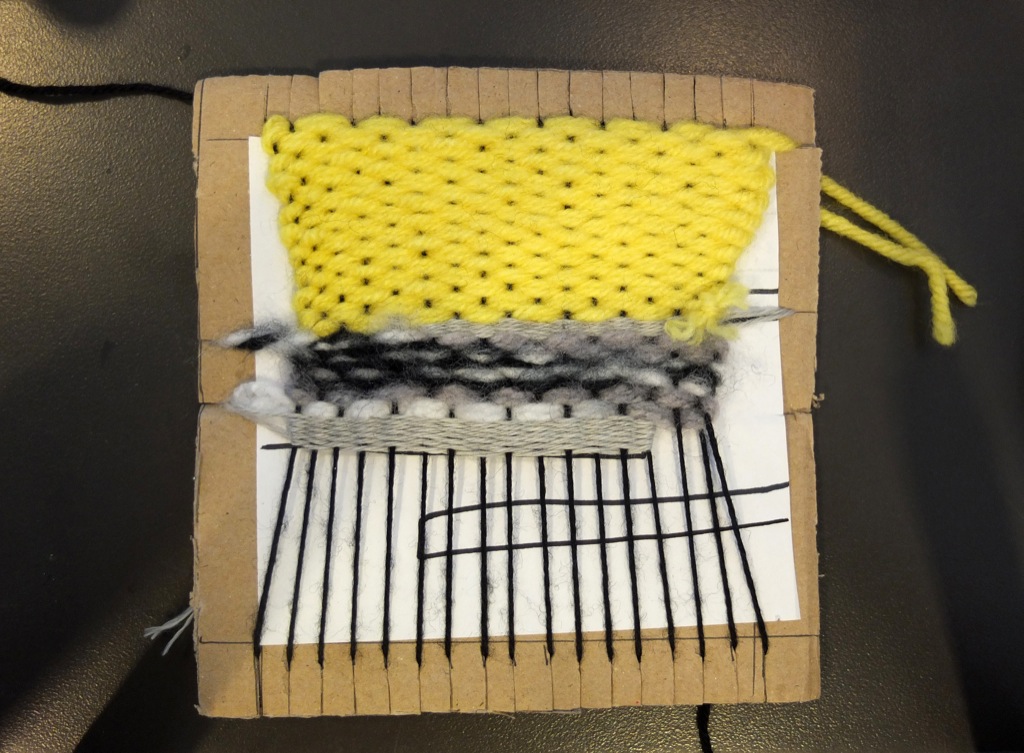
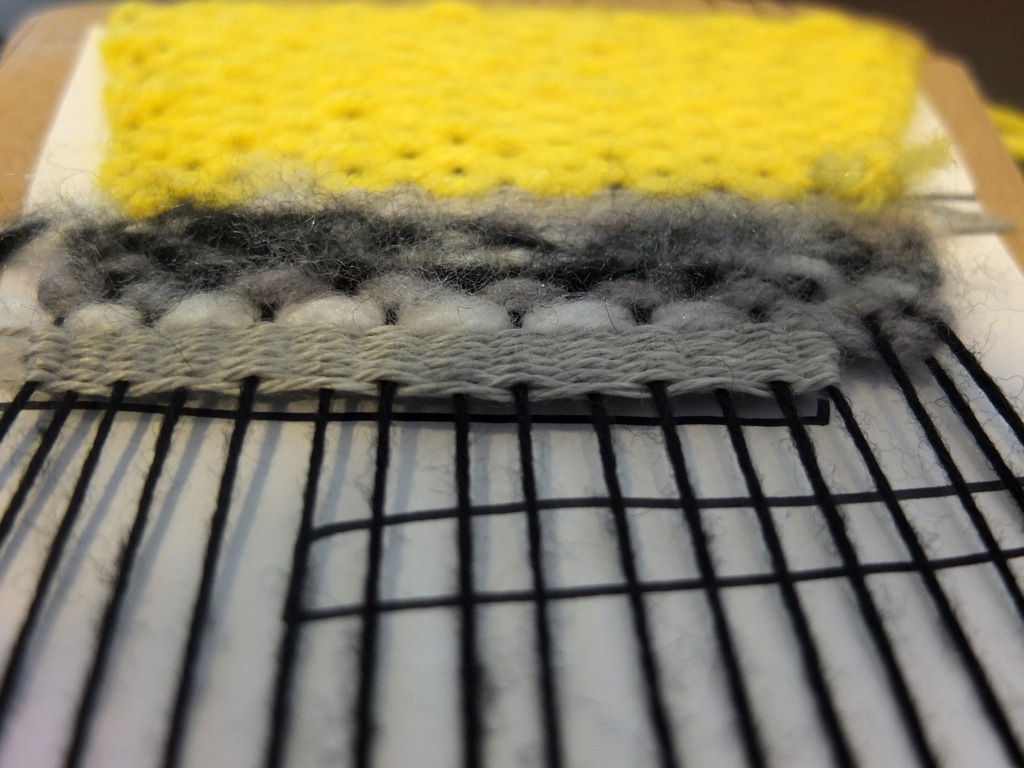
- Begin weaving. In this example, I will be using a basic plain weave. A plain weave is the simple structure of over-under-over-under.
I will begin from the top, weaving the large section of acrylic yarn. I am doubling my yarn to speed up the weaving process.
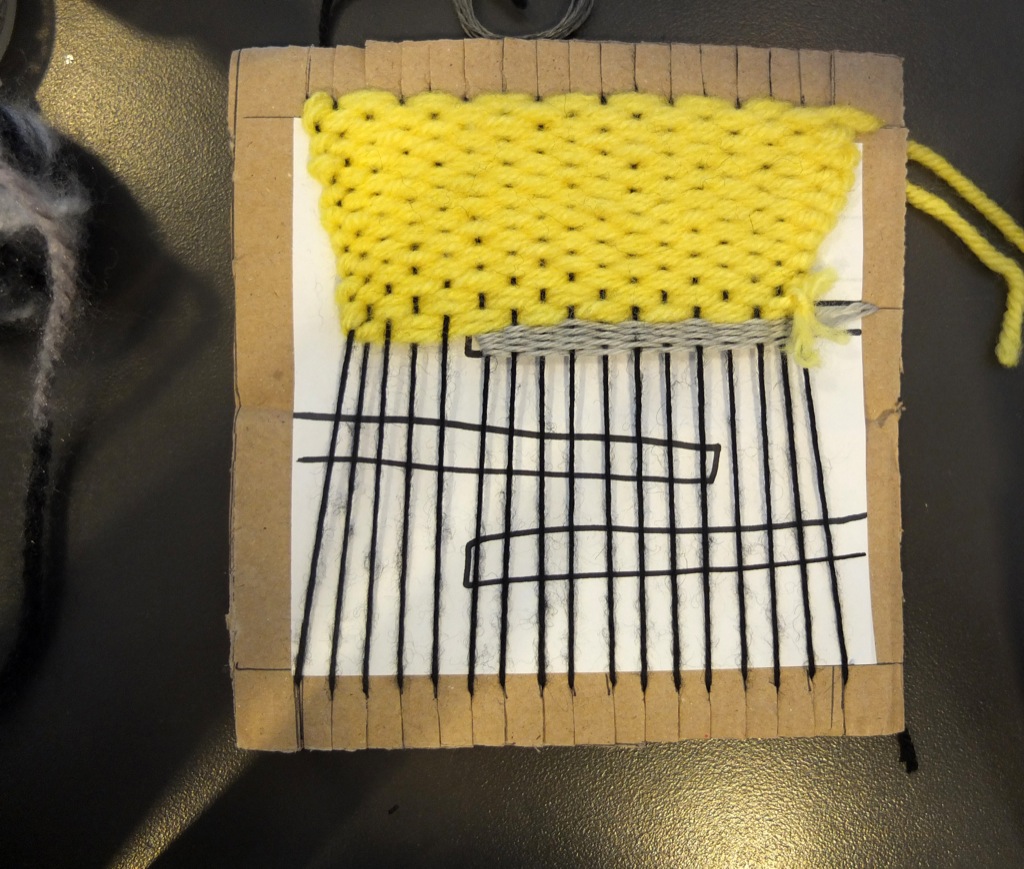
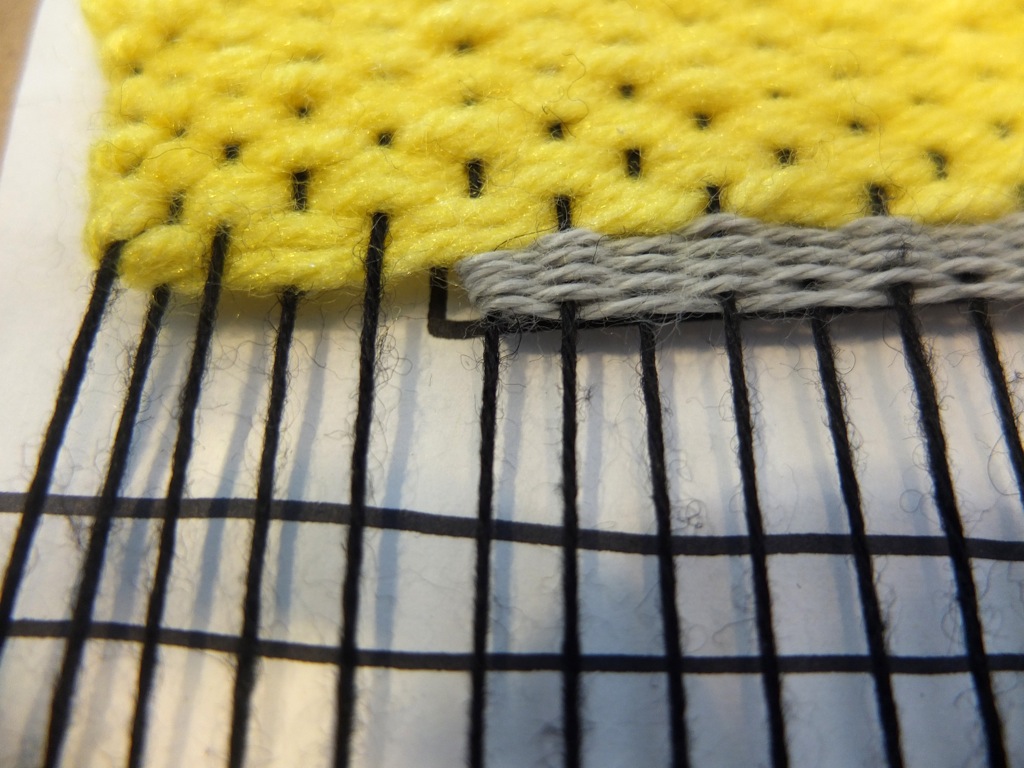
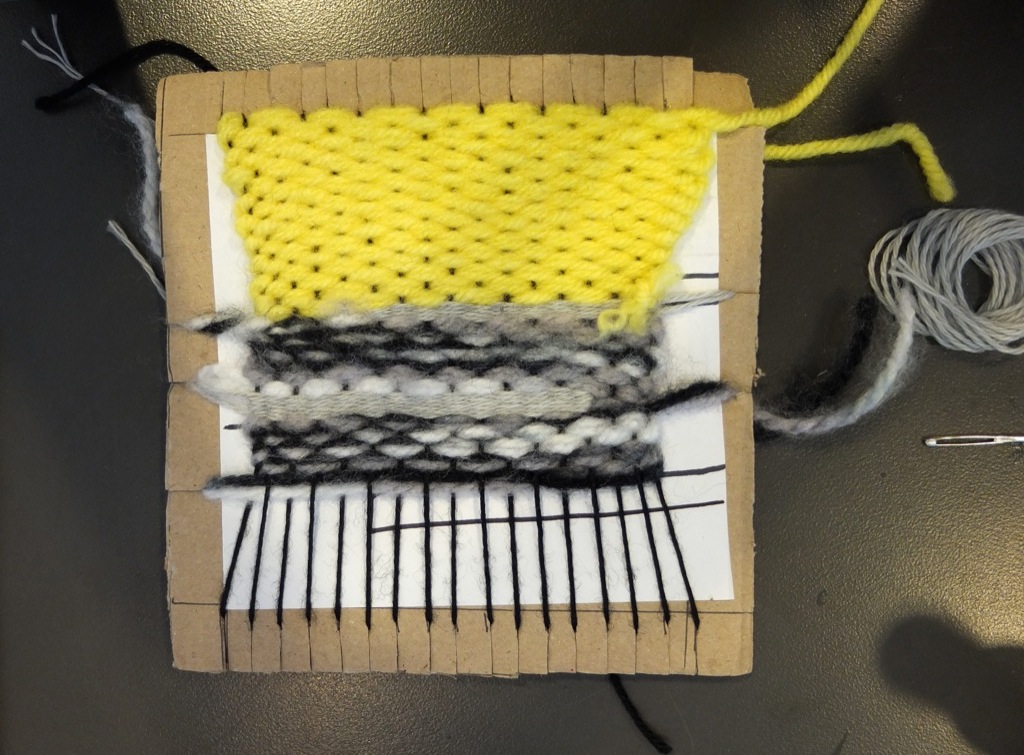
Once I get to the conductive section, I switch to conductive yarn, weaving with a single strand this time. I follow my cartoon, and only weave in that area. When I am finished I should have two tails on the edge of the weaving.
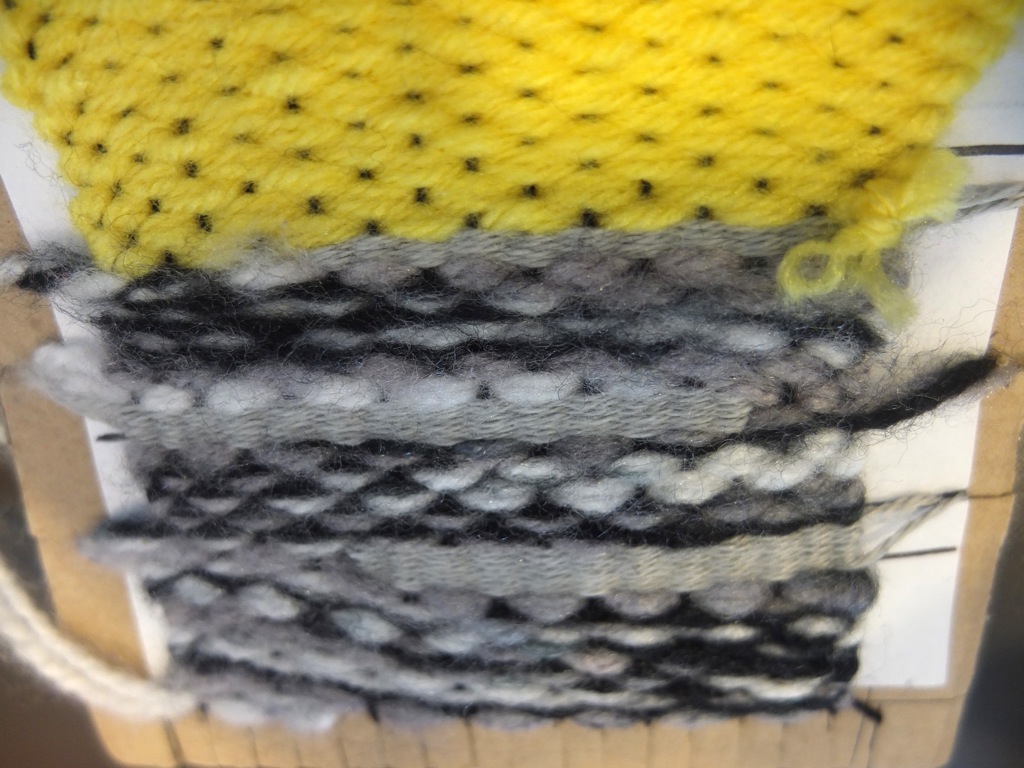
When finished, move on to the next acrylic section, and weave around the conductive section. The yarn will build up around the antenna, and will eventually even out. Continue onto the next antenna.
When finished, remove textile from loom. (make video)
-
insert video
-
Connecting to the Board
-
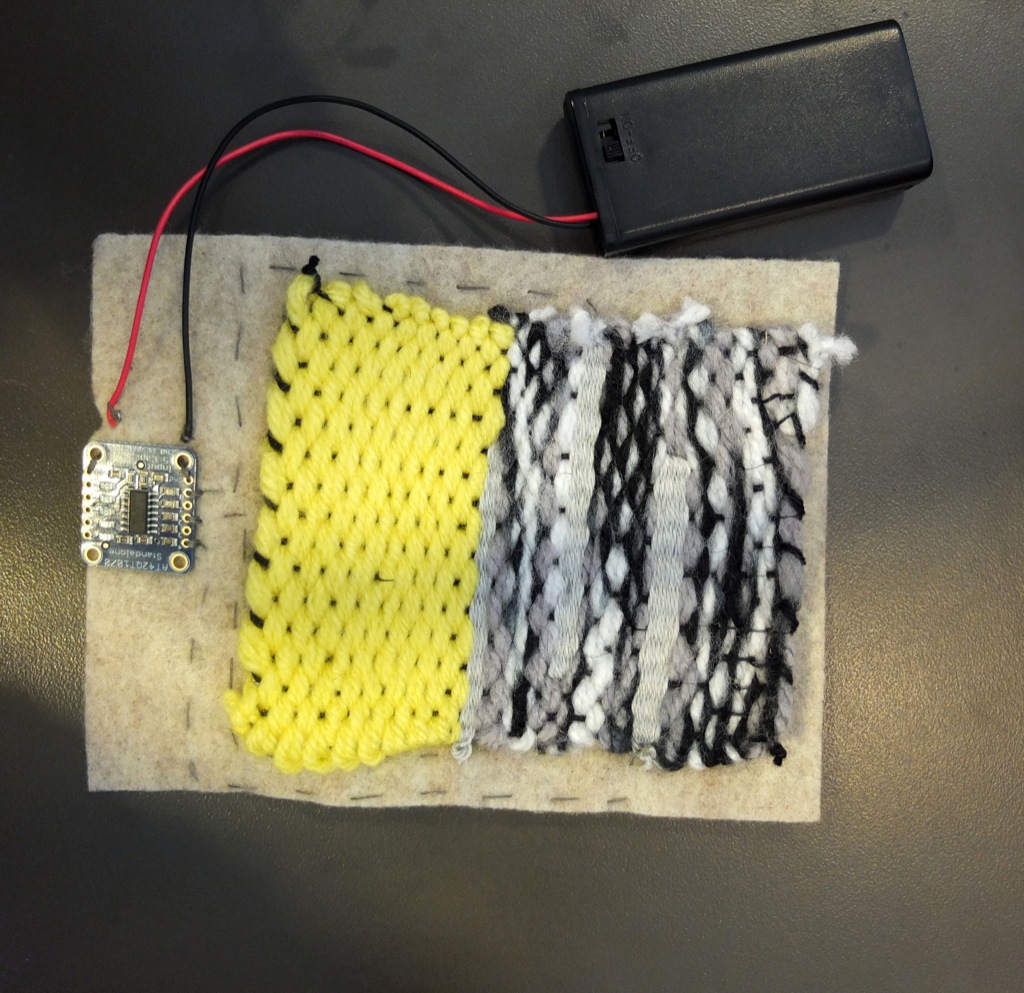
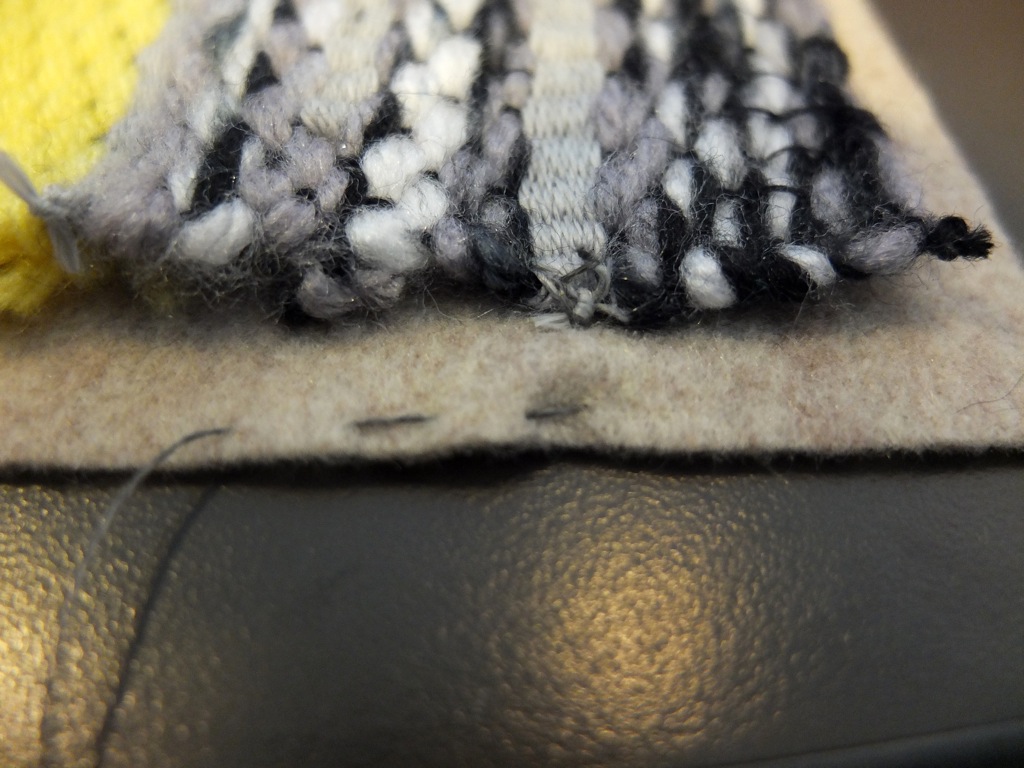
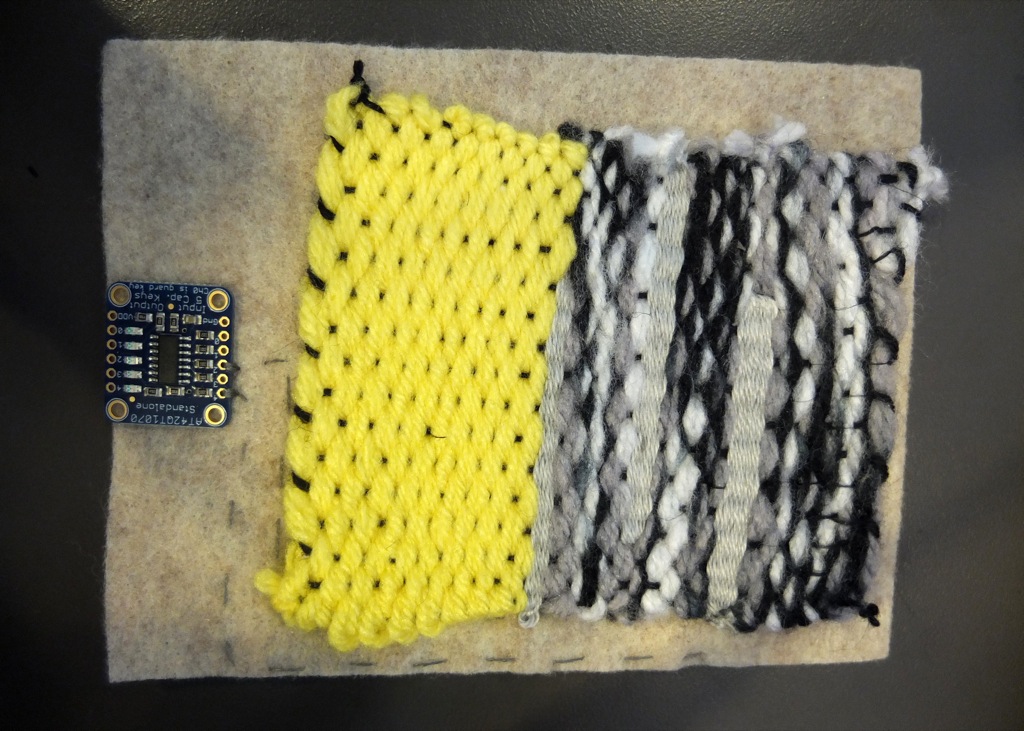
Sew weaving to felt
-
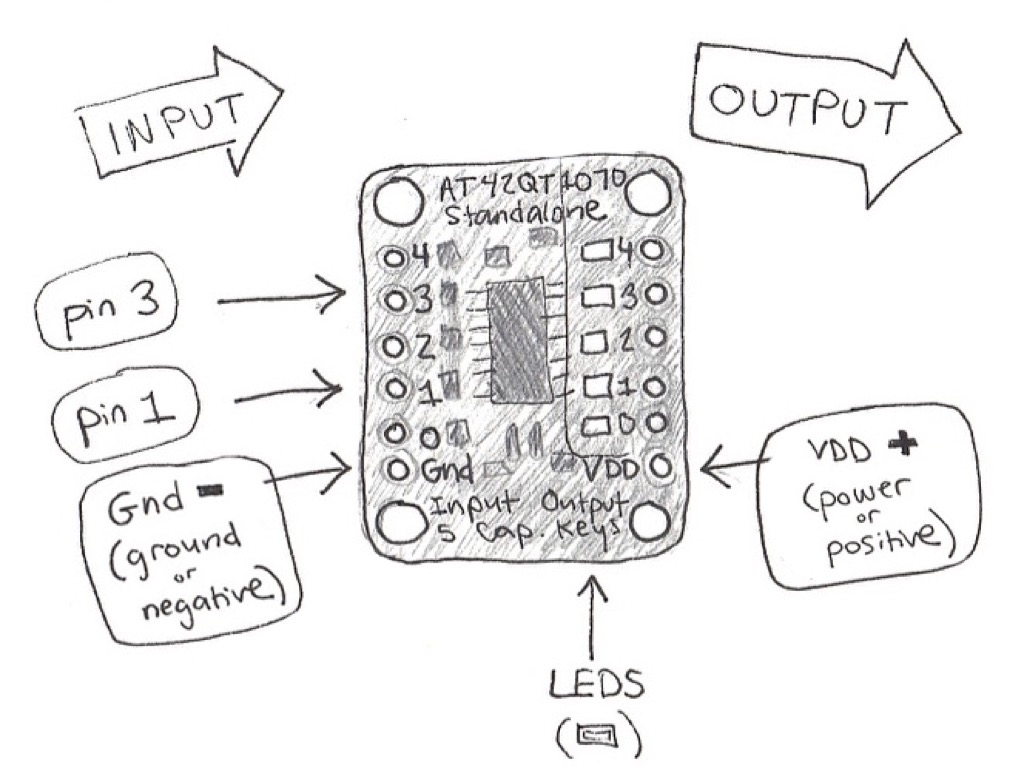
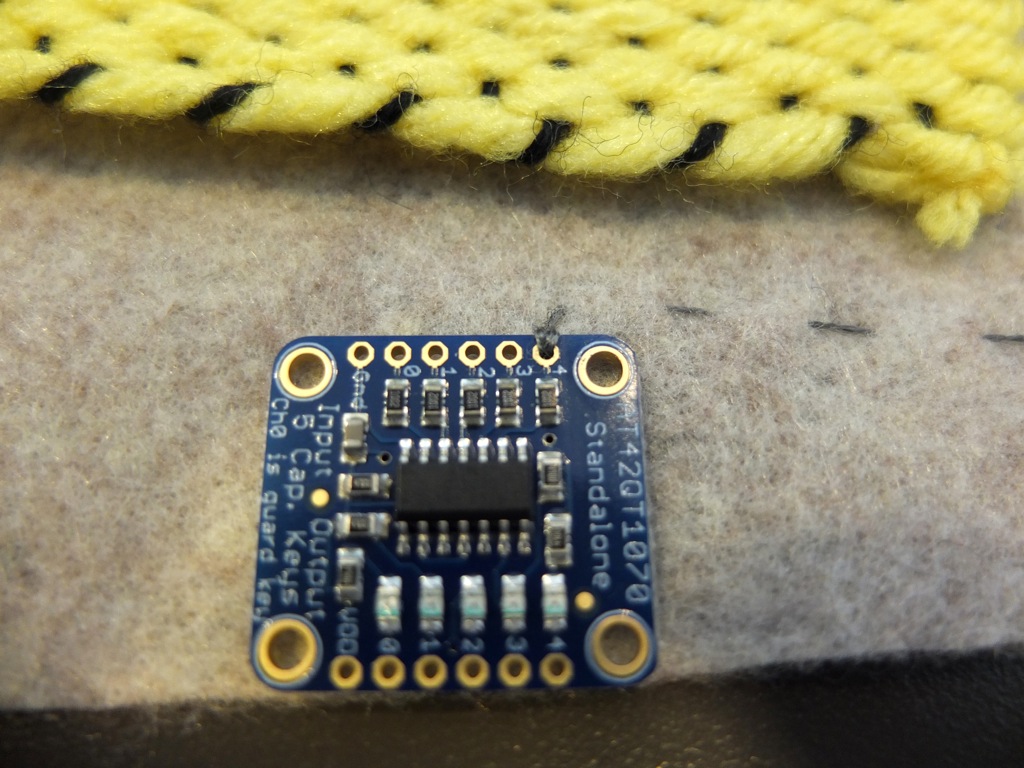
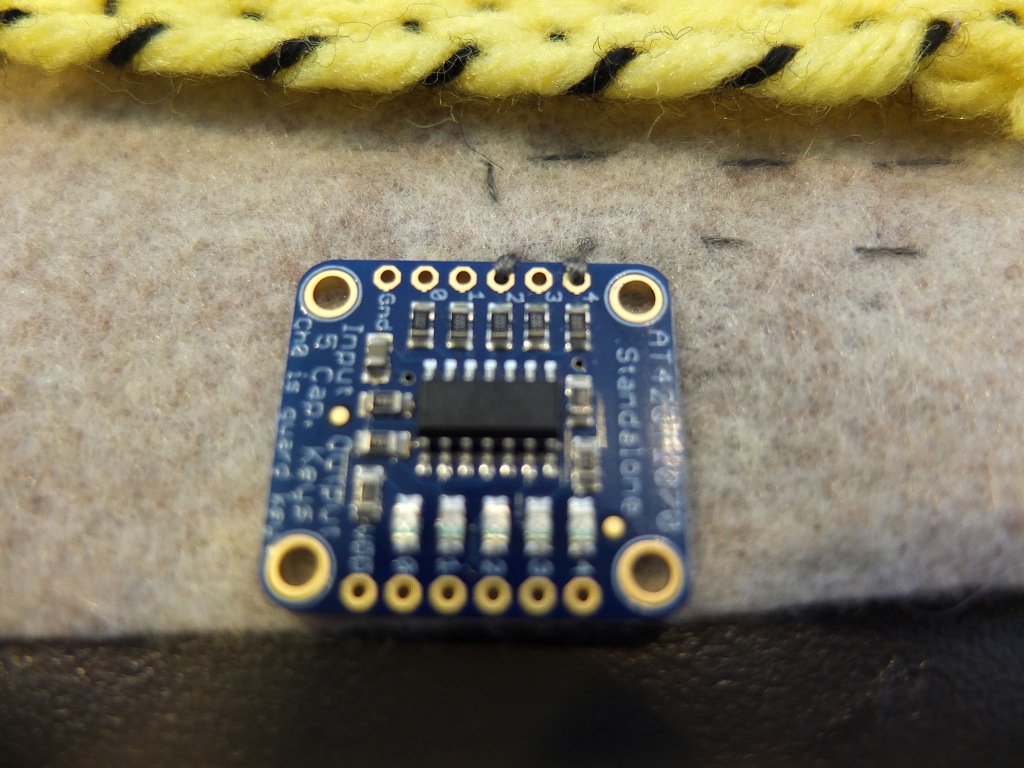
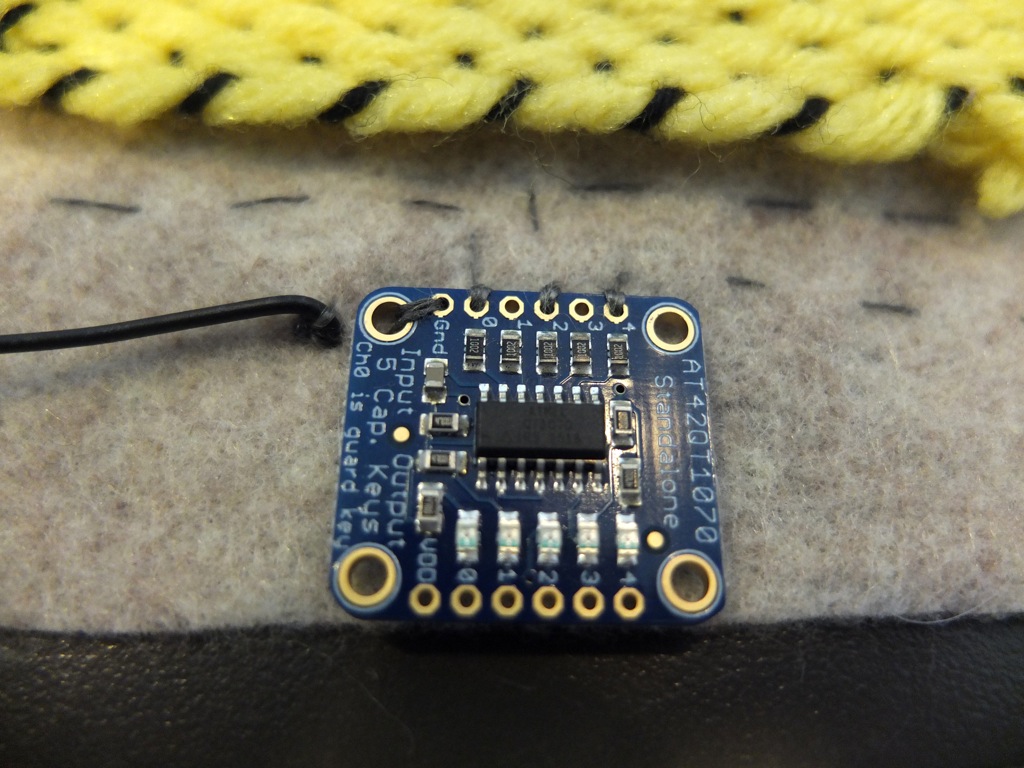
With conductive thread, sew from your first antenna to one of the inputs on the capacitive sensing board. In this example, we are only using 3 inputs. And because we are stitching the connections we skip every other input on the board so that there is no chance of threads touching.
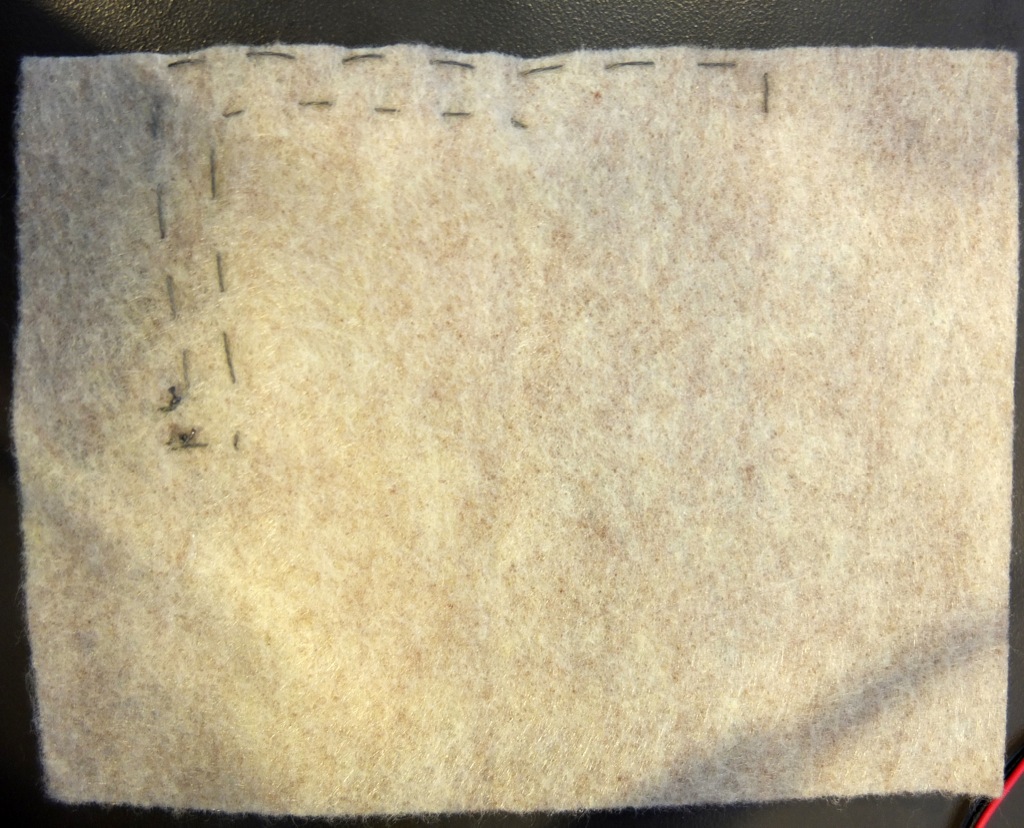
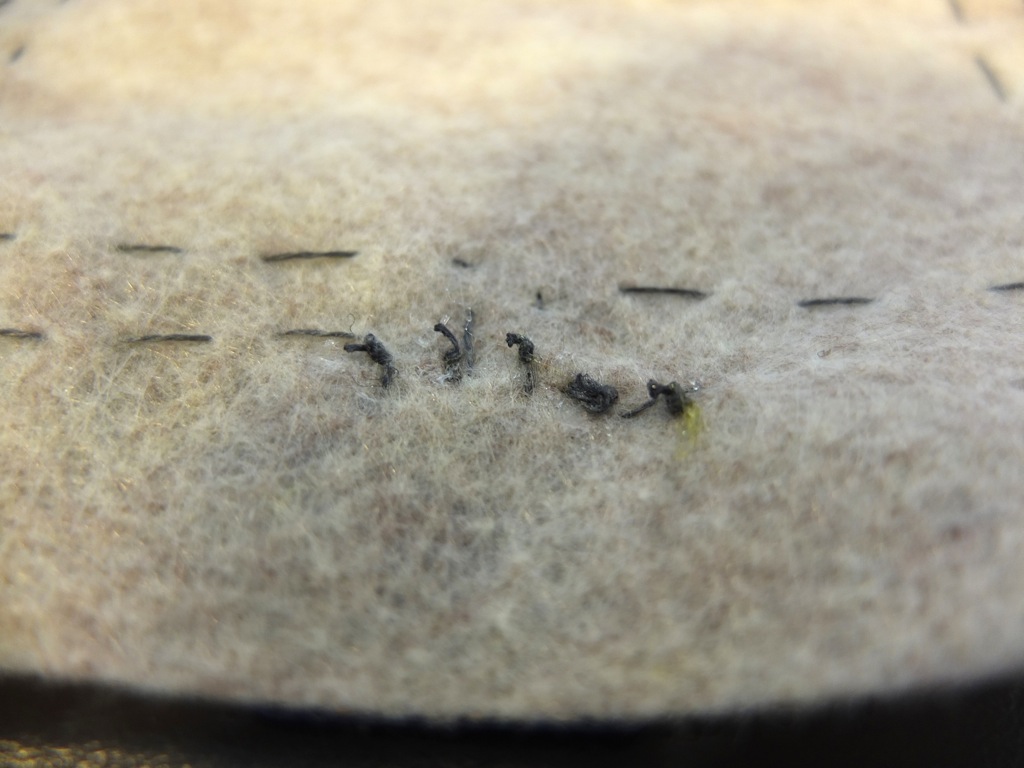
- Repeat with remaining antennas. Make sure not to cross your stitches as this will result in a short in your circuit.
The back should look like this, with the knots kept short, so nothing is touching.
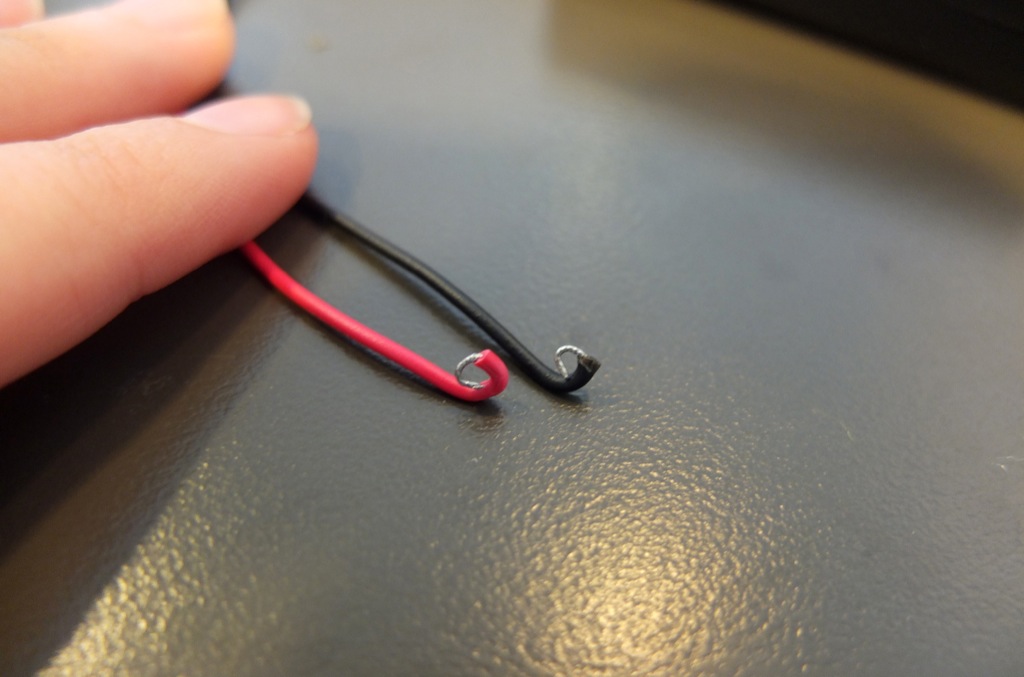
- Now we will stitch our positive and negative connections from our power source. The ground input is labeled ‘GND’, and is on the same side of the board as our inputs. Twist the leads from the battery pack making a loop that we can sew in to.
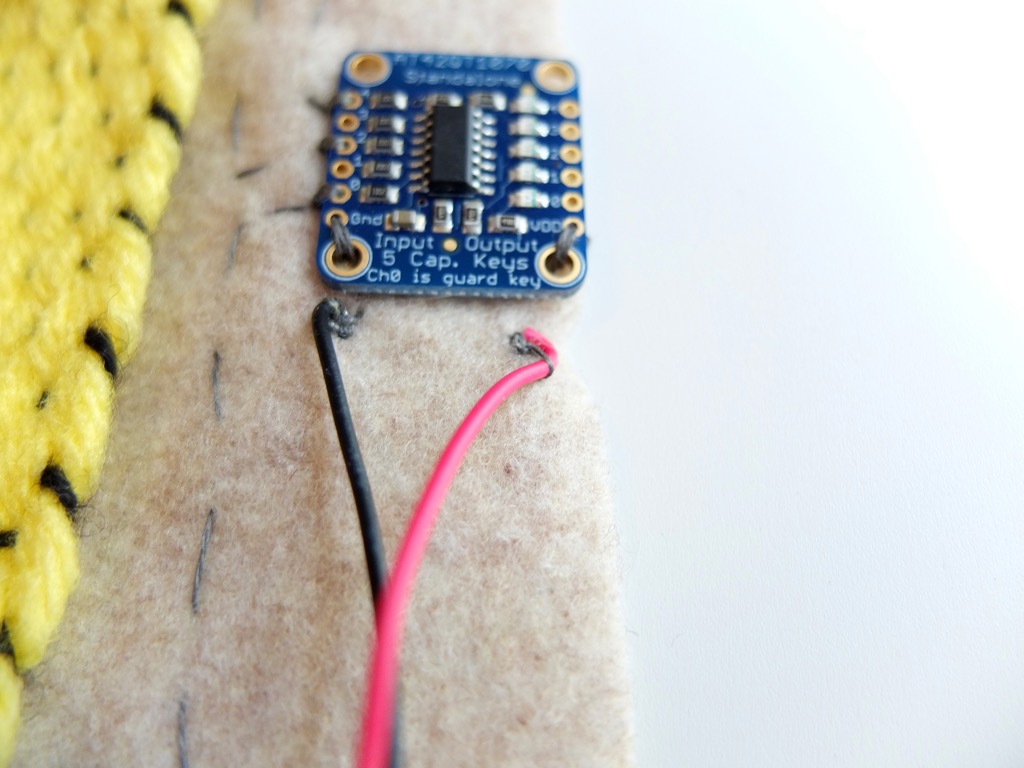
Stitch from ground, the black wire, to the ground pin on the board.
- Repeat on the positive side. The positive pin is located on the outputs side on the board as ‘VDD’.
Cap Sense from Sasha de Koninck on Vimeo.
