Getting Hands On With Soft Circuits
Introduction
This workshop serves as an introduction to soft circuitry. Through application, participants will gain an understanding of the working properties of electronic-textile (e-textile) materials such as conductive fabric and conductive thread. By constructing a functional soft circuit with e-textile material, participants will learn how a simple circuit operates, identify and understand the role of different electronic components, and consider possibilities for further application of and experimentation with soft circuits. We will focus on the creation of two different switches: a tilt switch and a bridge switch.
Learning Goals
Through this workshop we hope you will gain a basic understanding of circuits, how they work and what parts make up a circuit. We will cover various materials and techniques used in creating a soft circuit and different ways of working with them and you should end up feeling that you’ve had a brief introduction to the world of e-textiles and soft circuits.
Prerequisite Skills
- Hand Sewing
Tilt Switch
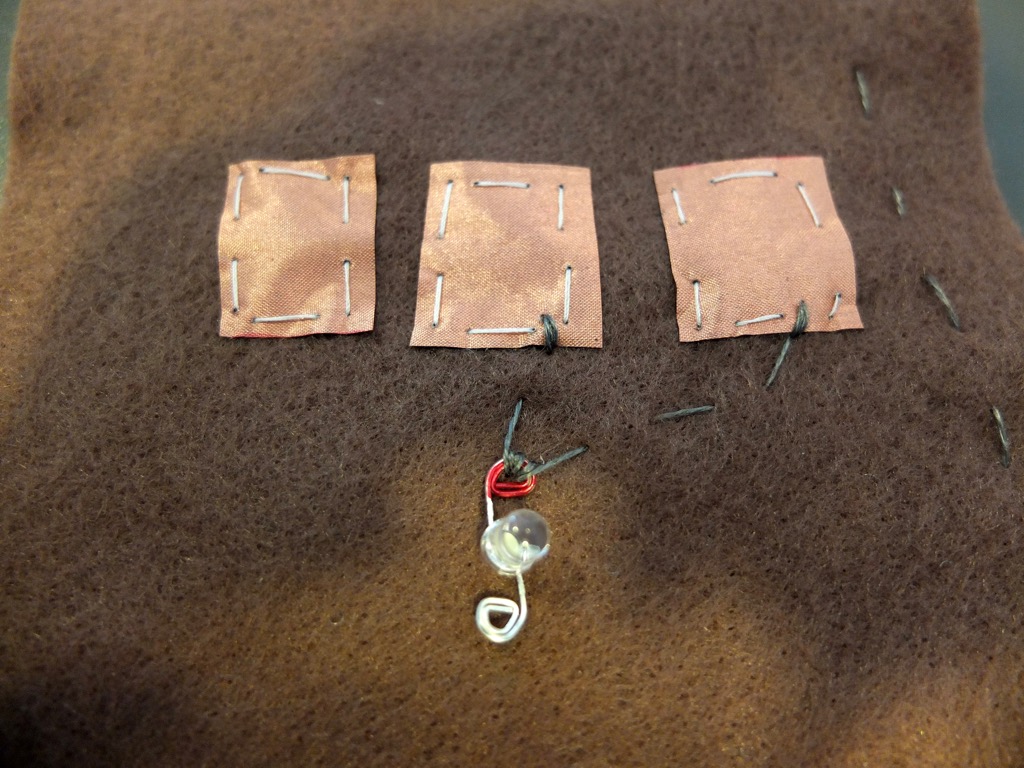
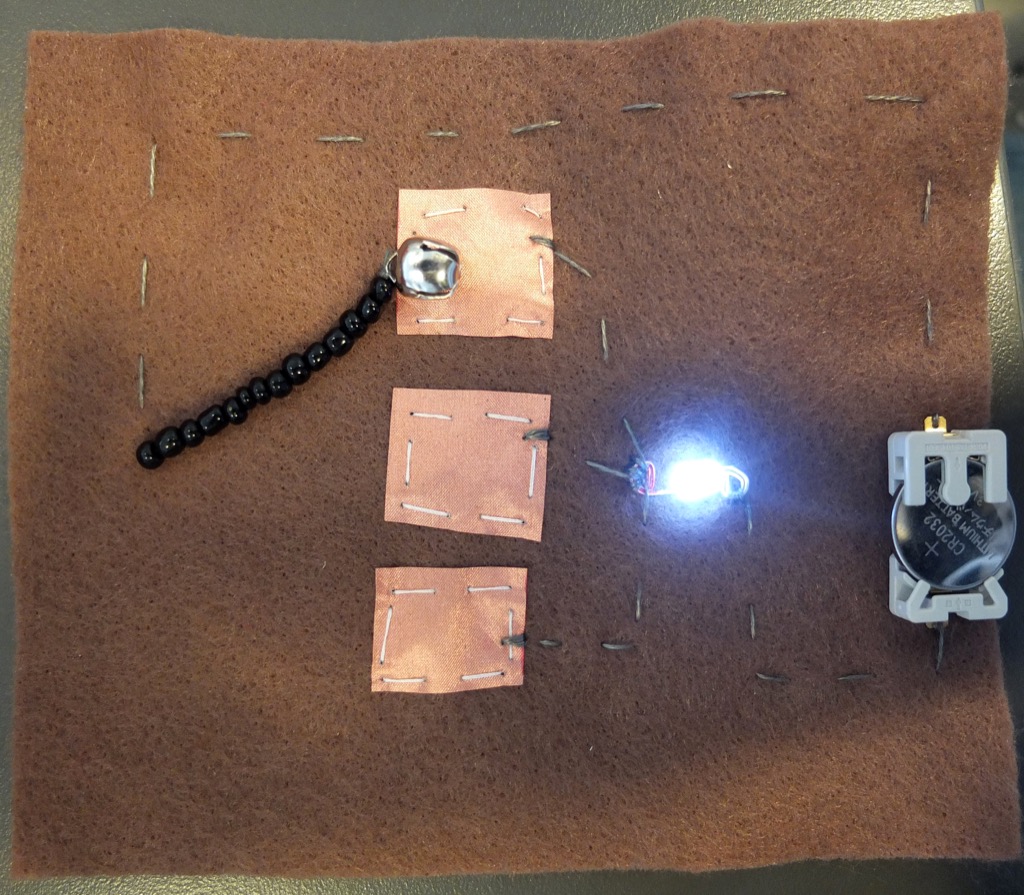
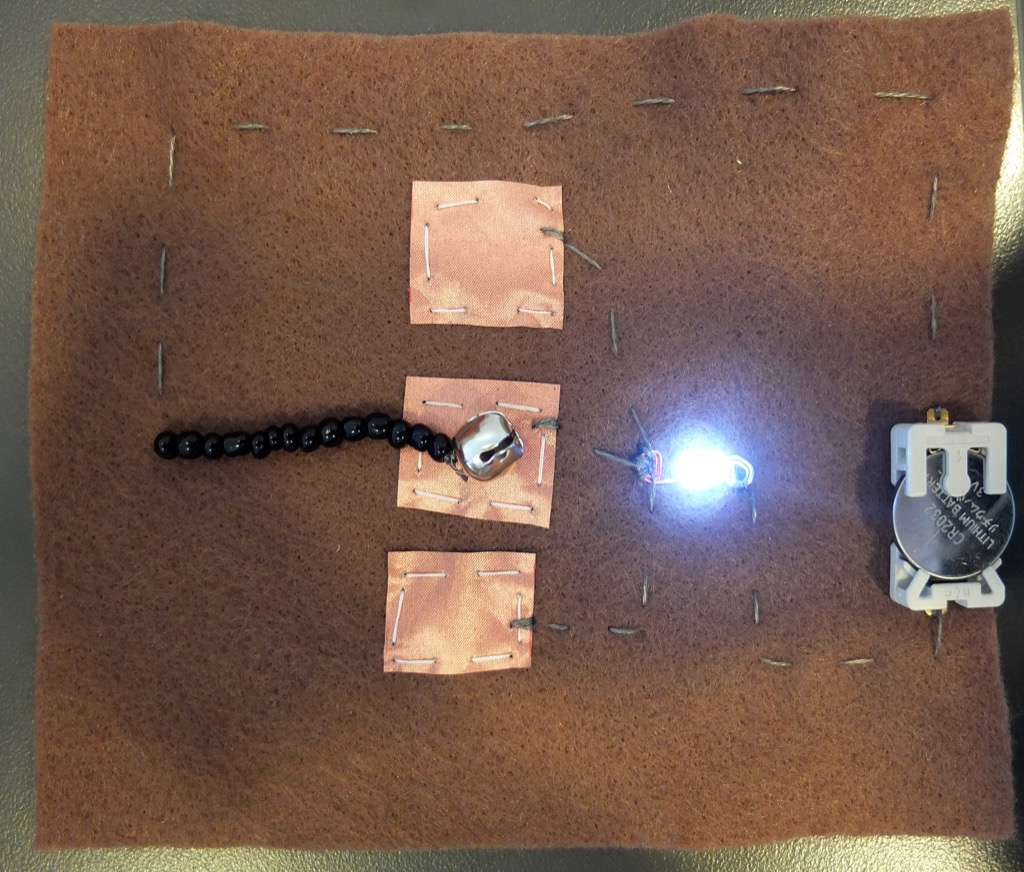
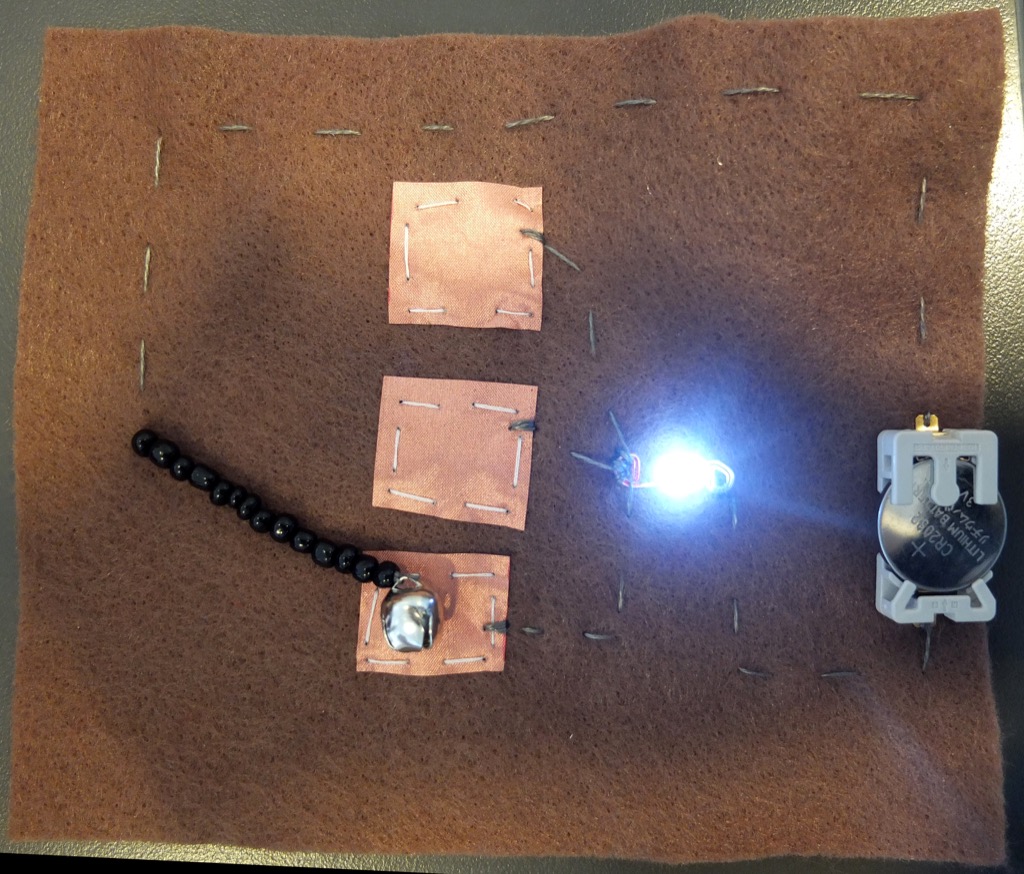
We will make a tilt switch circuit with multiple switches and one LED output.
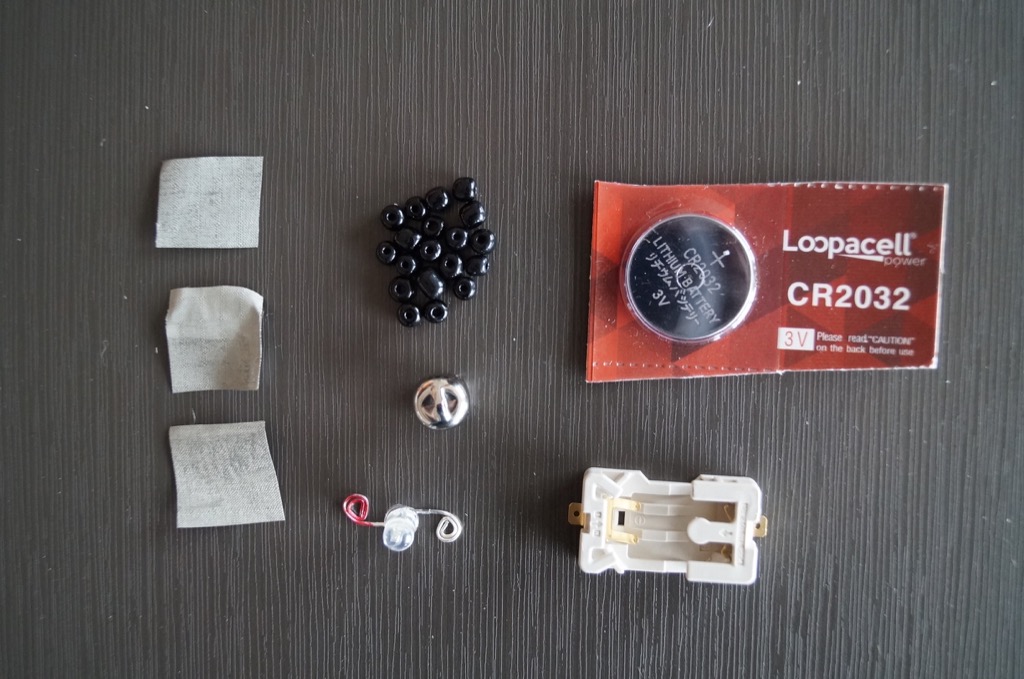
Kit
Steps
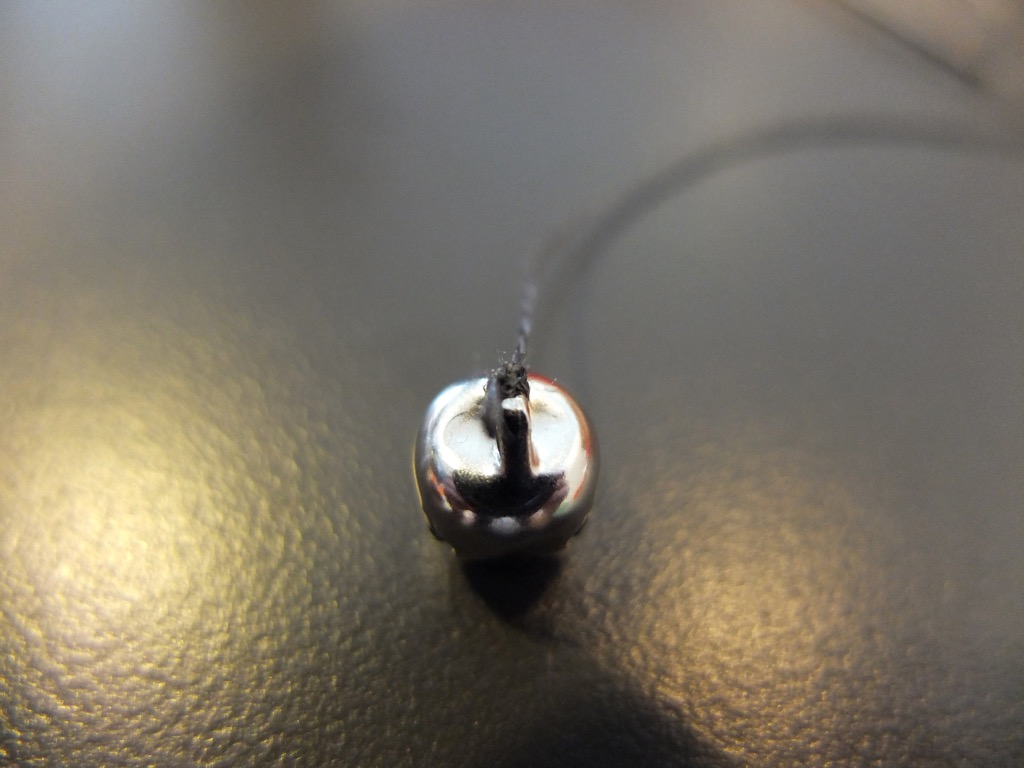
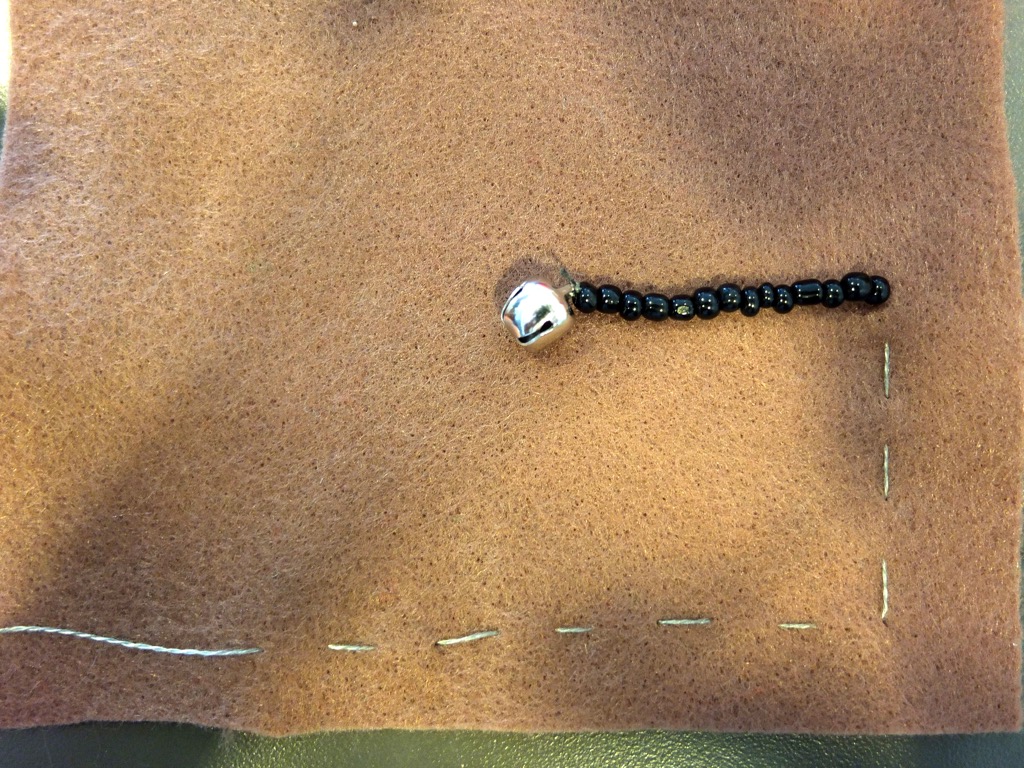
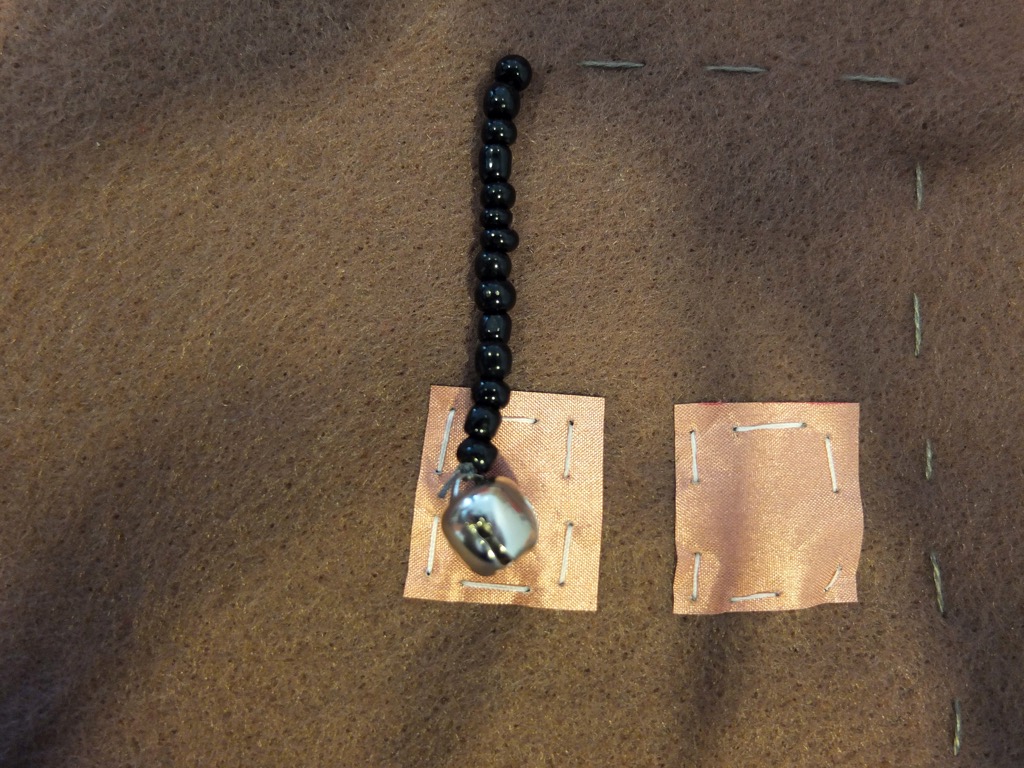
- First we will take a piece of conductive thread and tie it on to our bell or metal bead. We want to make sure we tie the knot several times, making a tight and secure connection.
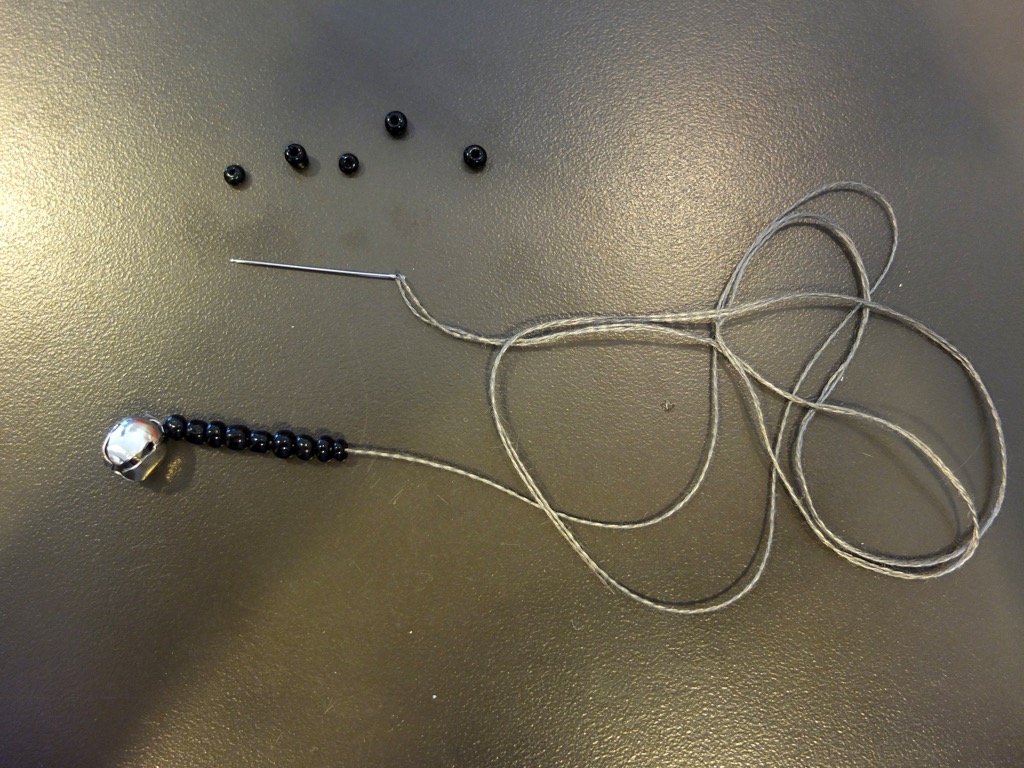
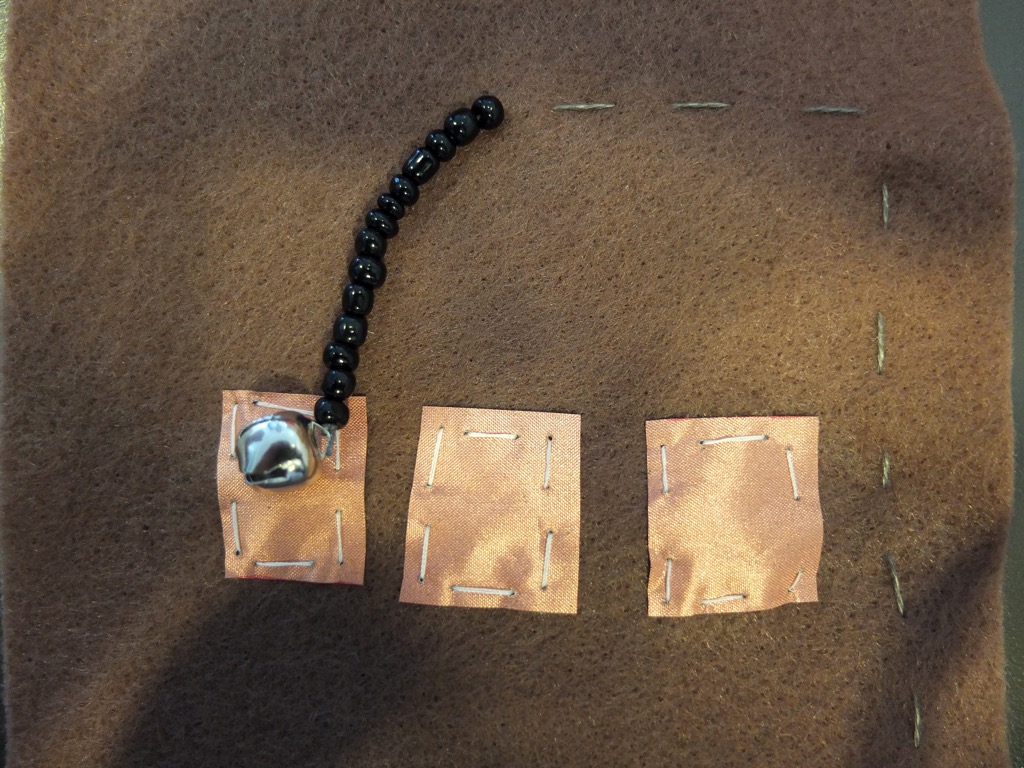
- Decide how long you want your switch to be. String on as many beads as you need to reach your desired length. The beads act as an insulator for the conductive thread so that it does not touch and short the circuit.
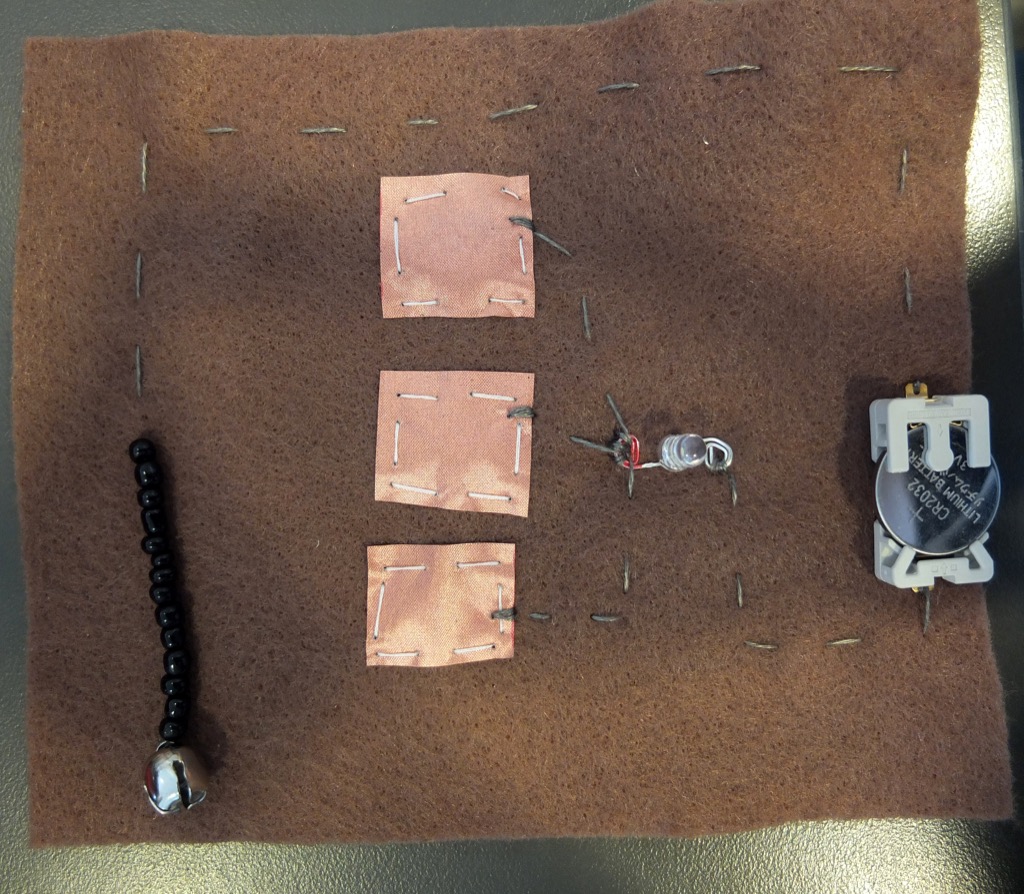
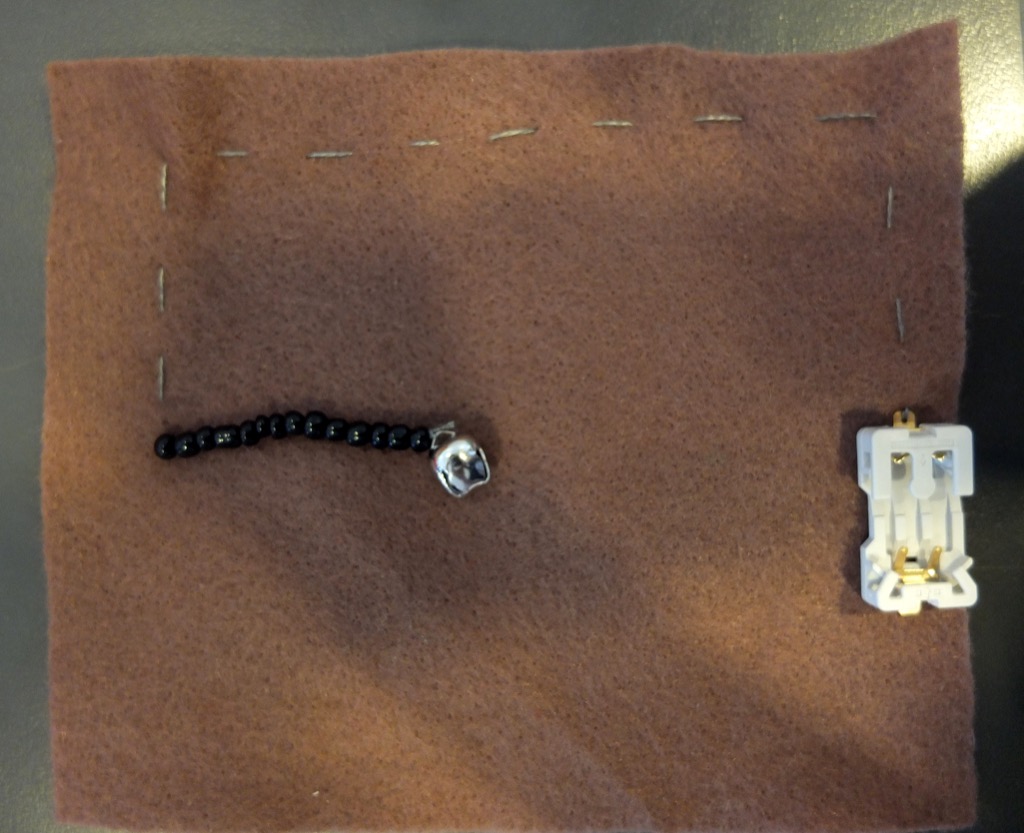
- Once the beads are on, stitch from the top of your piece of felt, going parallel to the edge, all the way to the bottom.
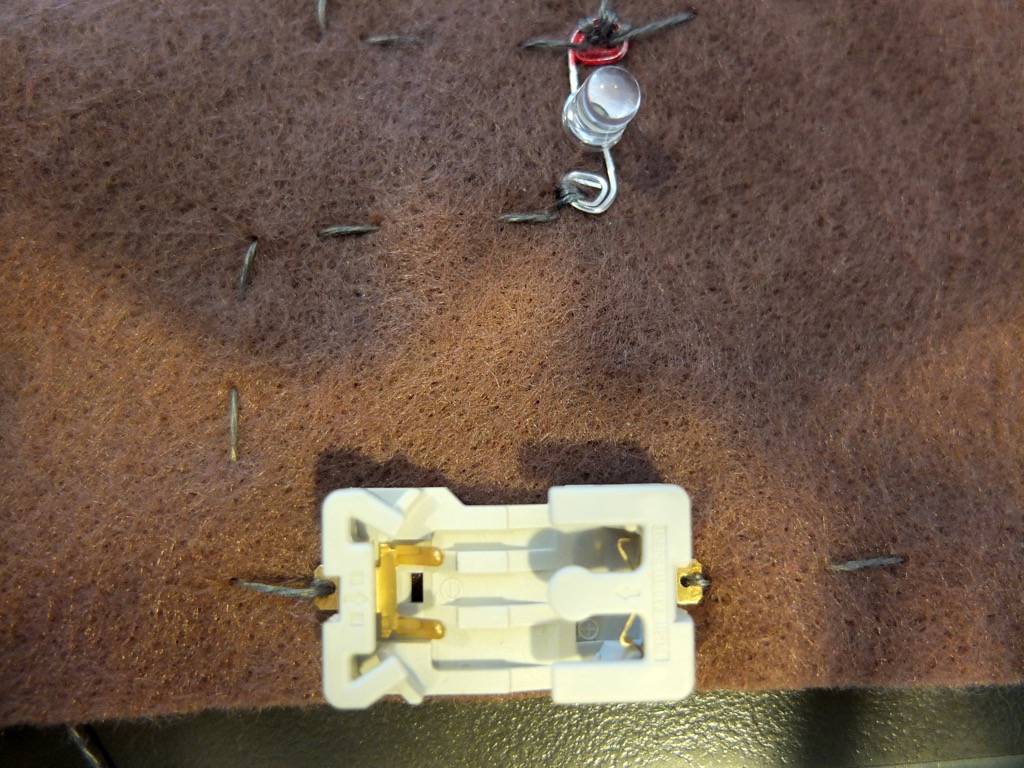
- Stitch into the positive terminal on the battery holder.
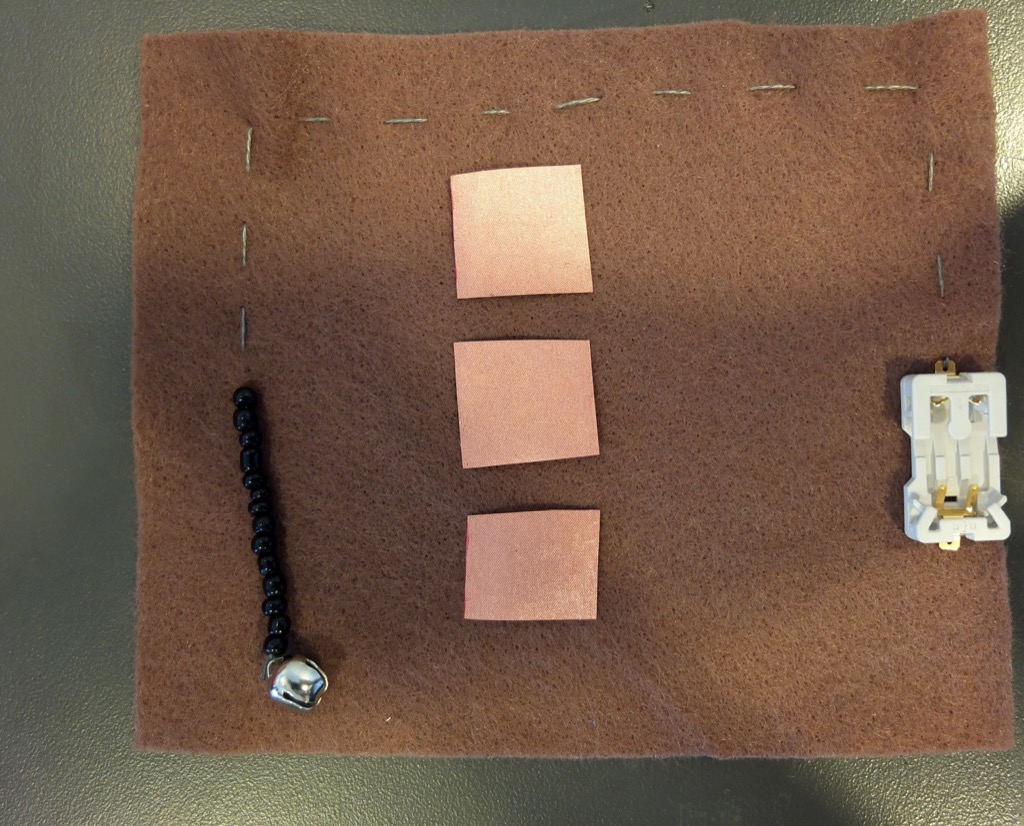
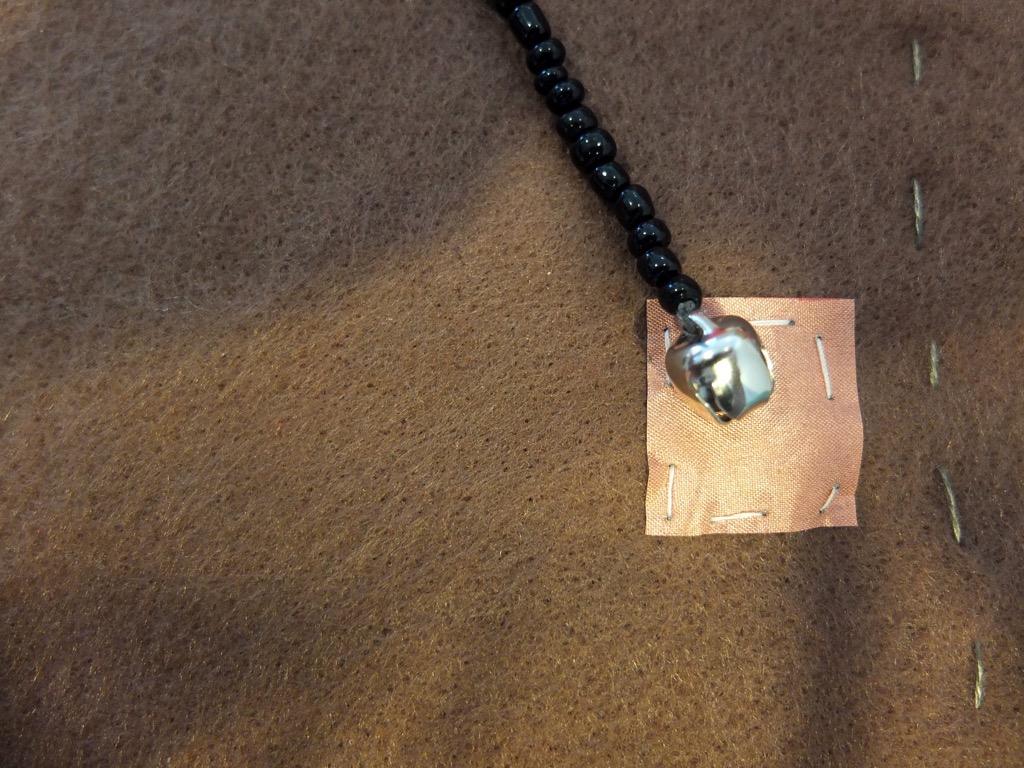
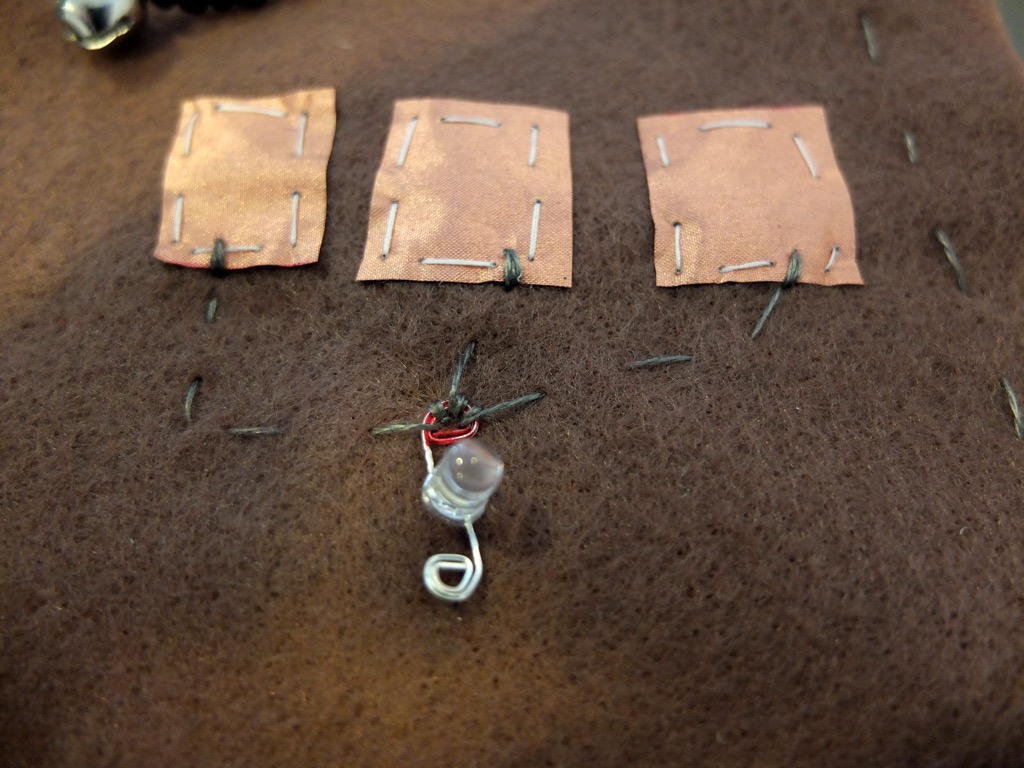
- Now we will attach our pieces of conductive fabric. The fabric can be sewn on, or ironed on with a double sided interfacing, or stitch witchery.
When placing your fabric make sure each piece can be reached by your switch, bell or metallic bead.
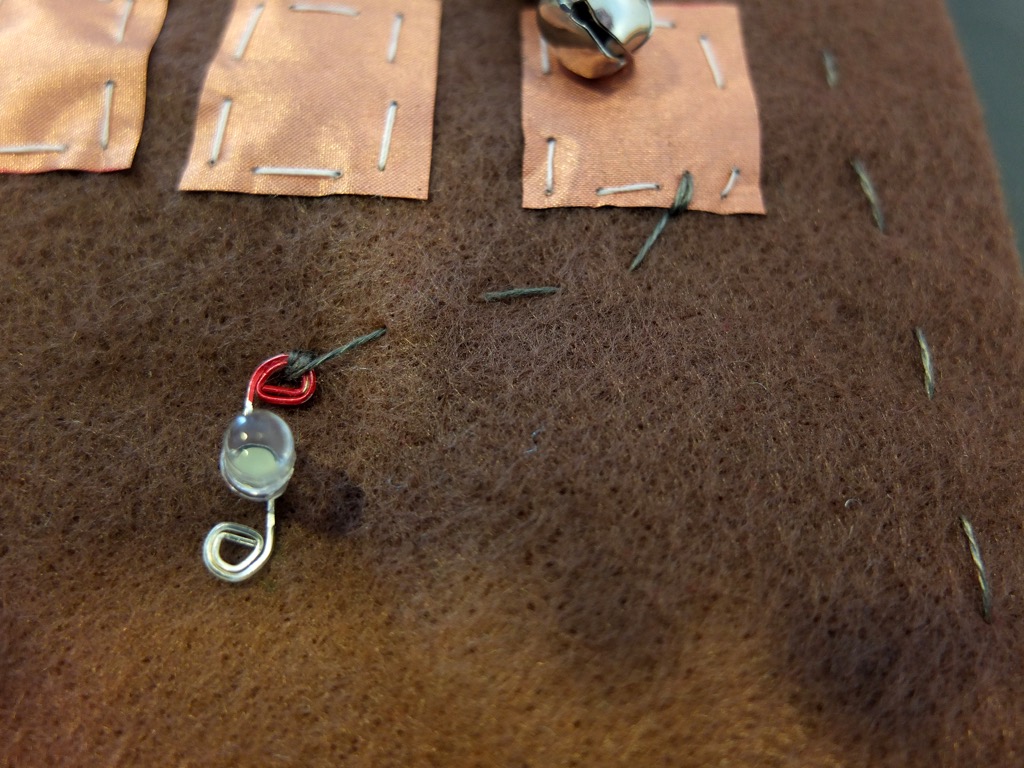
- The three switches all turn on the same output, one LED. We will sew from the positive leg on the LED to each piece of conductive fabric. We have marked our positive leg with red marker. In this example, I have used a separate piece of conductive thread to sew each connection between LED and conductive fabric.
- The final step is to connect the ground, or negative leg, of the LED to the negative terminal on the battery holder.
The final outcome
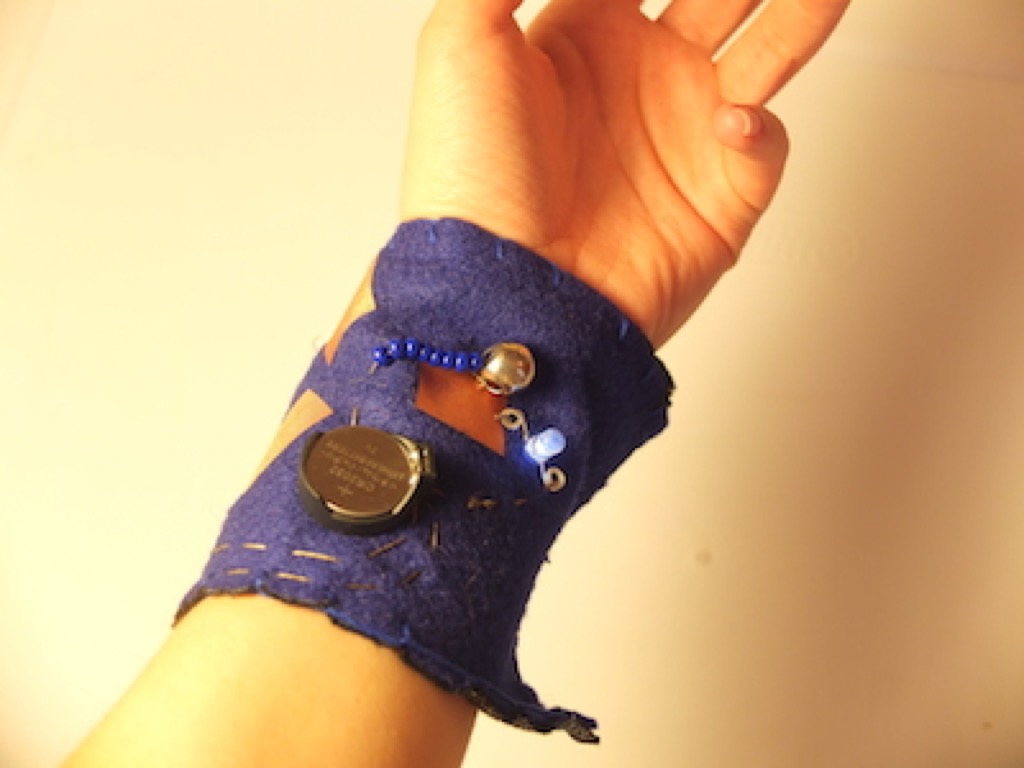
The tilt switch makes a great wearable. Here is an example of the circuit as a bracelet where each piece of conductive fabric is connected to an LED. So that there are three switches with 3 outputs.
Bridge Switch
We will make a circuit with two separate conductive points that can be bridged using another conductive object.
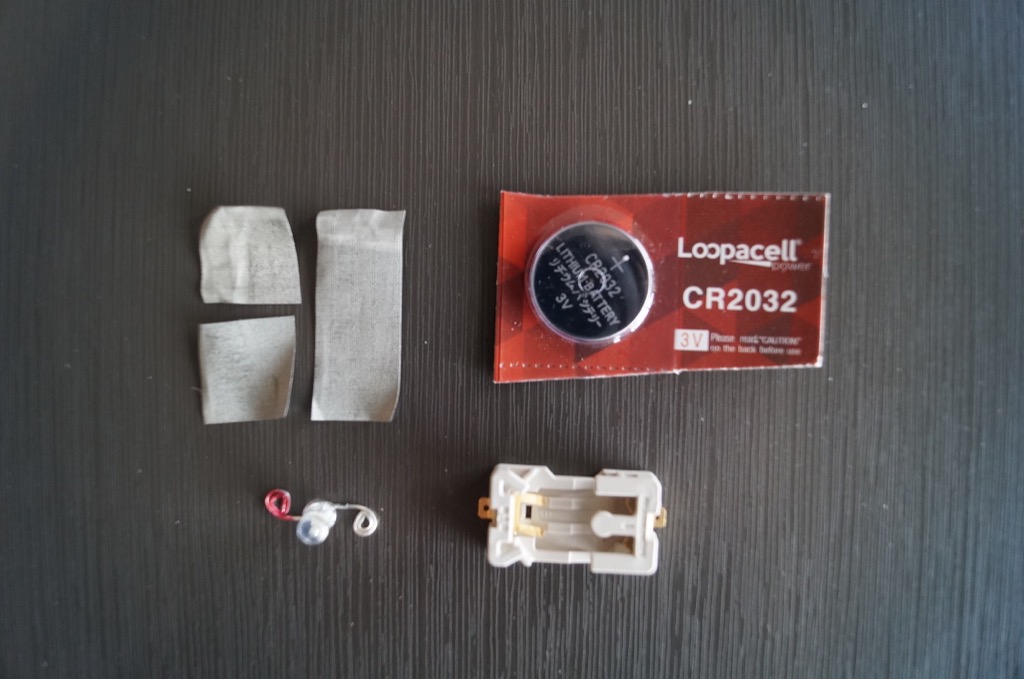
Kit
-
[Conductive Fabric]((https://www.sparkfun.com/products/10056)
Steps
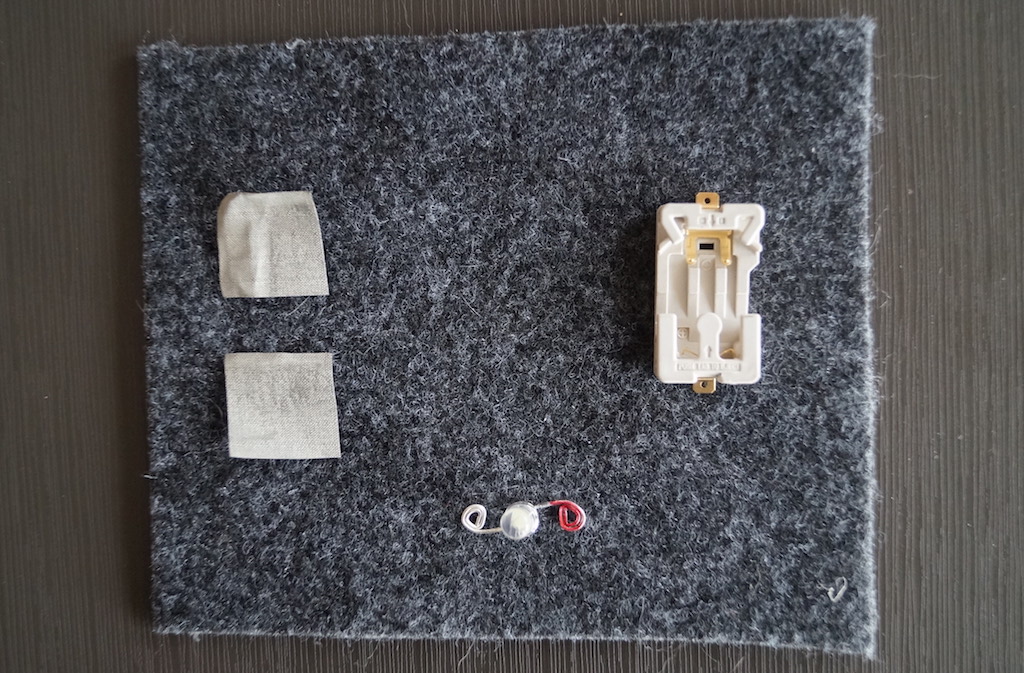
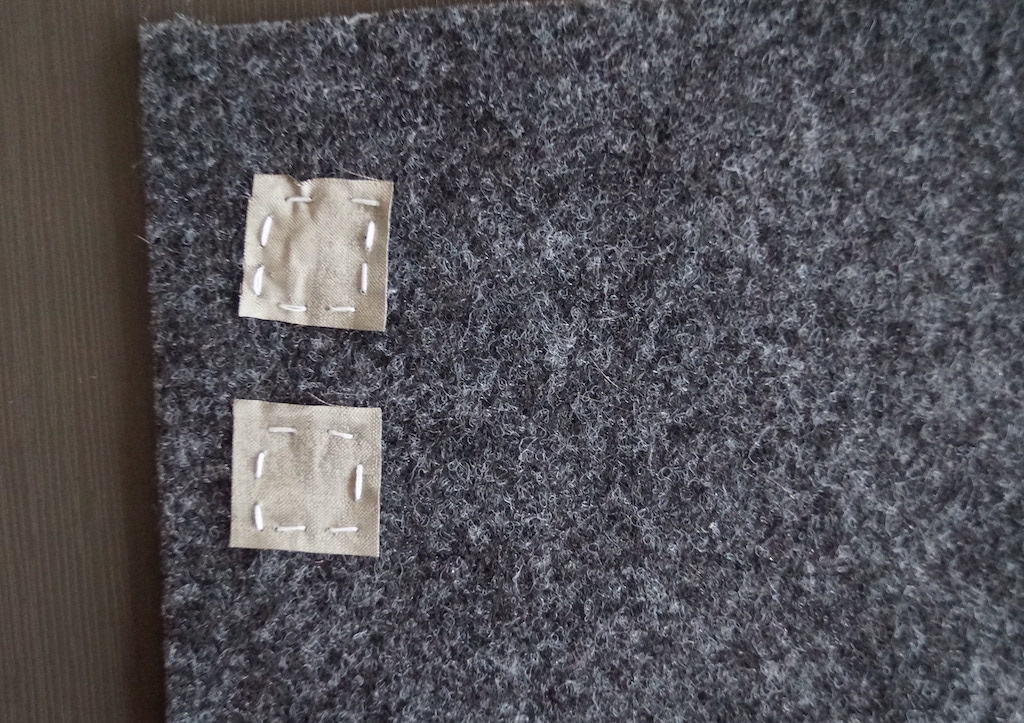
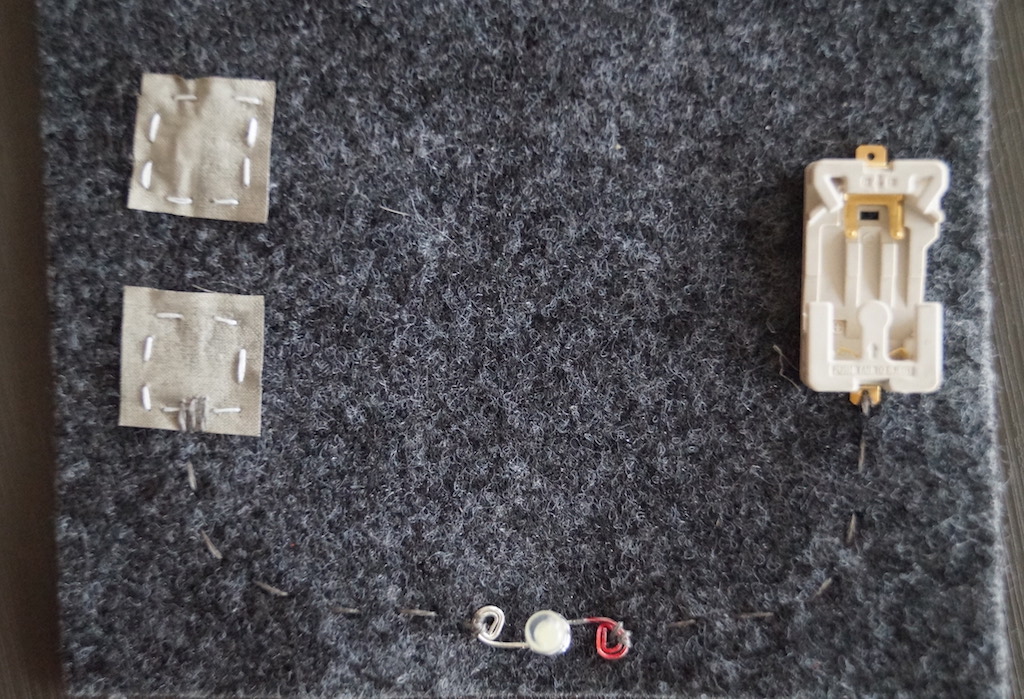
- Lay components out on felt
- Stitch conductive fabric to felt with regular thread
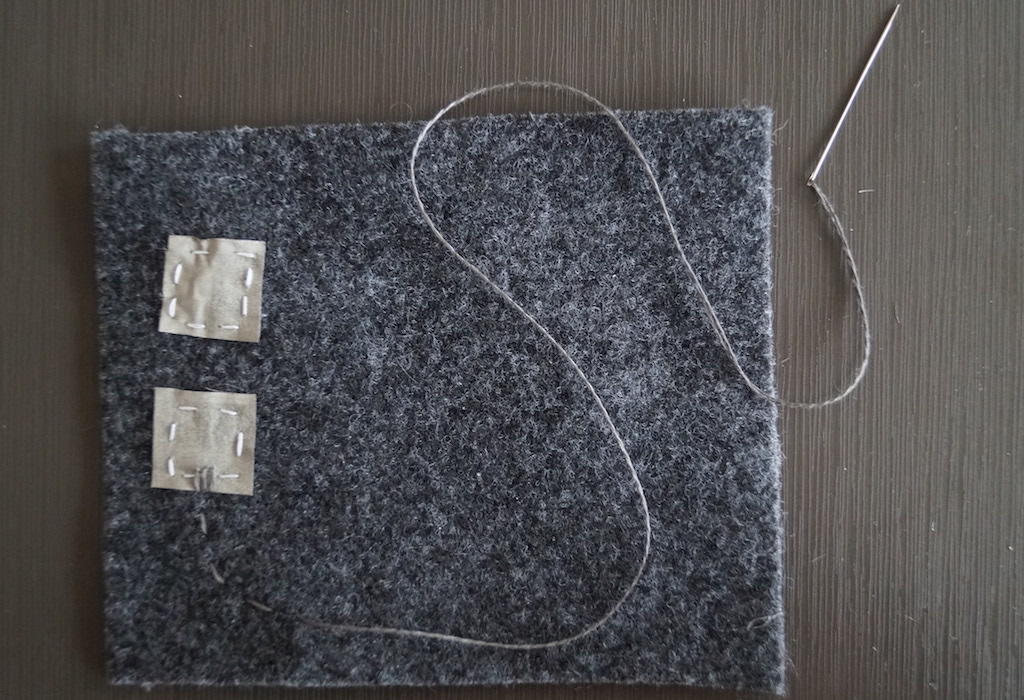
- Stitch into conductive fabric with conductive thread
To ensure a solid connection, create a few stitches (like the three shown here) that pass through the conductive fabric before continuing the stitch.
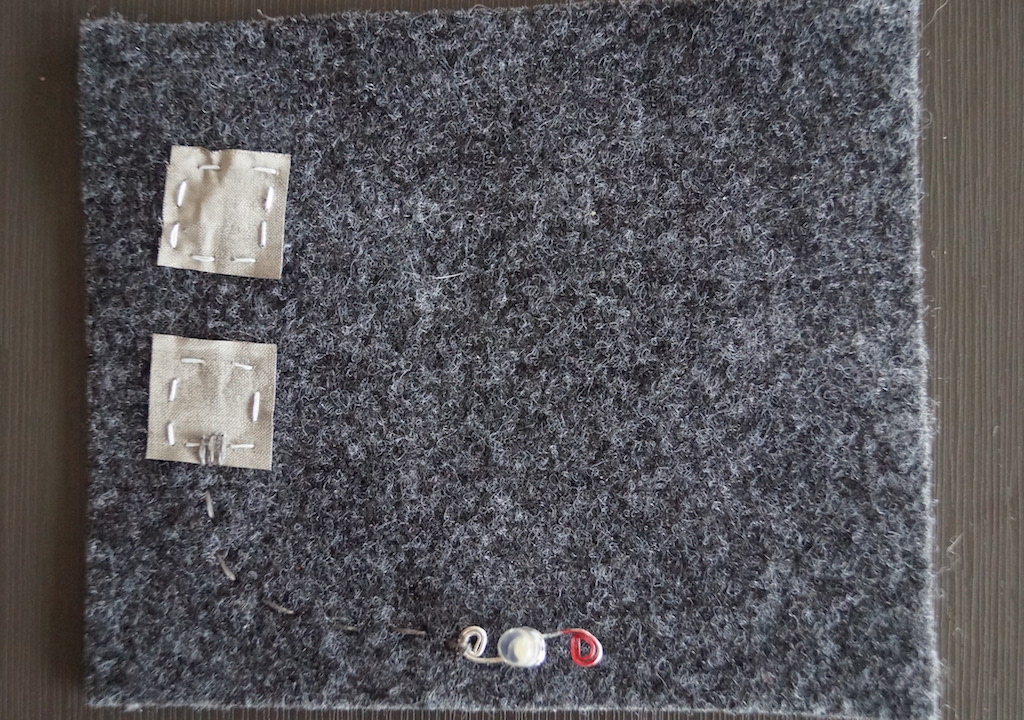
- Connect the LED
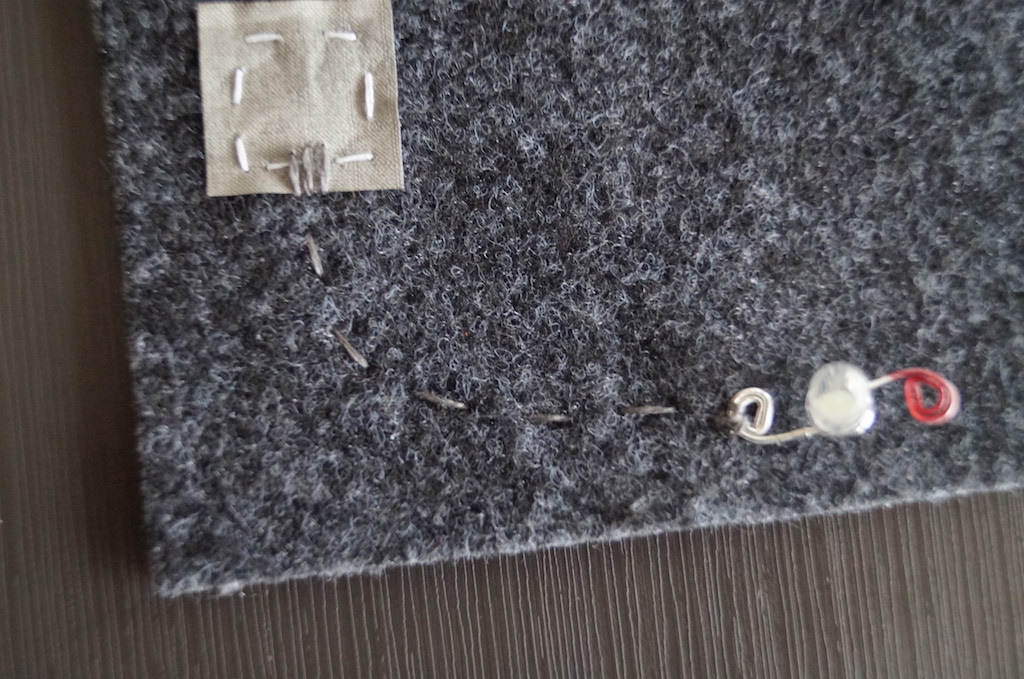
Pass the needle through one end of the LED (negative shown here) and secure it in place by stitching though a few times. Knot the conductive thread and trim any excess.
- Stitch from the other end of the LED to the battery holder
Be sure to use a new piece of conductive thread when stitching from the LED. Once you reach the battery holder, pass the thread through a few times before knotting off the end.
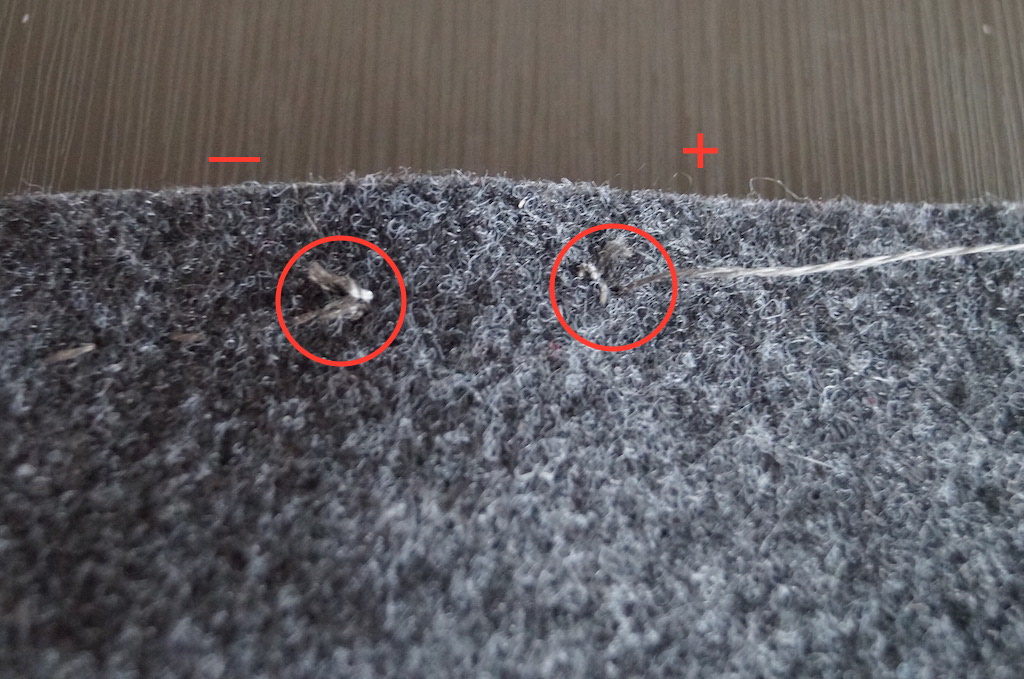
When you turn your circuit over, the back should look like the image below. Note the knots (circled in red) that indicate the positive and negative ends of the LED. Current needs to flow through the LED in order for it to light up. If the same piece of conductive thread is used, current will bypass the LED and it will not light up.
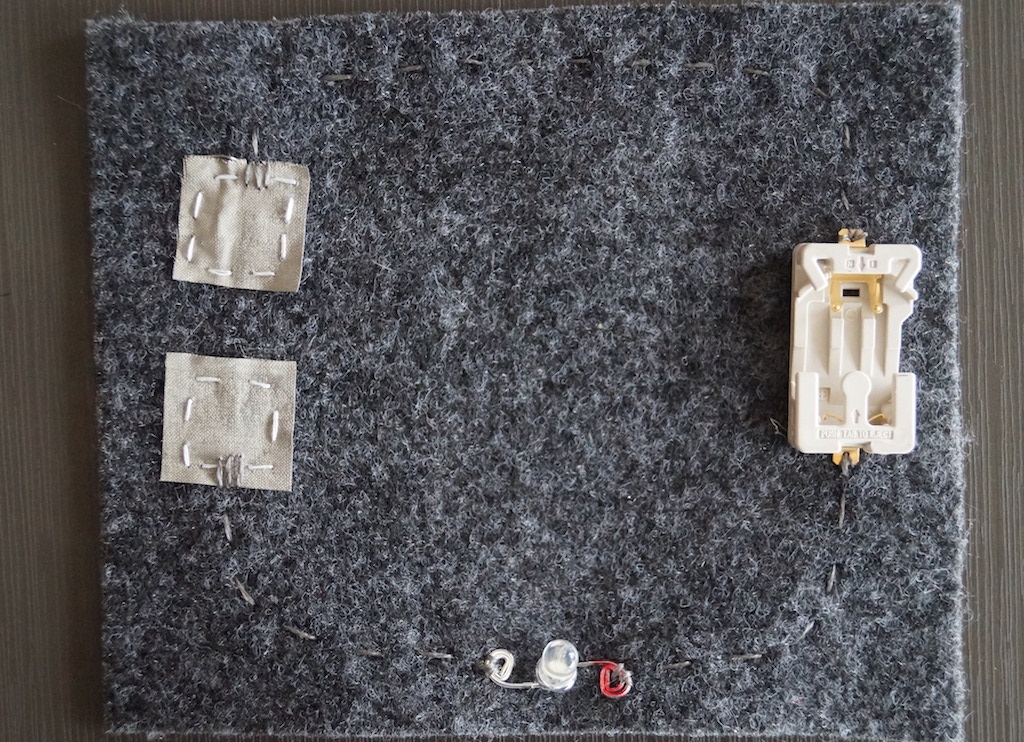
- Stitch from the battery holder to the other piece of conductive fabric
When you reach the conductive fabric, pass through it a few times then knot the thread off. The circuit is complete! Now all you need is a bridge.
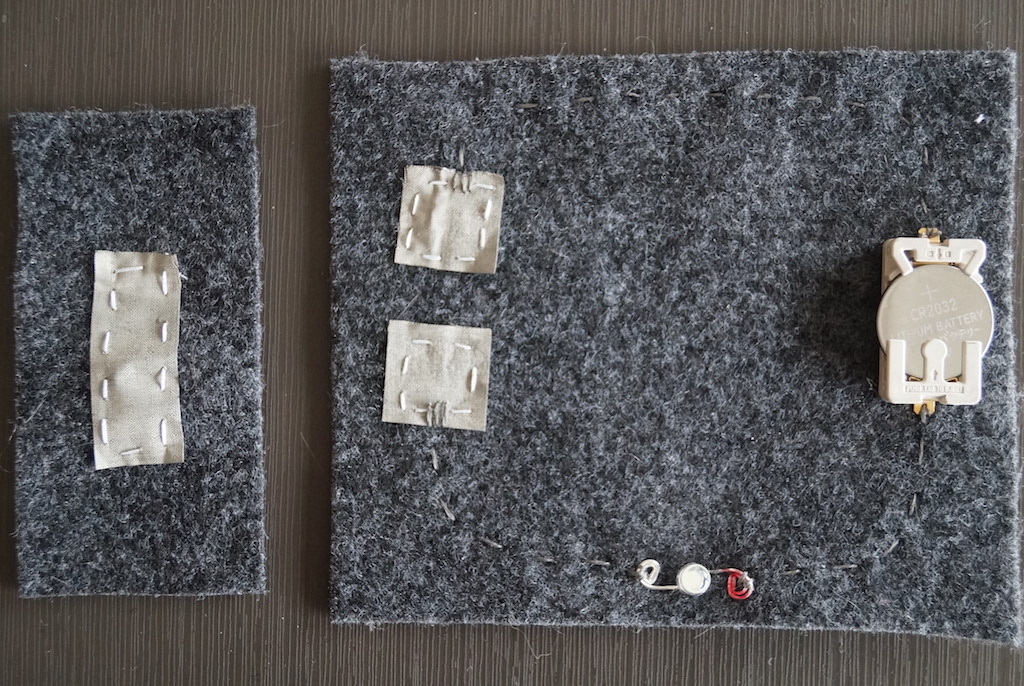
- Stitch conductive fabric to a separate piece of felt to create a bridge
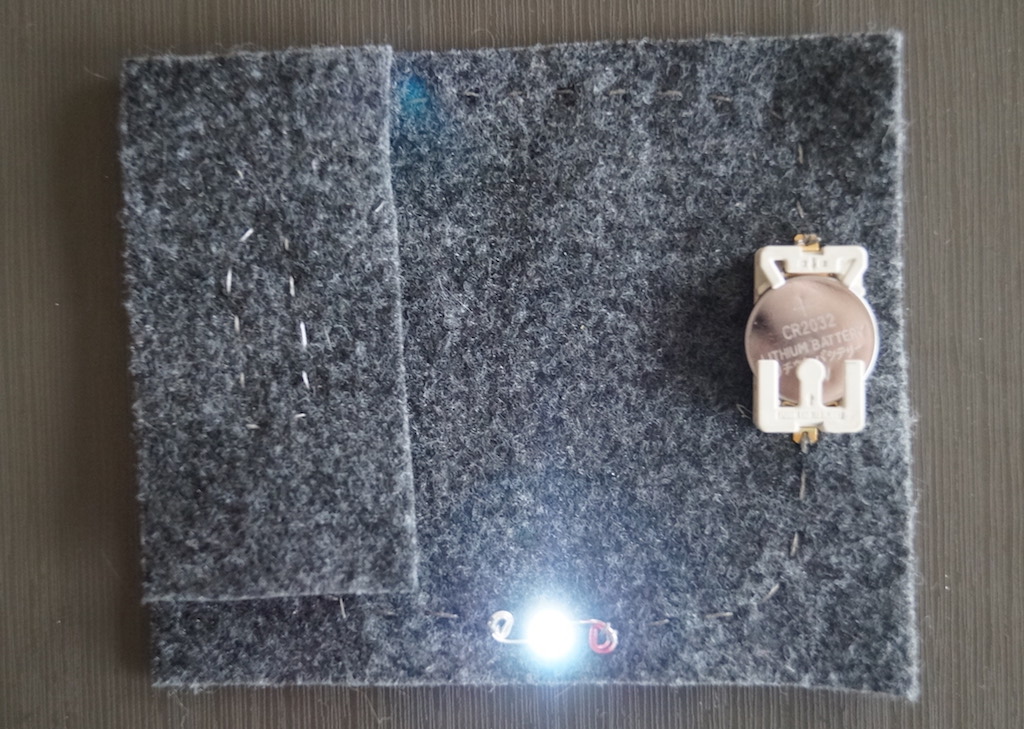
Add the 3V battery to the battery holder. Use the bridge to close the gap between the two pieces of conductive fabric. The bridge allows current to reach the LED and turn it on.
Other conductive material can be used to bridge the gap, such as a safety pin.
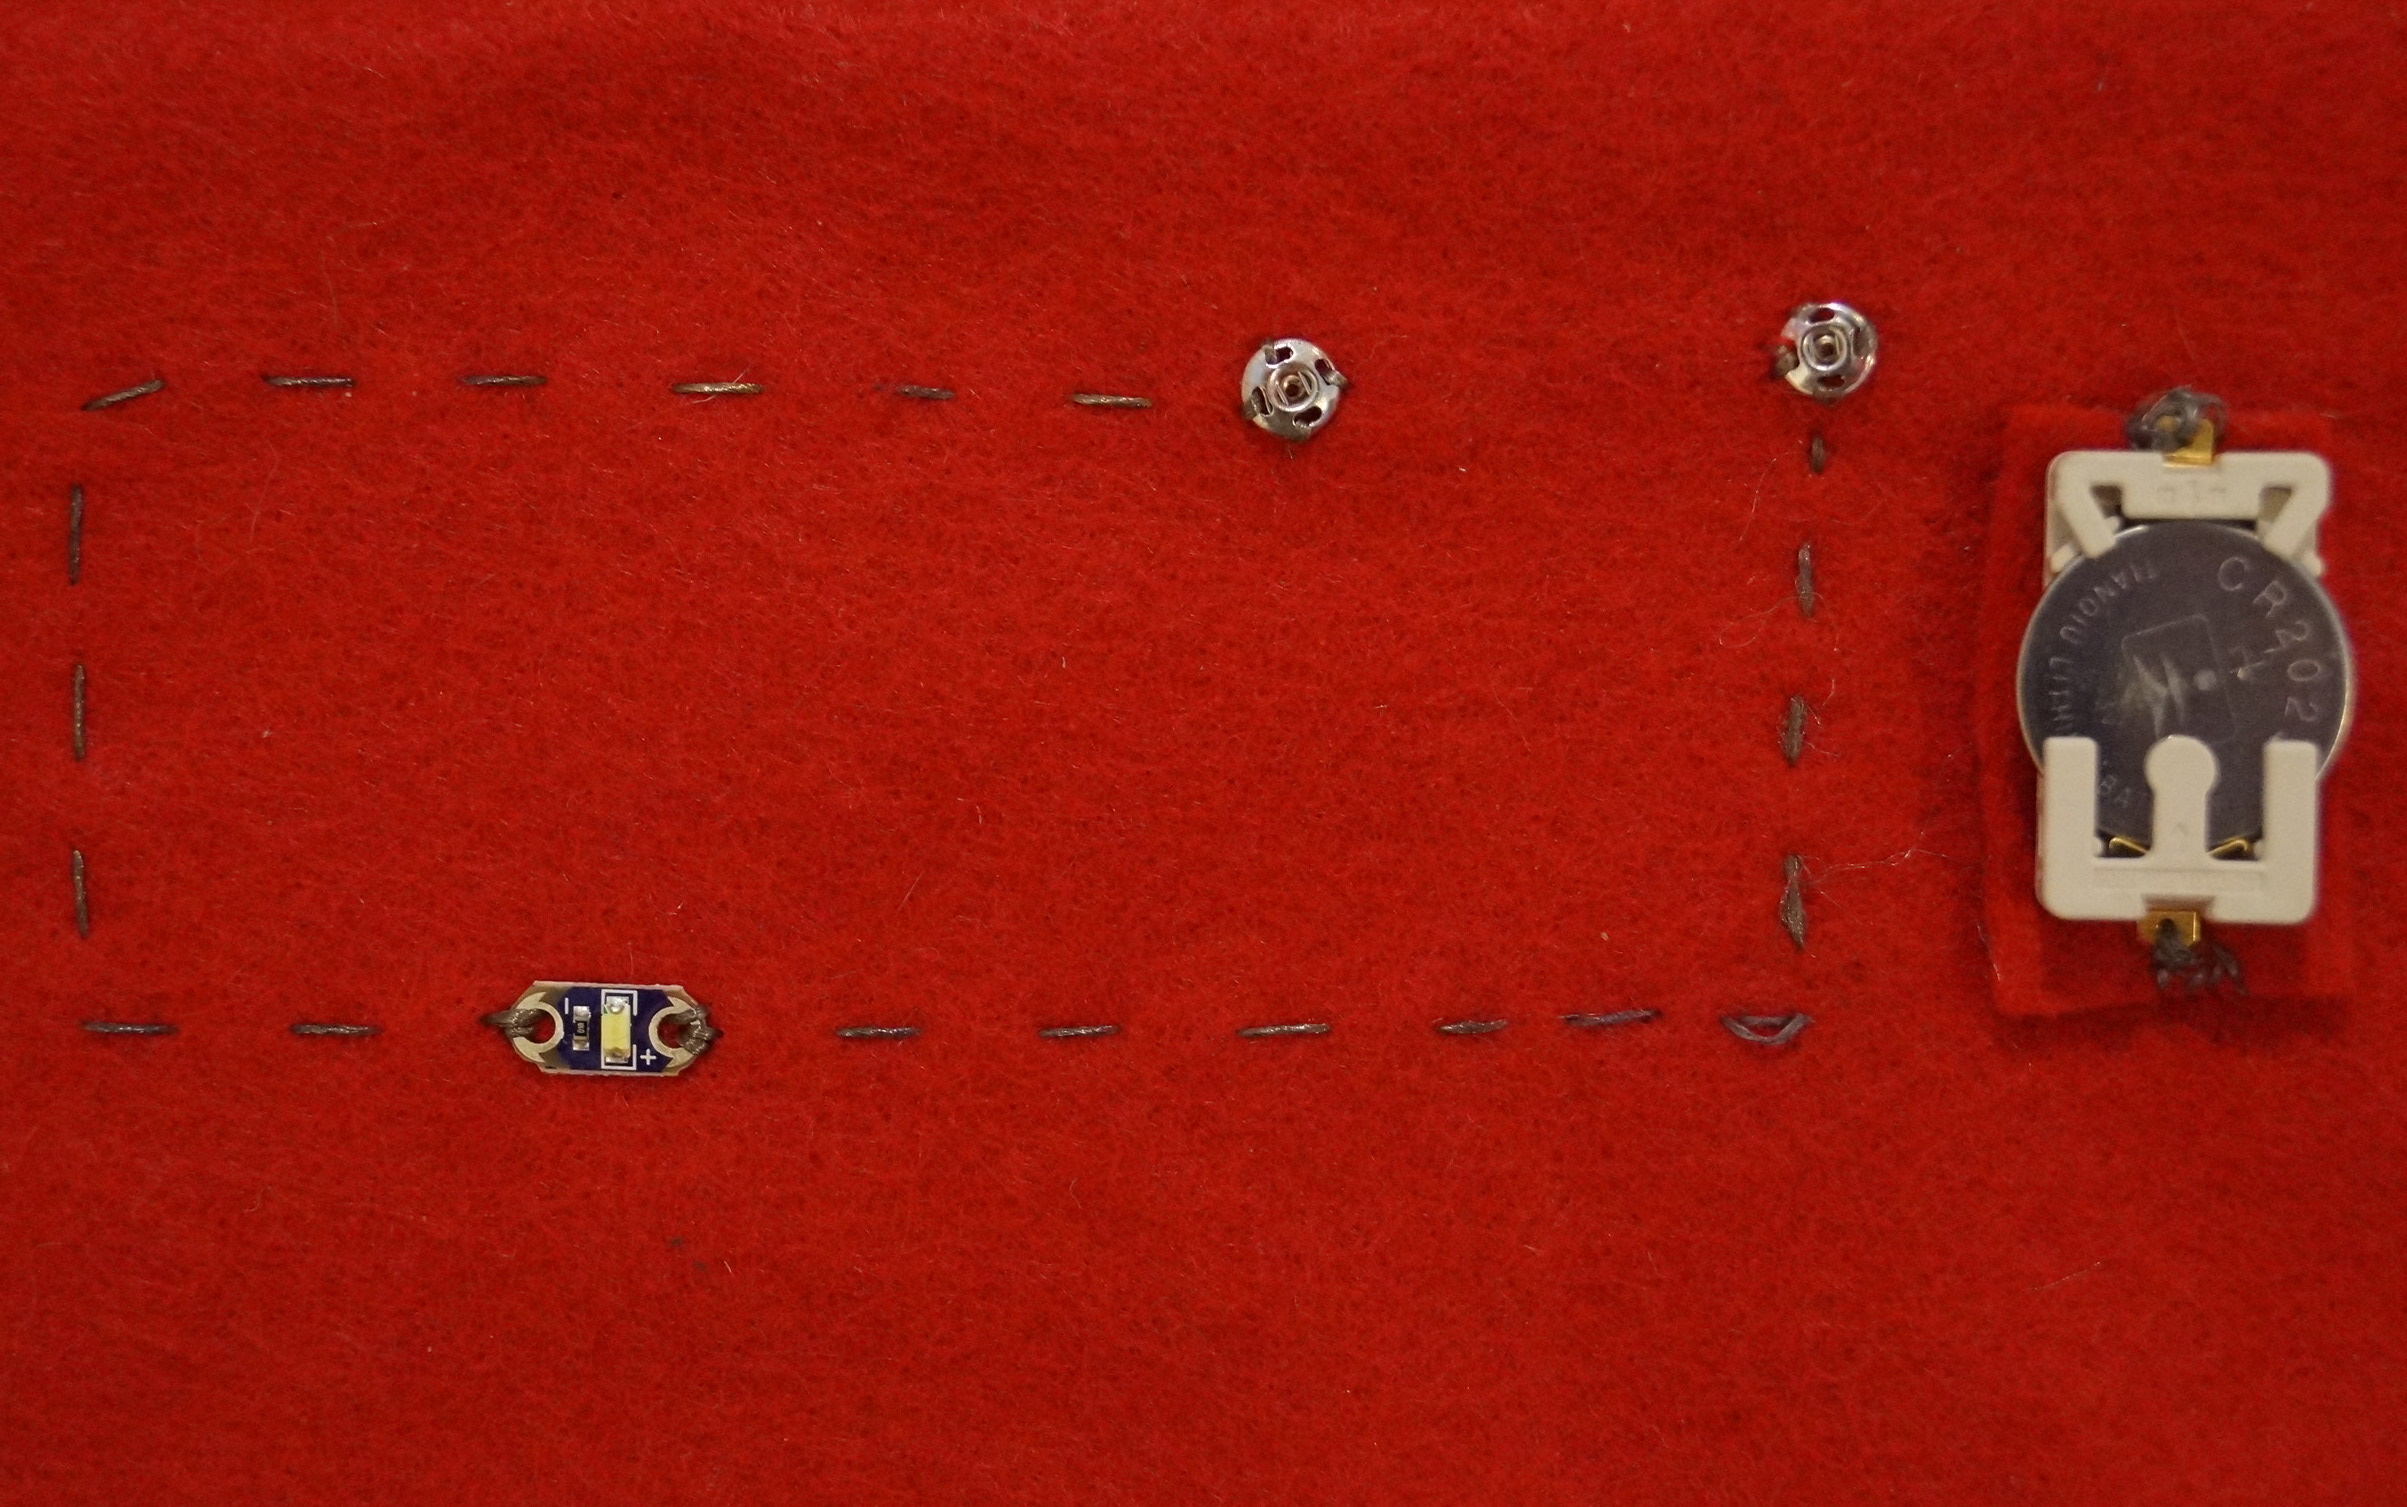
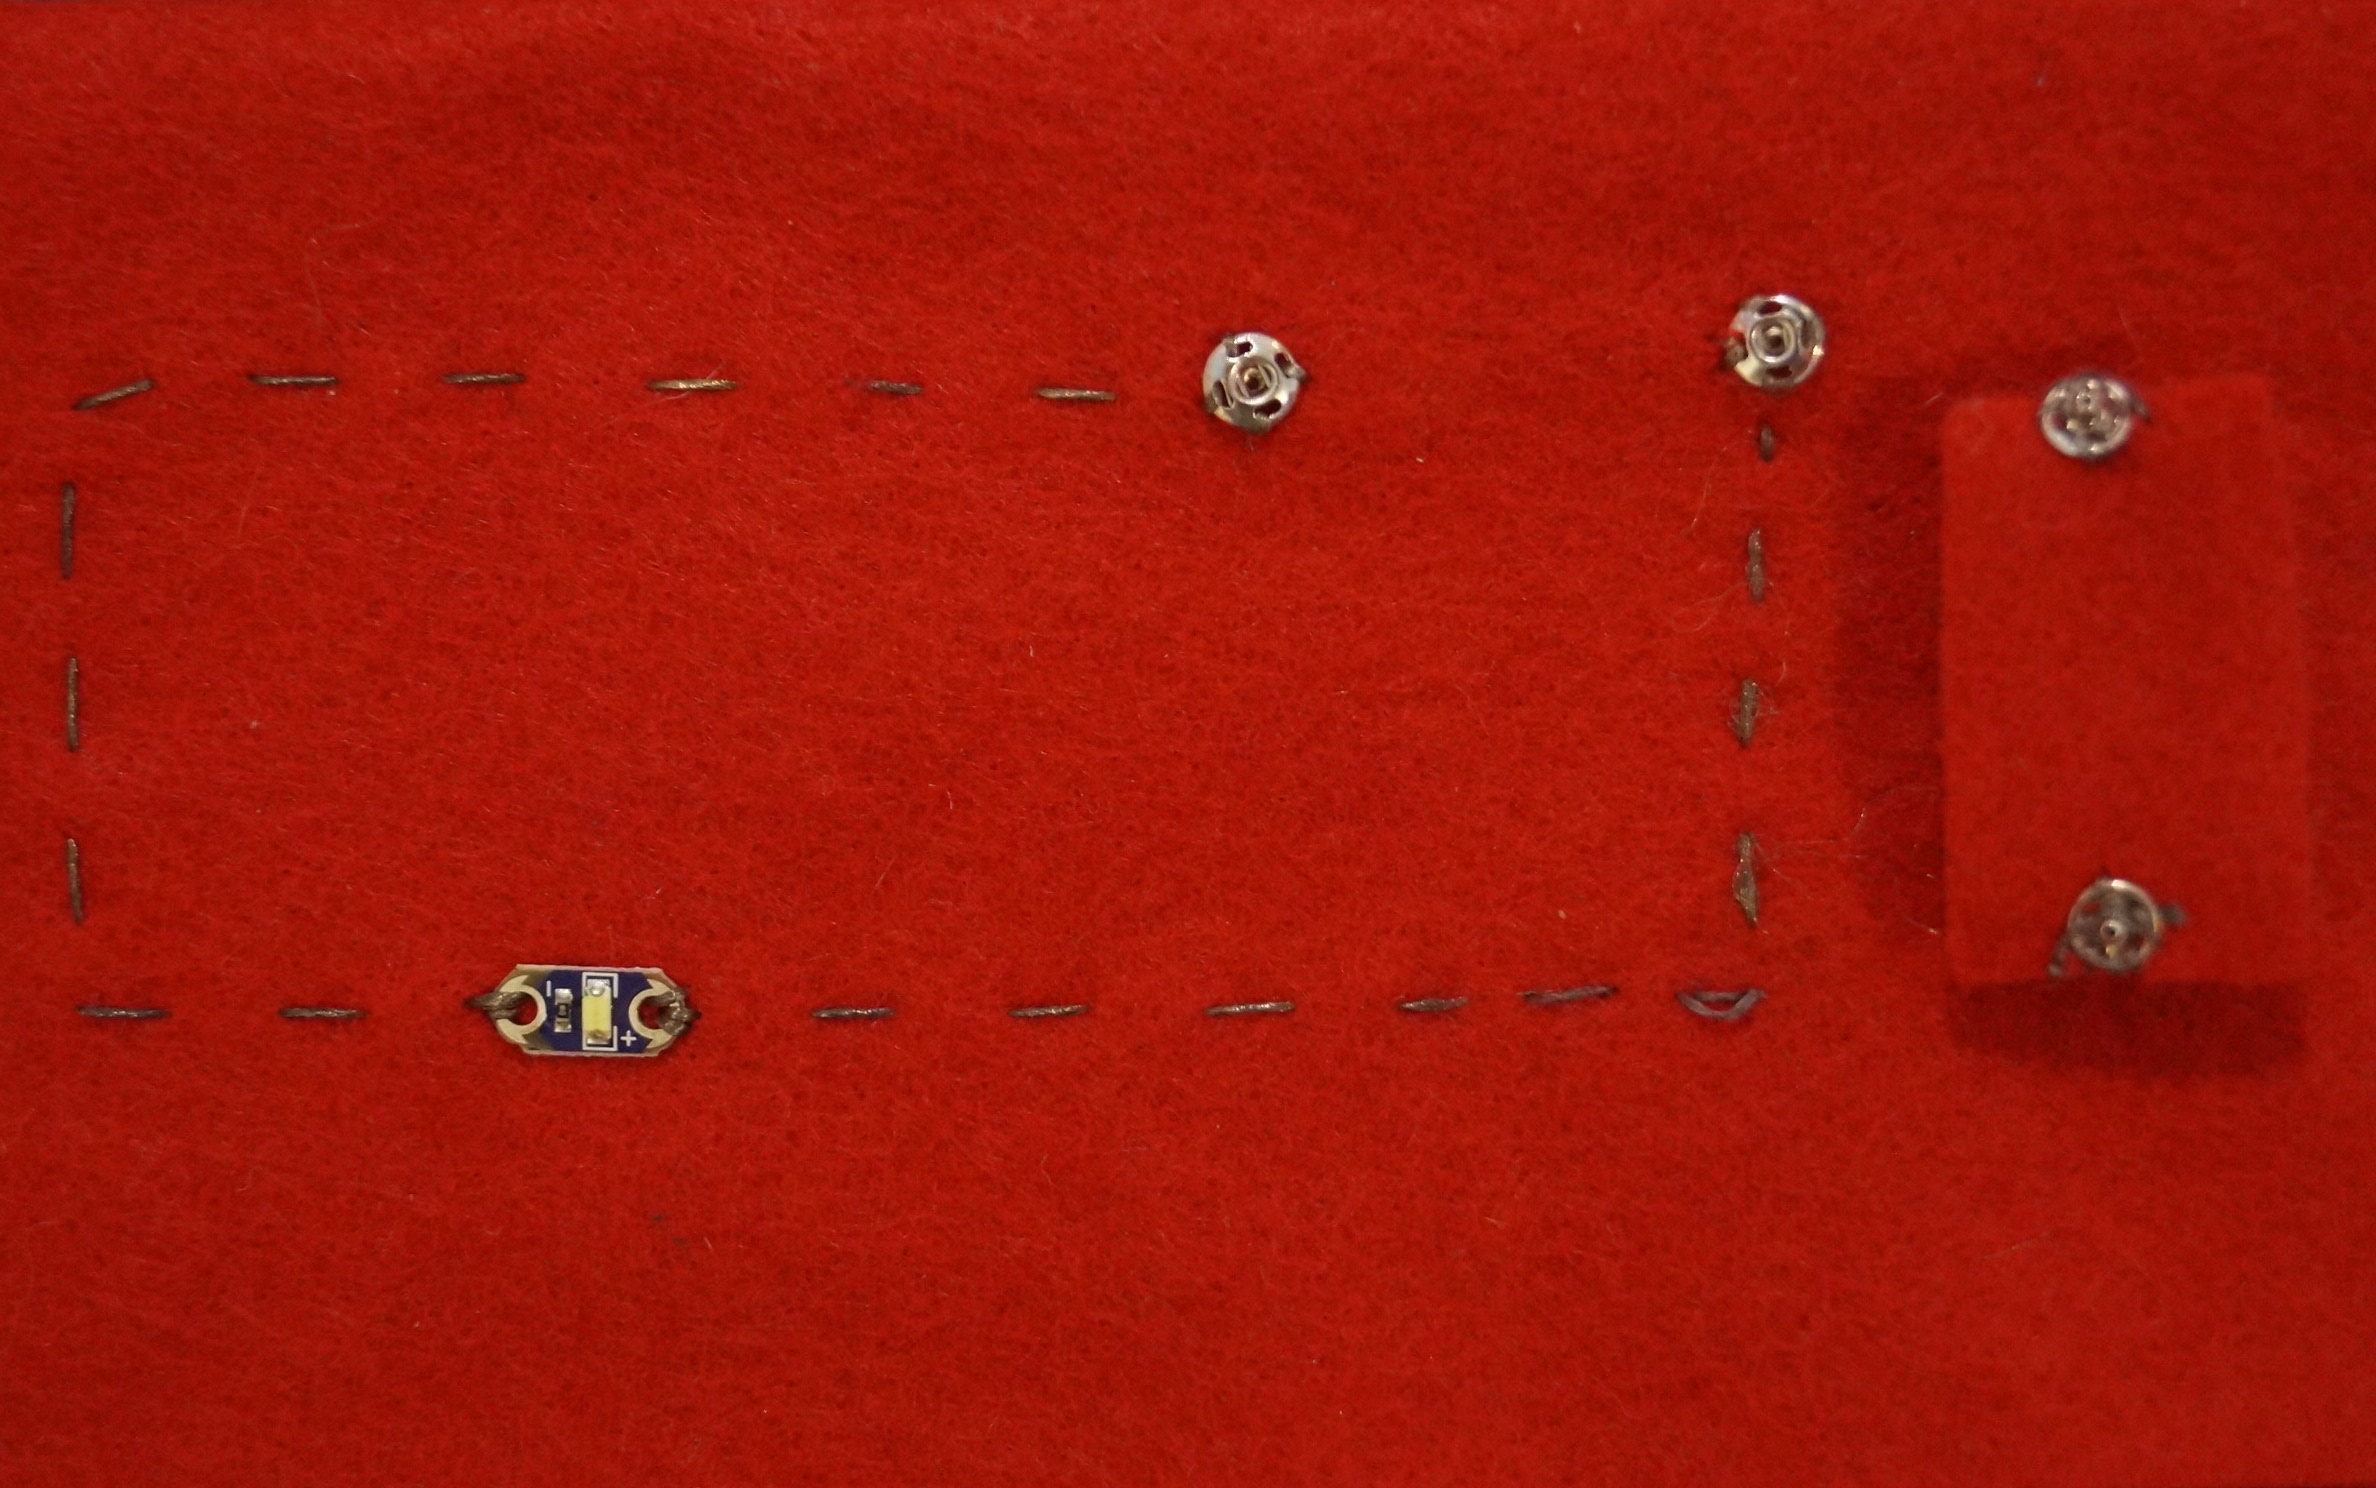
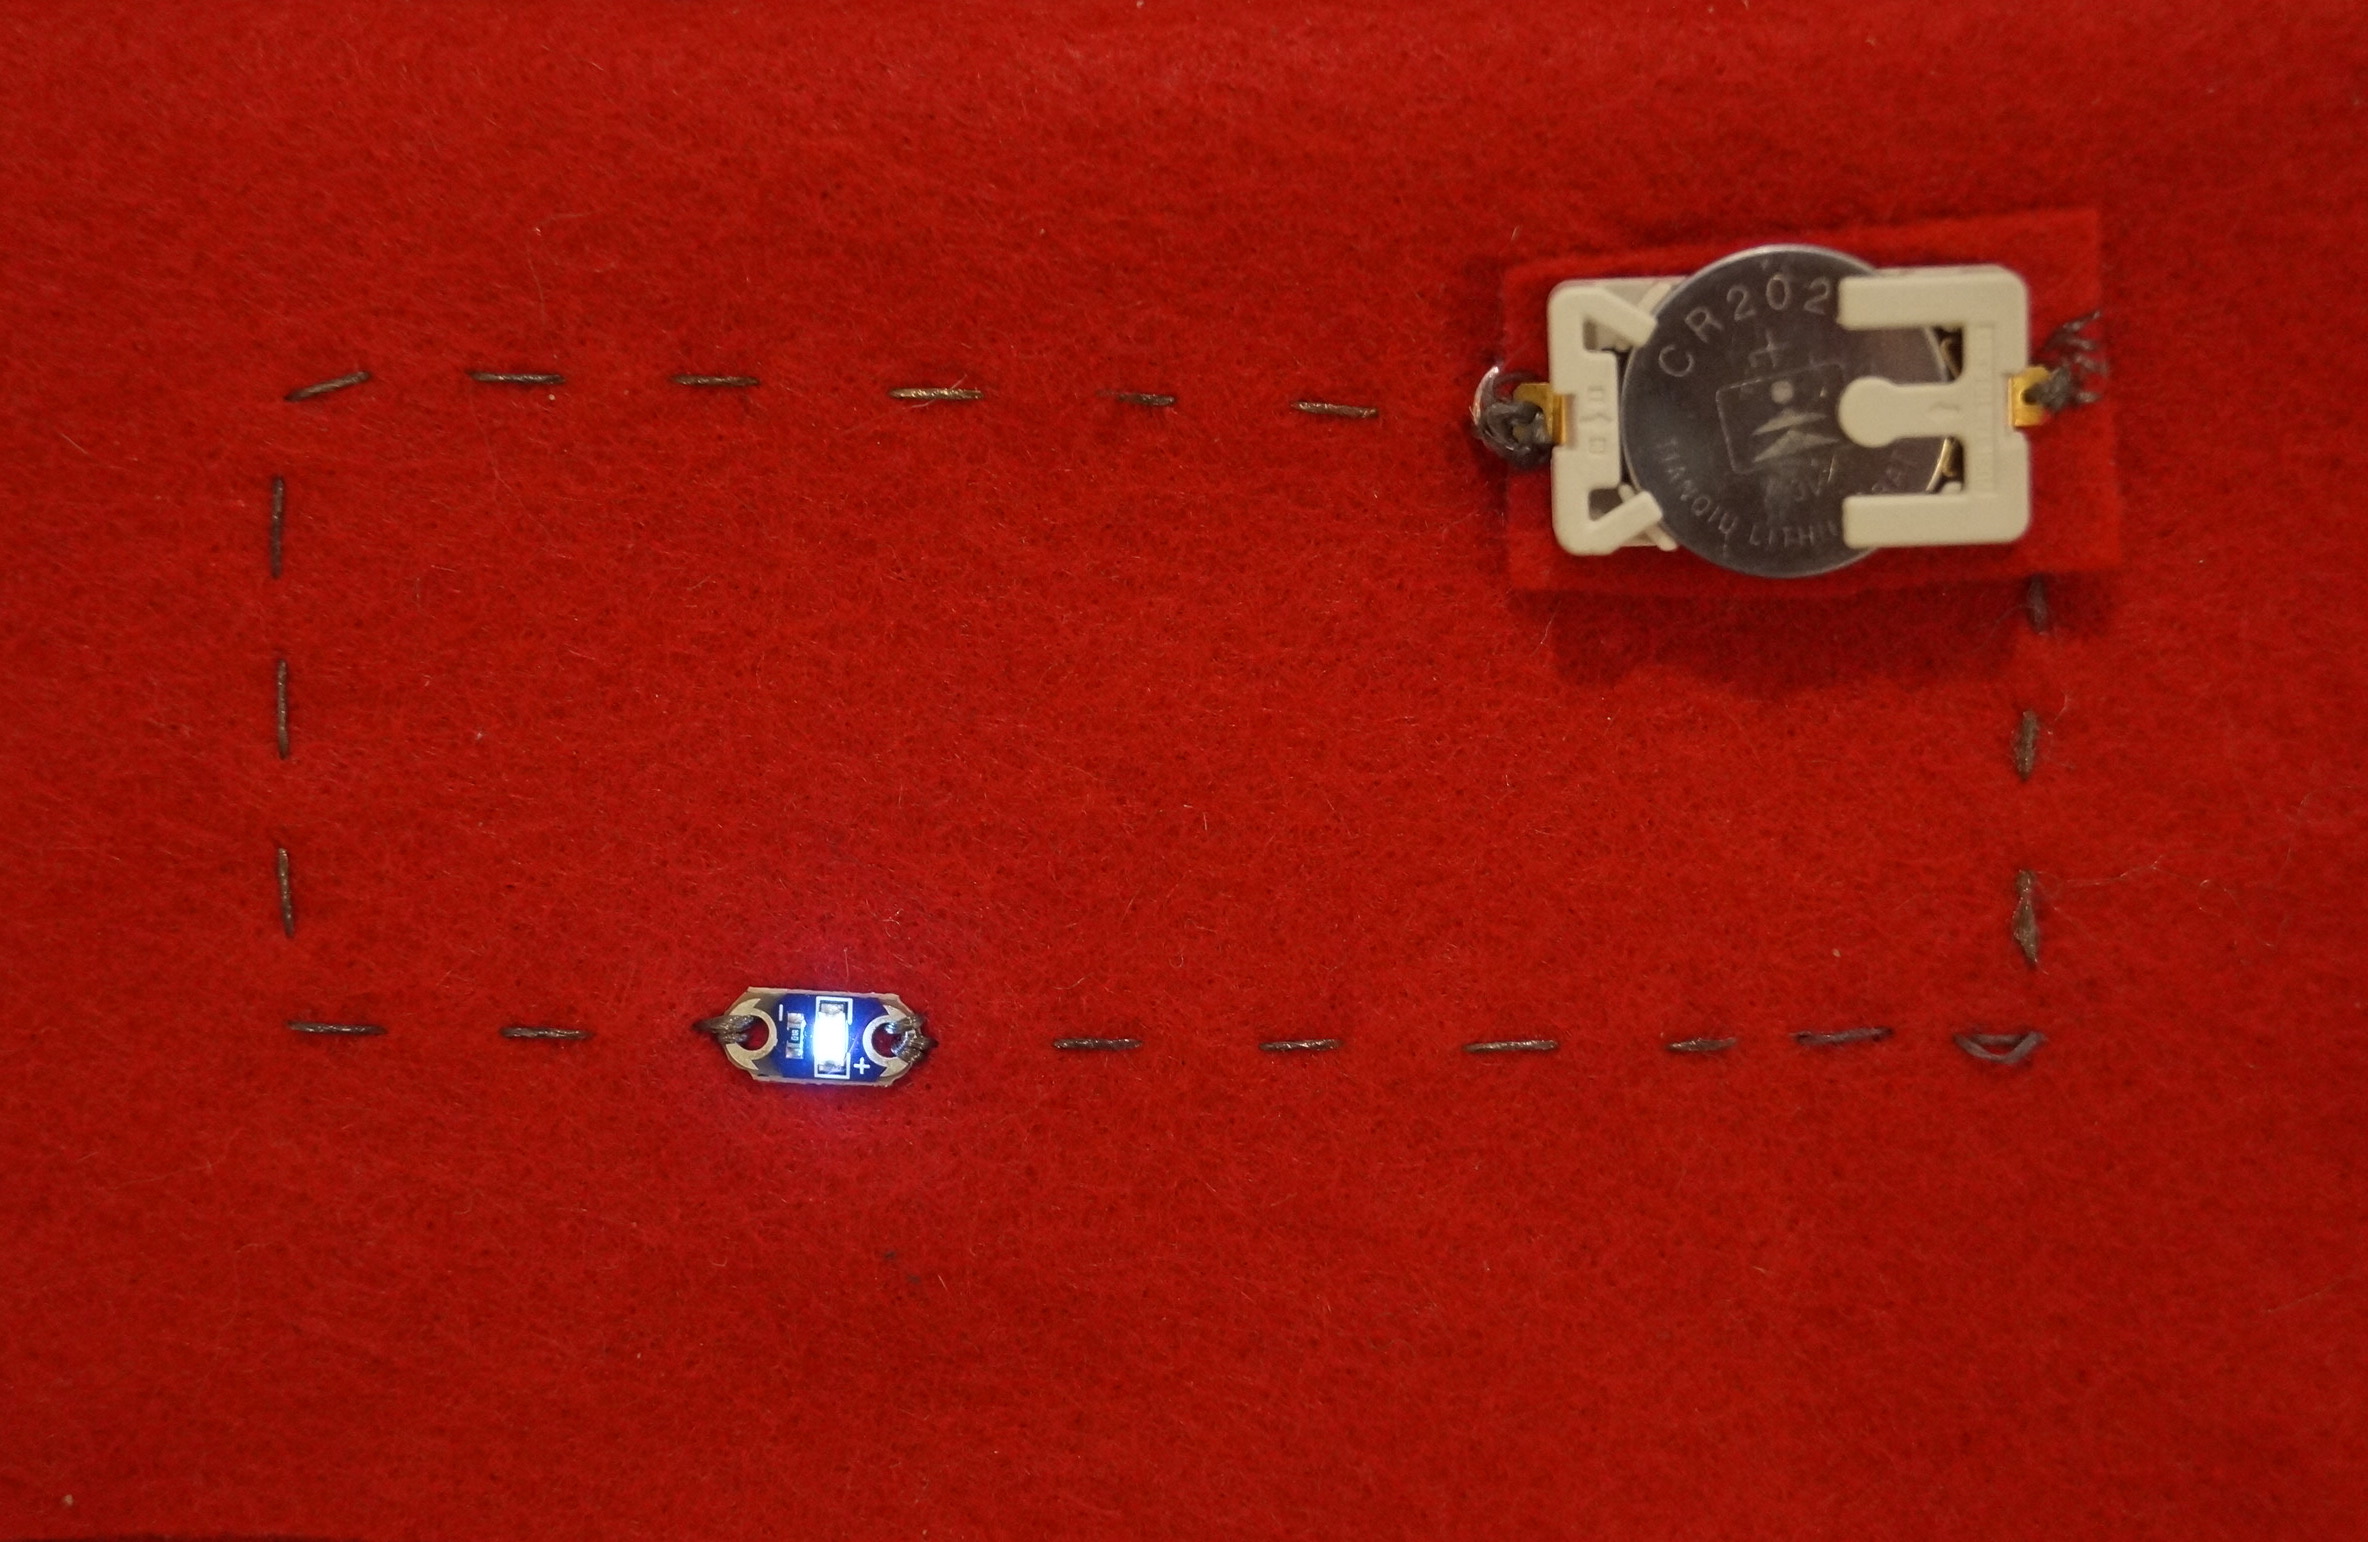
An alternative to this bridge switch example is pictured below. Instead of conductive fabric, metal snaps have been used. The battery itself is used as the bridge switch. Also pictured below is a sewable LED.
